Installing Ubuntu 24.04 on VMware: A Step-by-Step Guide
In the process of learning Linux, cloud computing, containers, automated operations, and AI engineering, building a stable, repeatable lab environment is often the first and most critical step.
Preface
In the process of learning Linux, cloud computing, containers, automated operations, and AI engineering, building a stable, repeatable lab environment is often the first and most critical step. For most beginners and technical practitioners, using physical servers directly has a high threshold, while installing Ubuntu 24.04 via VMware virtual machine is a safer, more flexible, and more suitable way for 入门 and experimentation.
Ubuntu 24.04, as a Long Term Support (LTS) version, offers good stability, a relatively new software ecosystem, and extensive community support, making it very suitable for daily learning, development testing, service deployment, and lab environment setup. Whether you want to learn Linux basic commands, network configuration, Docker, Kubernetes, or later delve into Python, automated operations, large model deployment, and AI development, Ubuntu is a very suitable starting point.
This article will be based on VMware virtual machine, fully recording the installation process of Ubuntu 24.04, trying to bring you from image preparation, virtual machine creation to system installation and basic configuration in a clear, practical, and less empty way, step by step to build your own Linux learning environment. I hope this article can not only help friends who are just getting started to complete the installation smoothly, but also lay a stable foundation for subsequent deeper technical practice.
Deploy Ubuntu 24.04 — AMD Version
Image URL
https://ubuntu.com/download/server/thank-you?version=24.04.3&architecture=amd64<s=trueStep 1
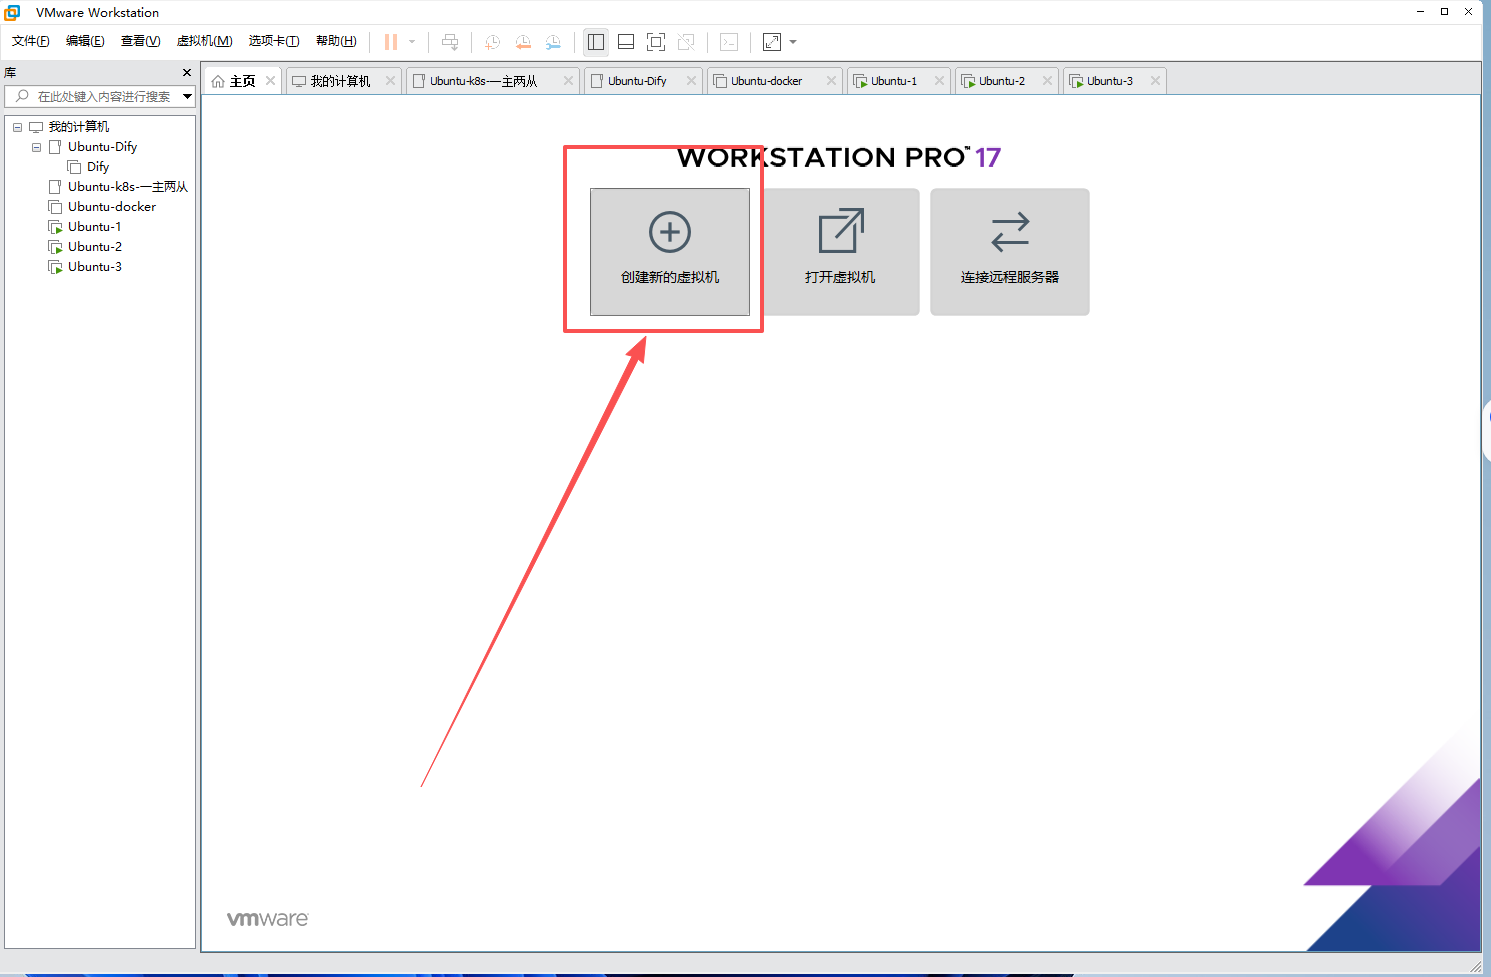
Open VMware, select “Create a New Virtual Machine”
Step 2
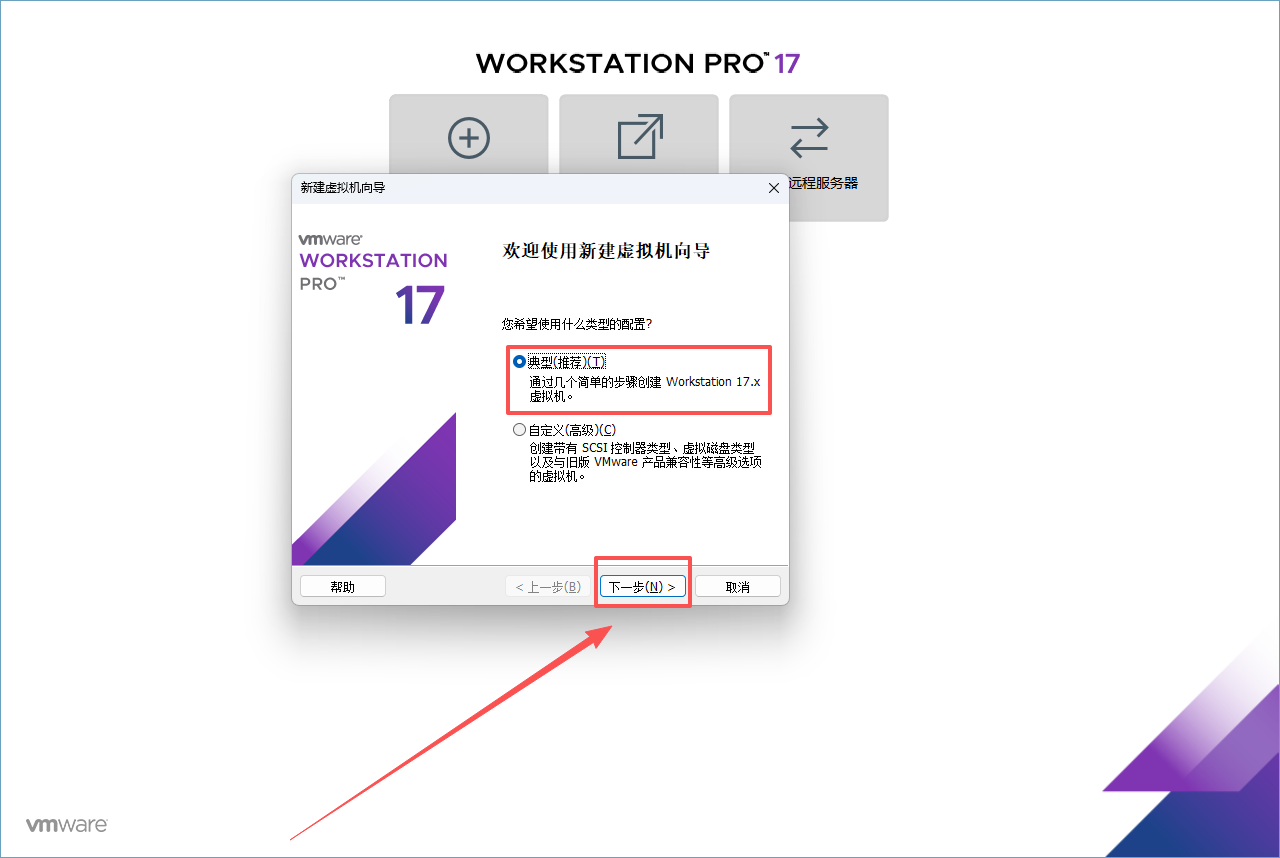
Select “Typical” —> Click “Next”
Step 3
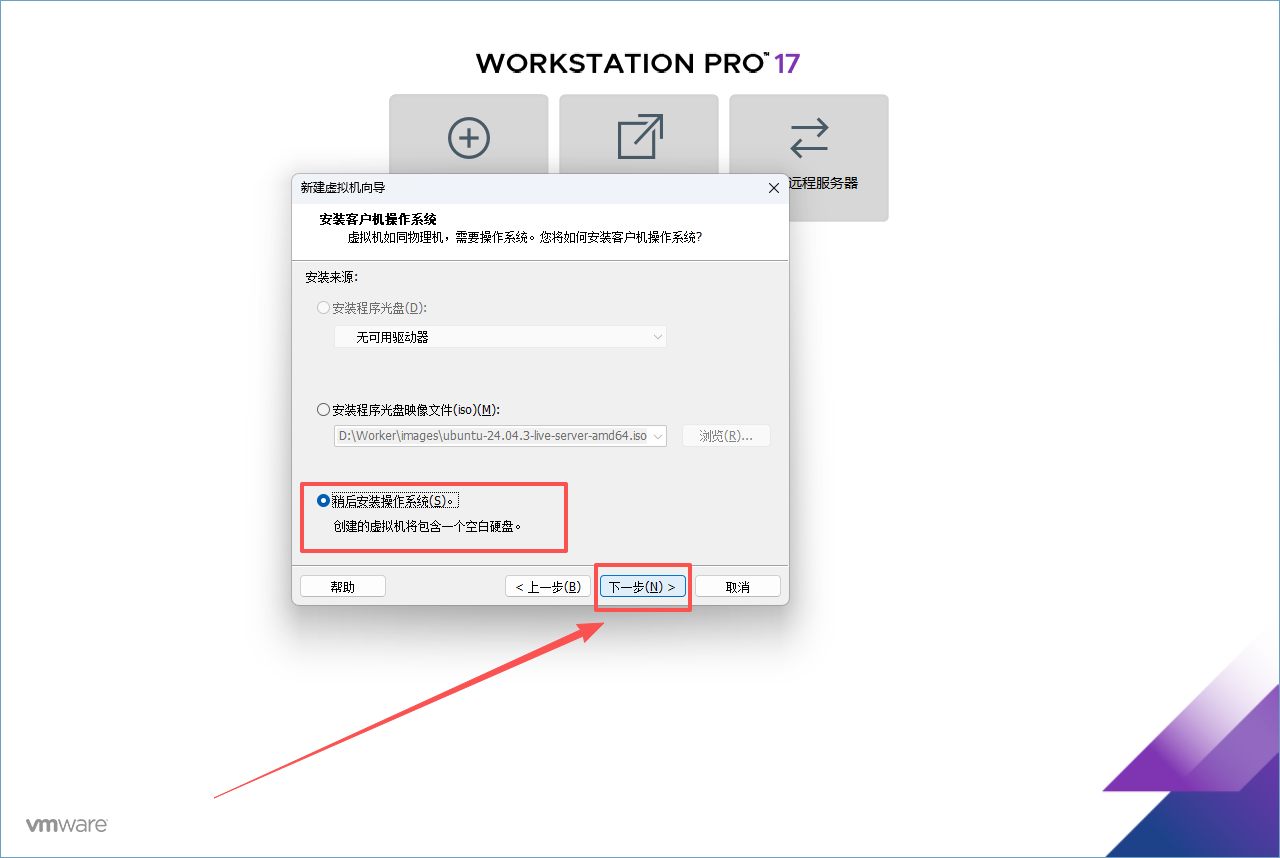
Select “I will install the operating system later” —> Click “Next”
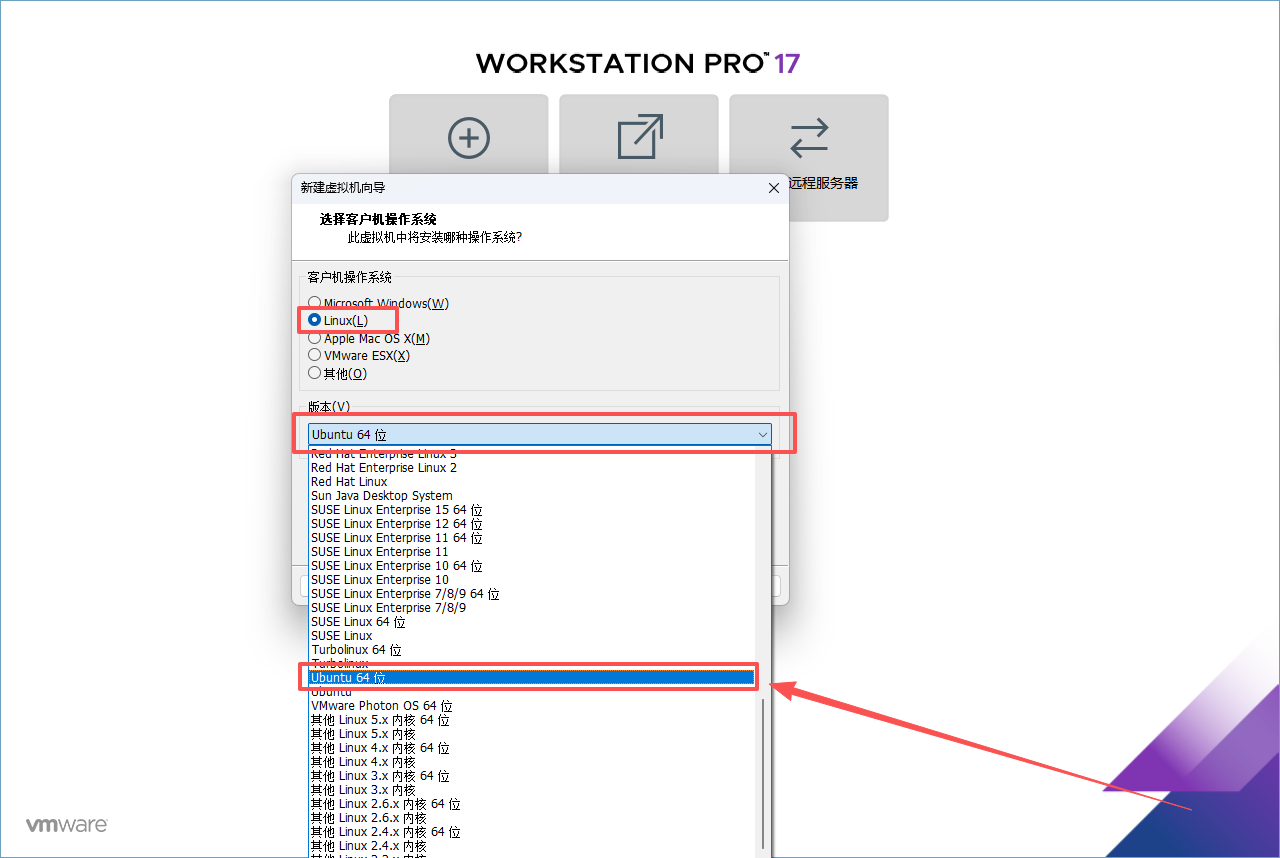
Step 4
Find “Linux” —> Select “Ubuntu 64-bit”
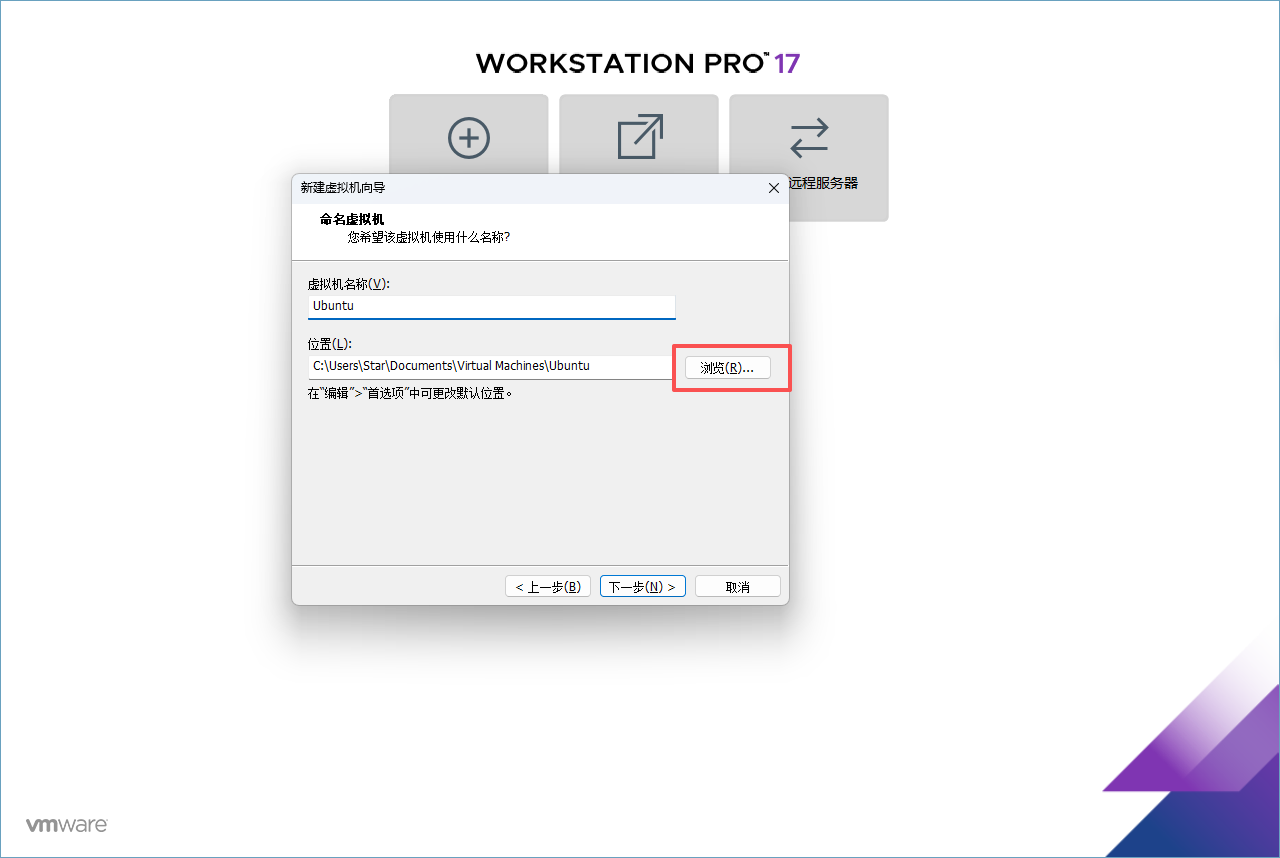
Step 5
Edit your “Virtual Machine Name” —> And “Virtual Machine Location” —> Click “Next”
Click “OK” to save
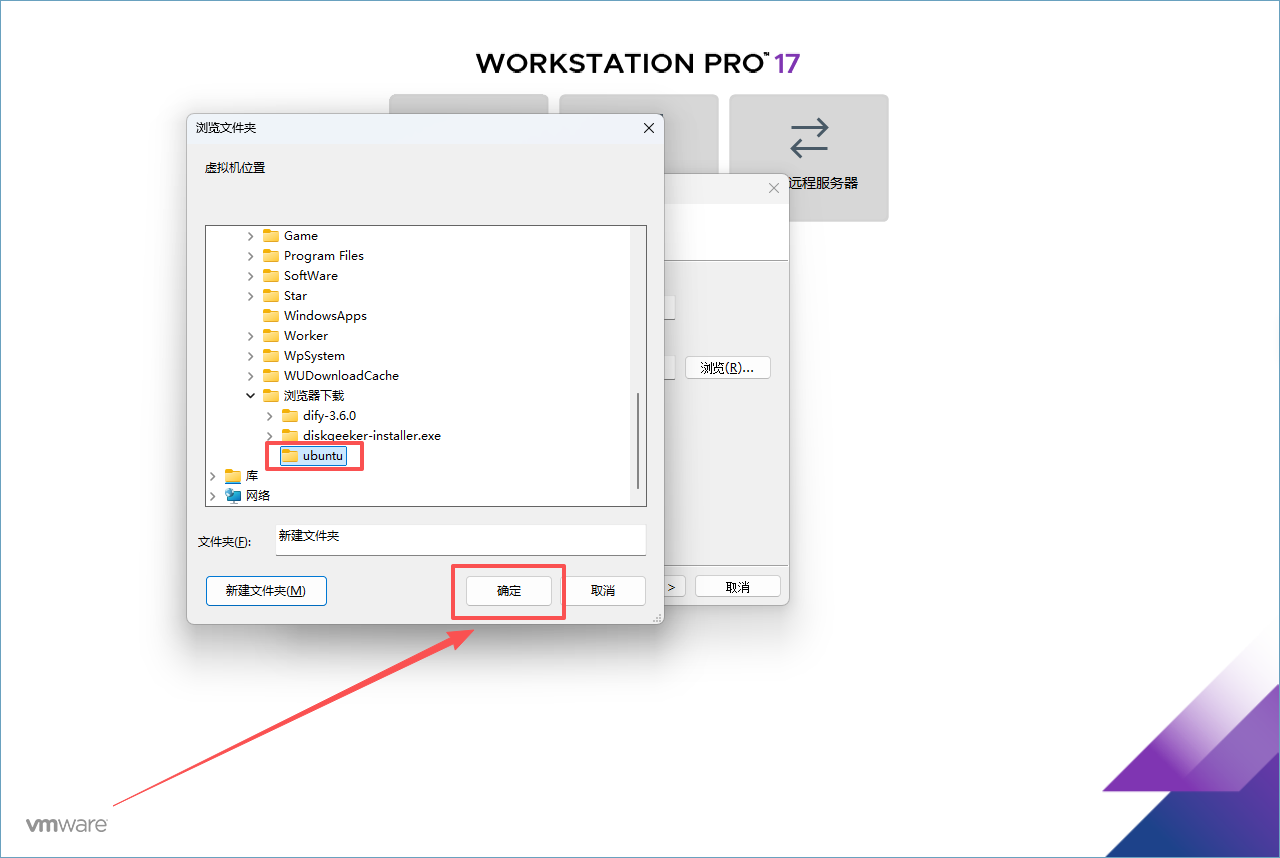
Then execute “Next”

Step 6
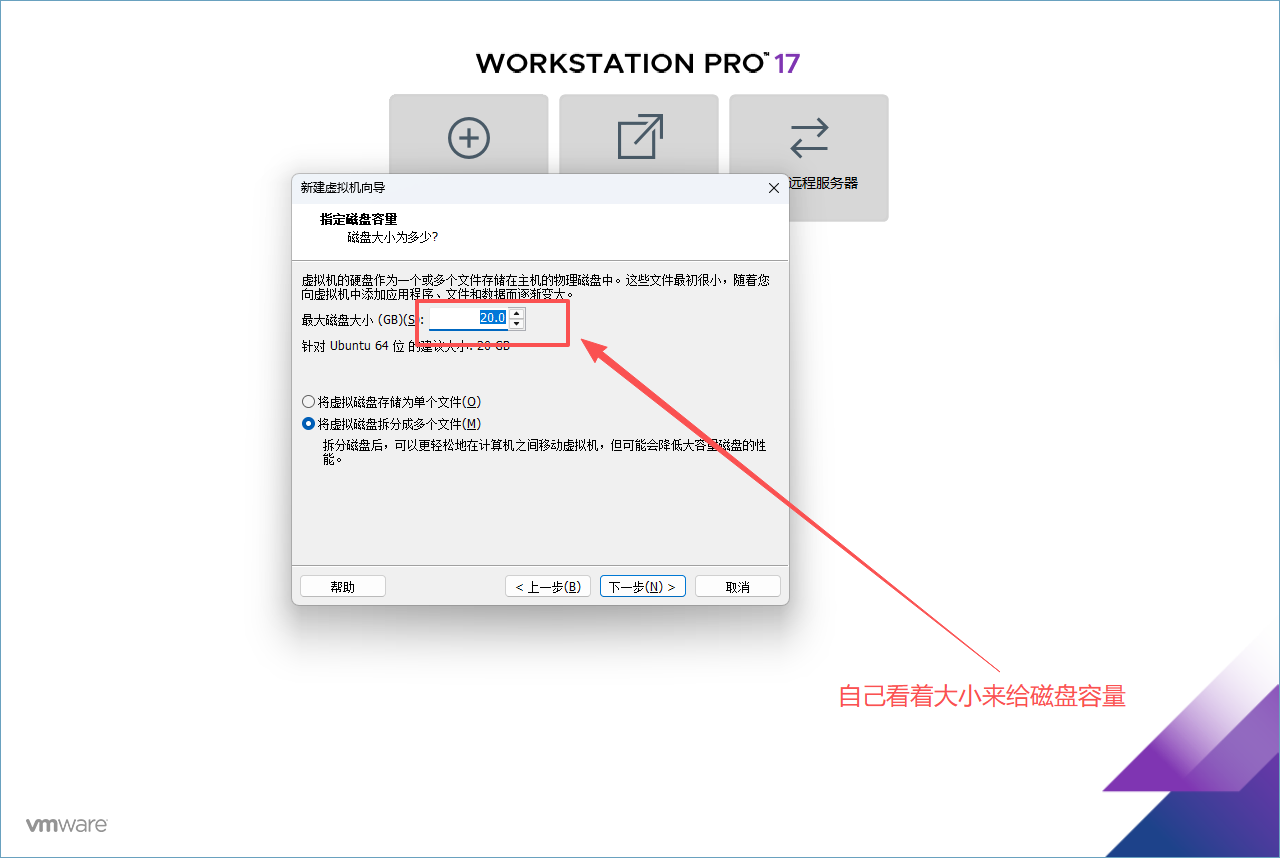
Allocate appropriate “Disk Size” —> Click “Next”
⚠️Note: The disk must have enough space allocated to the virtual machine, otherwise there will be various problems during installation or use
Step 7
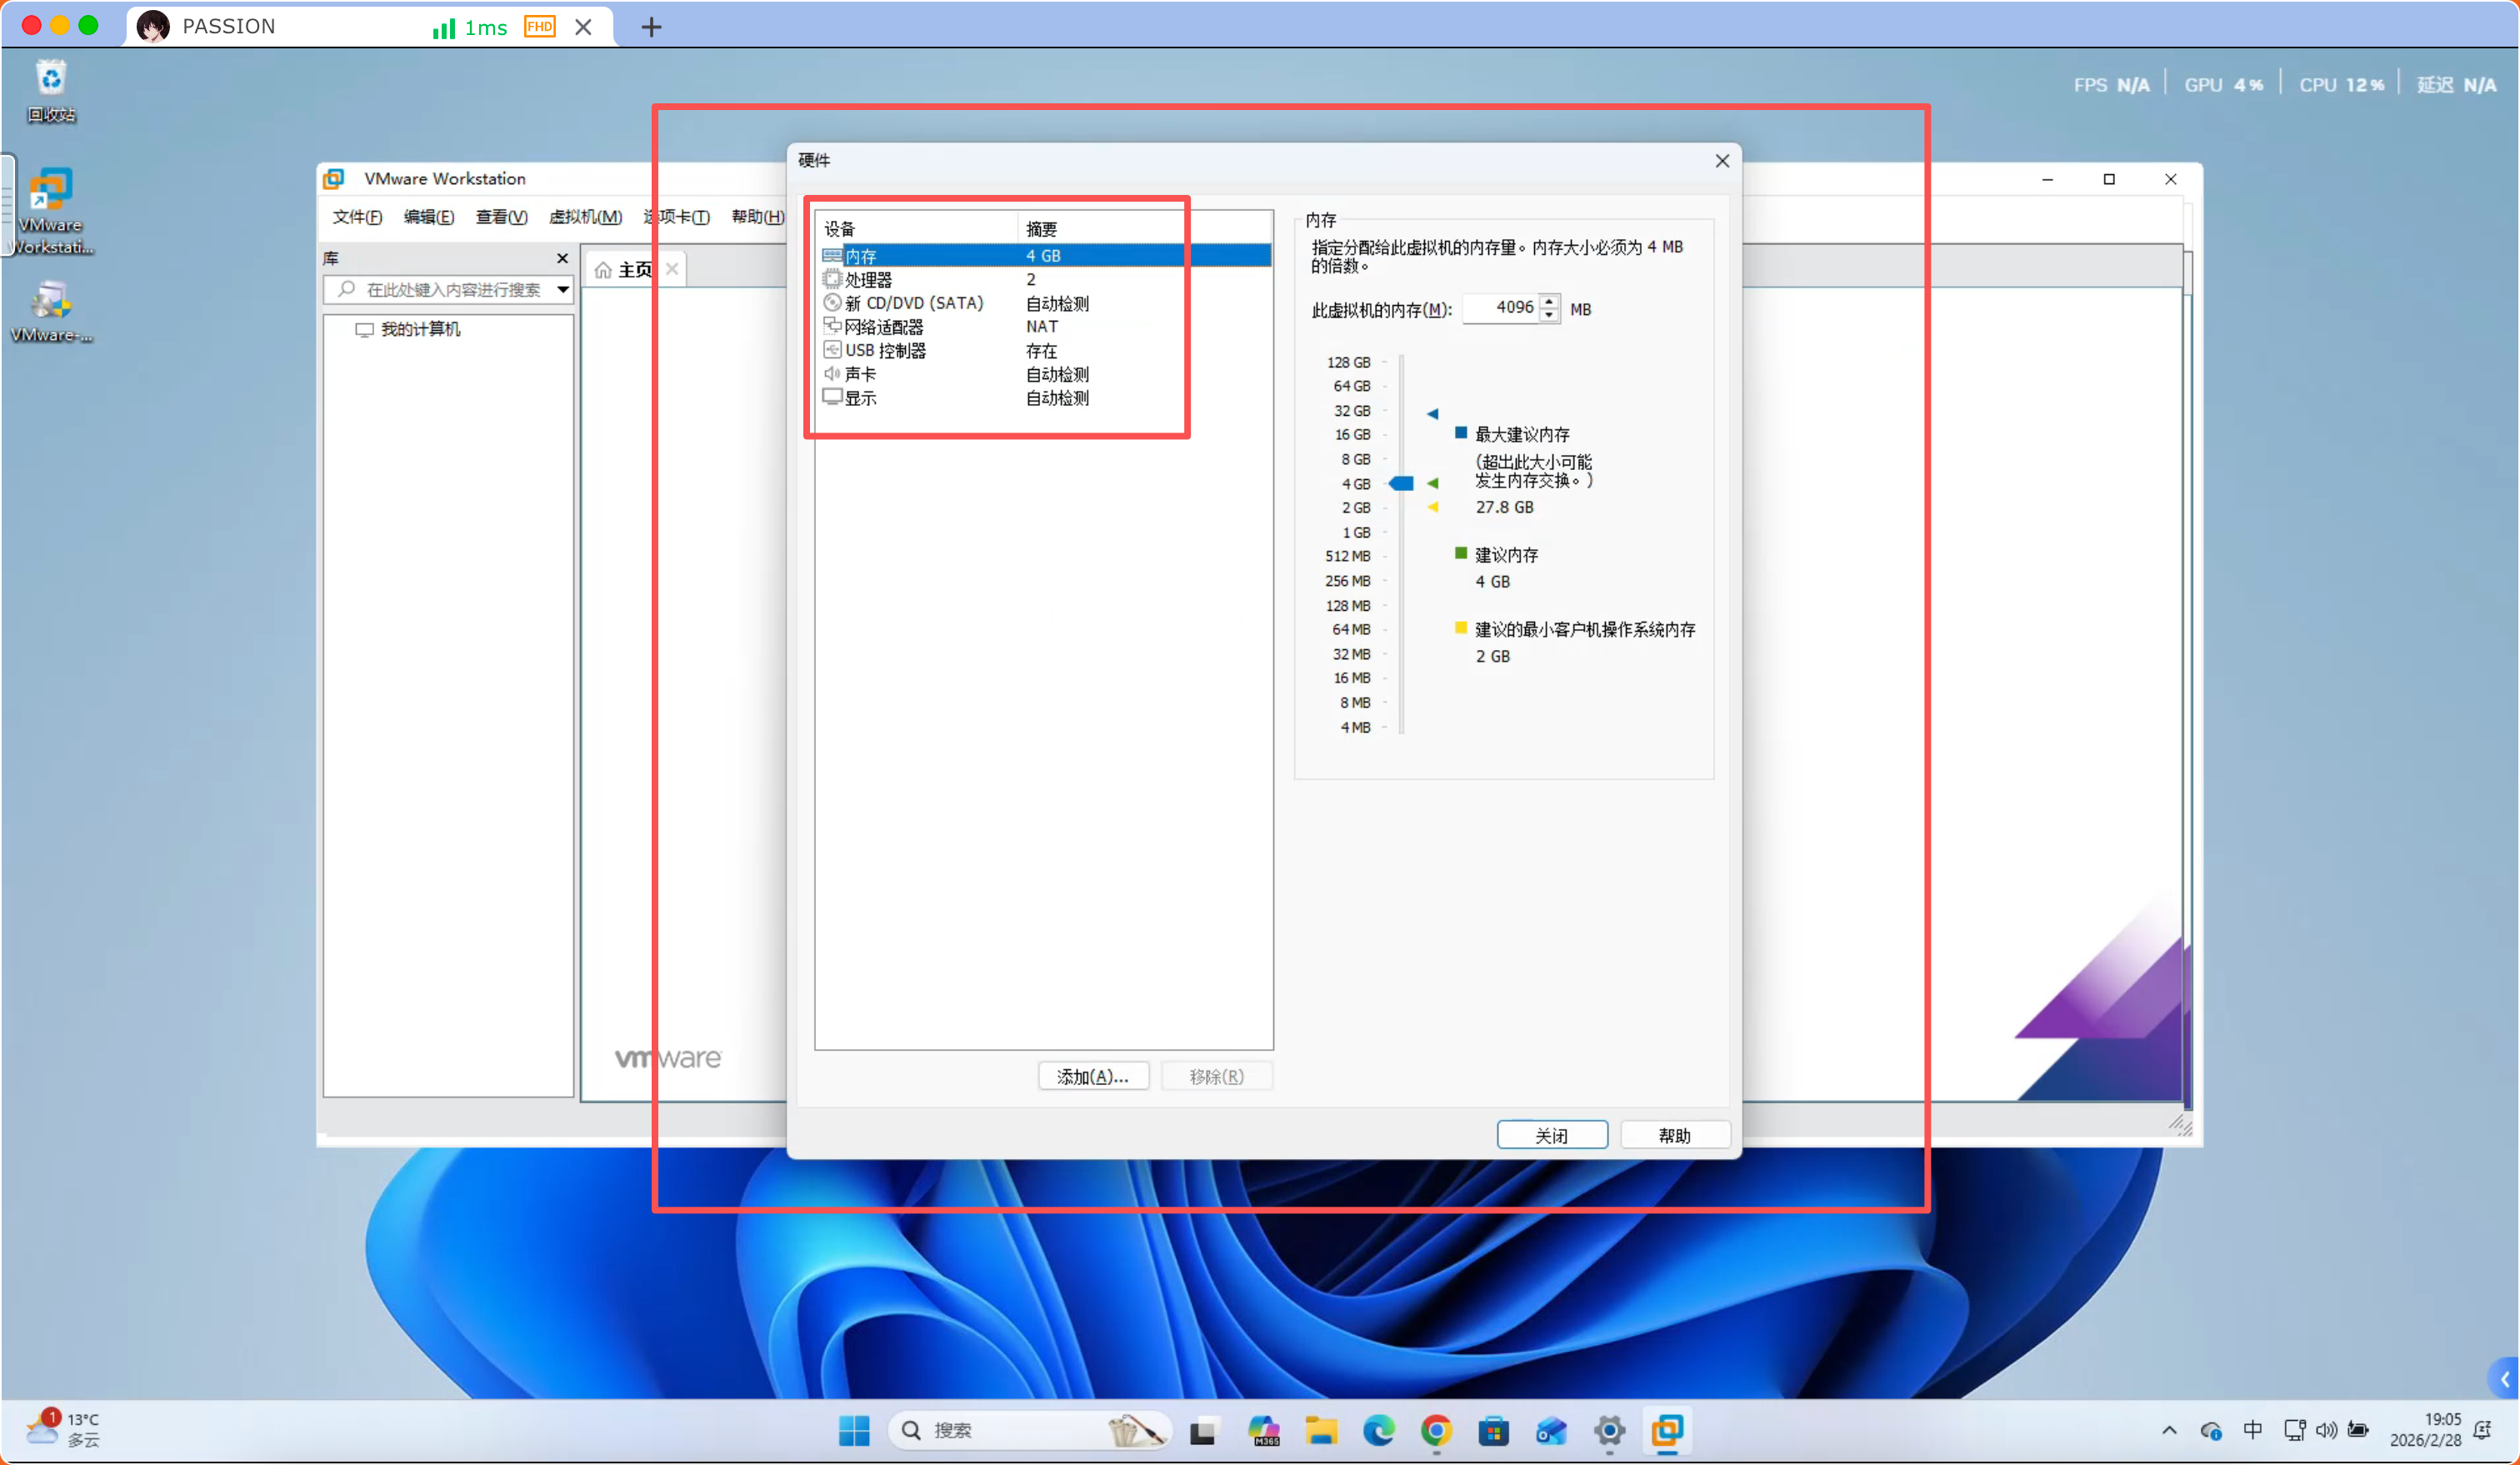
Select “Customize Hardware”

Allocate hardware size:
“Network Adapter”, “USB Controller”, “Sound Card”, “Display” all remain unchanged
Memory: Allocate appropriate “Memory”
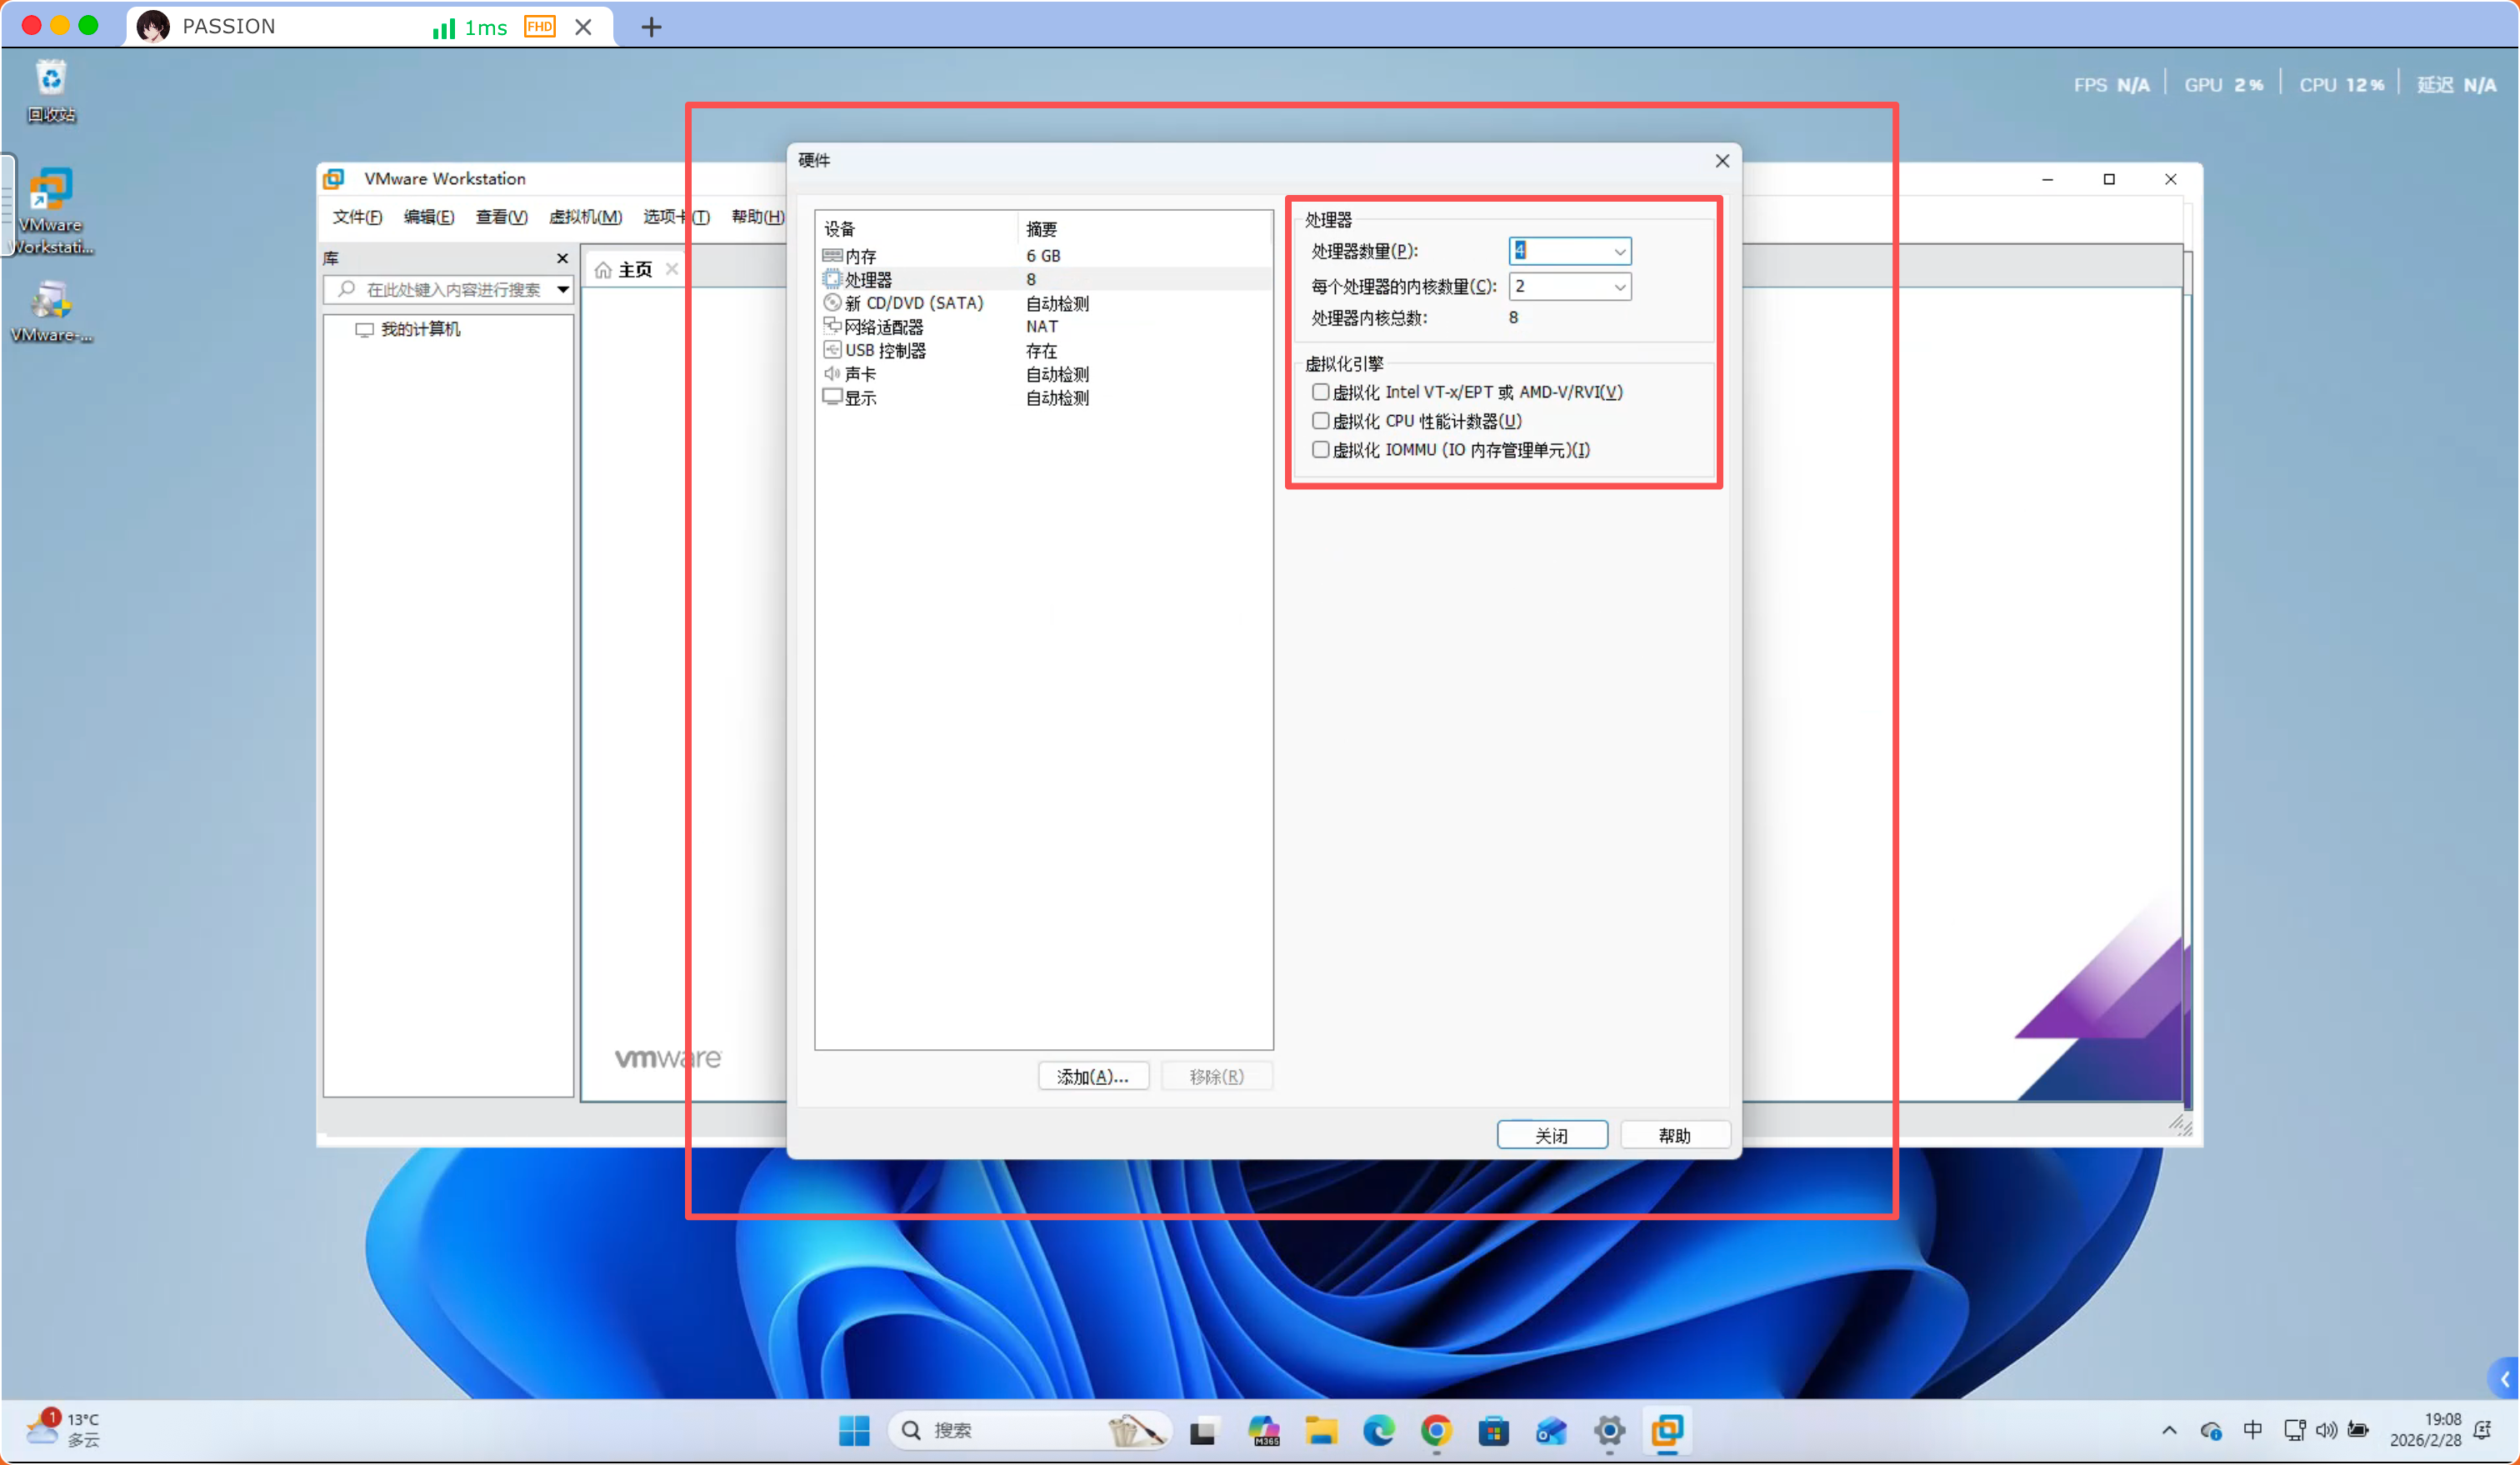
Processor: Allocate appropriate “Processor”
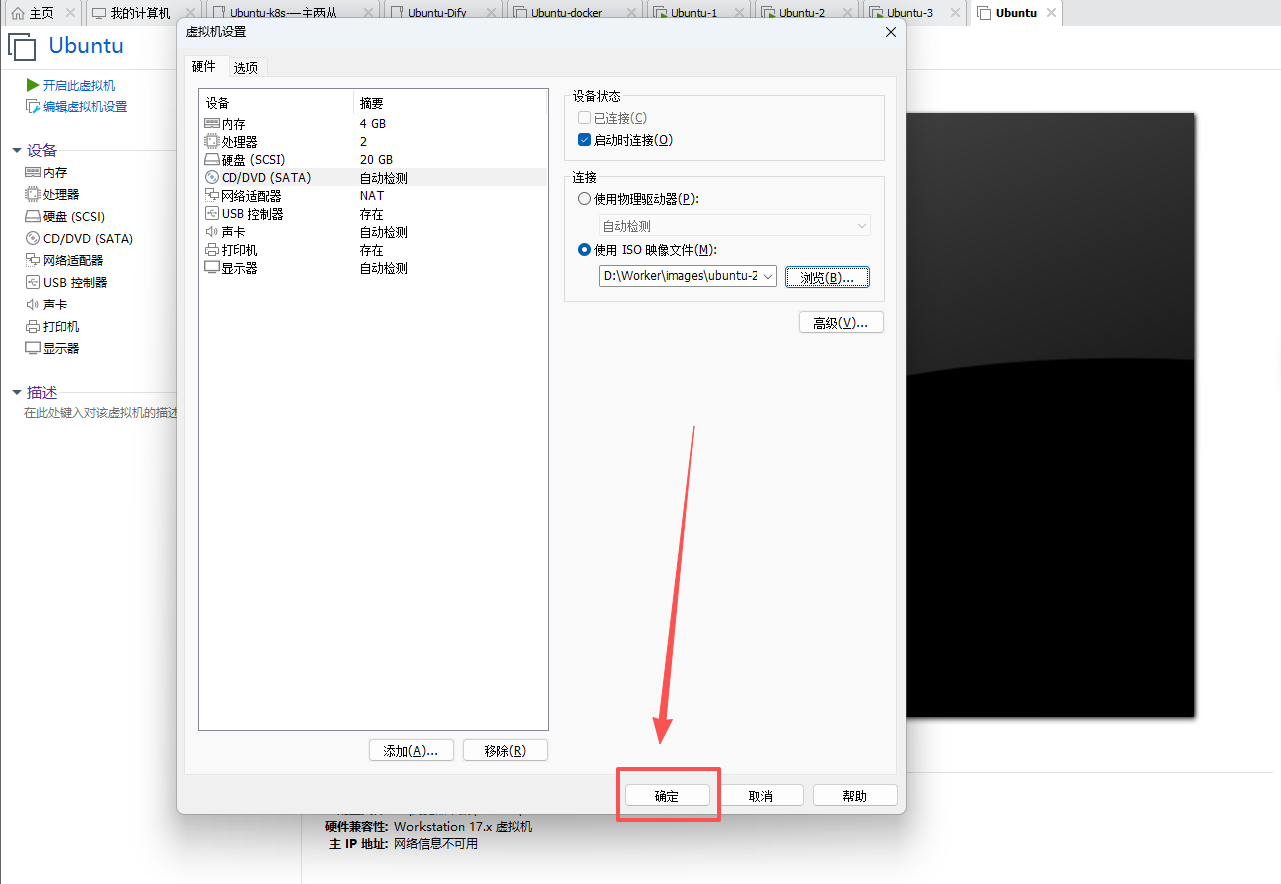
Select “CD/DVD” --- > Select “Use ISO image file”
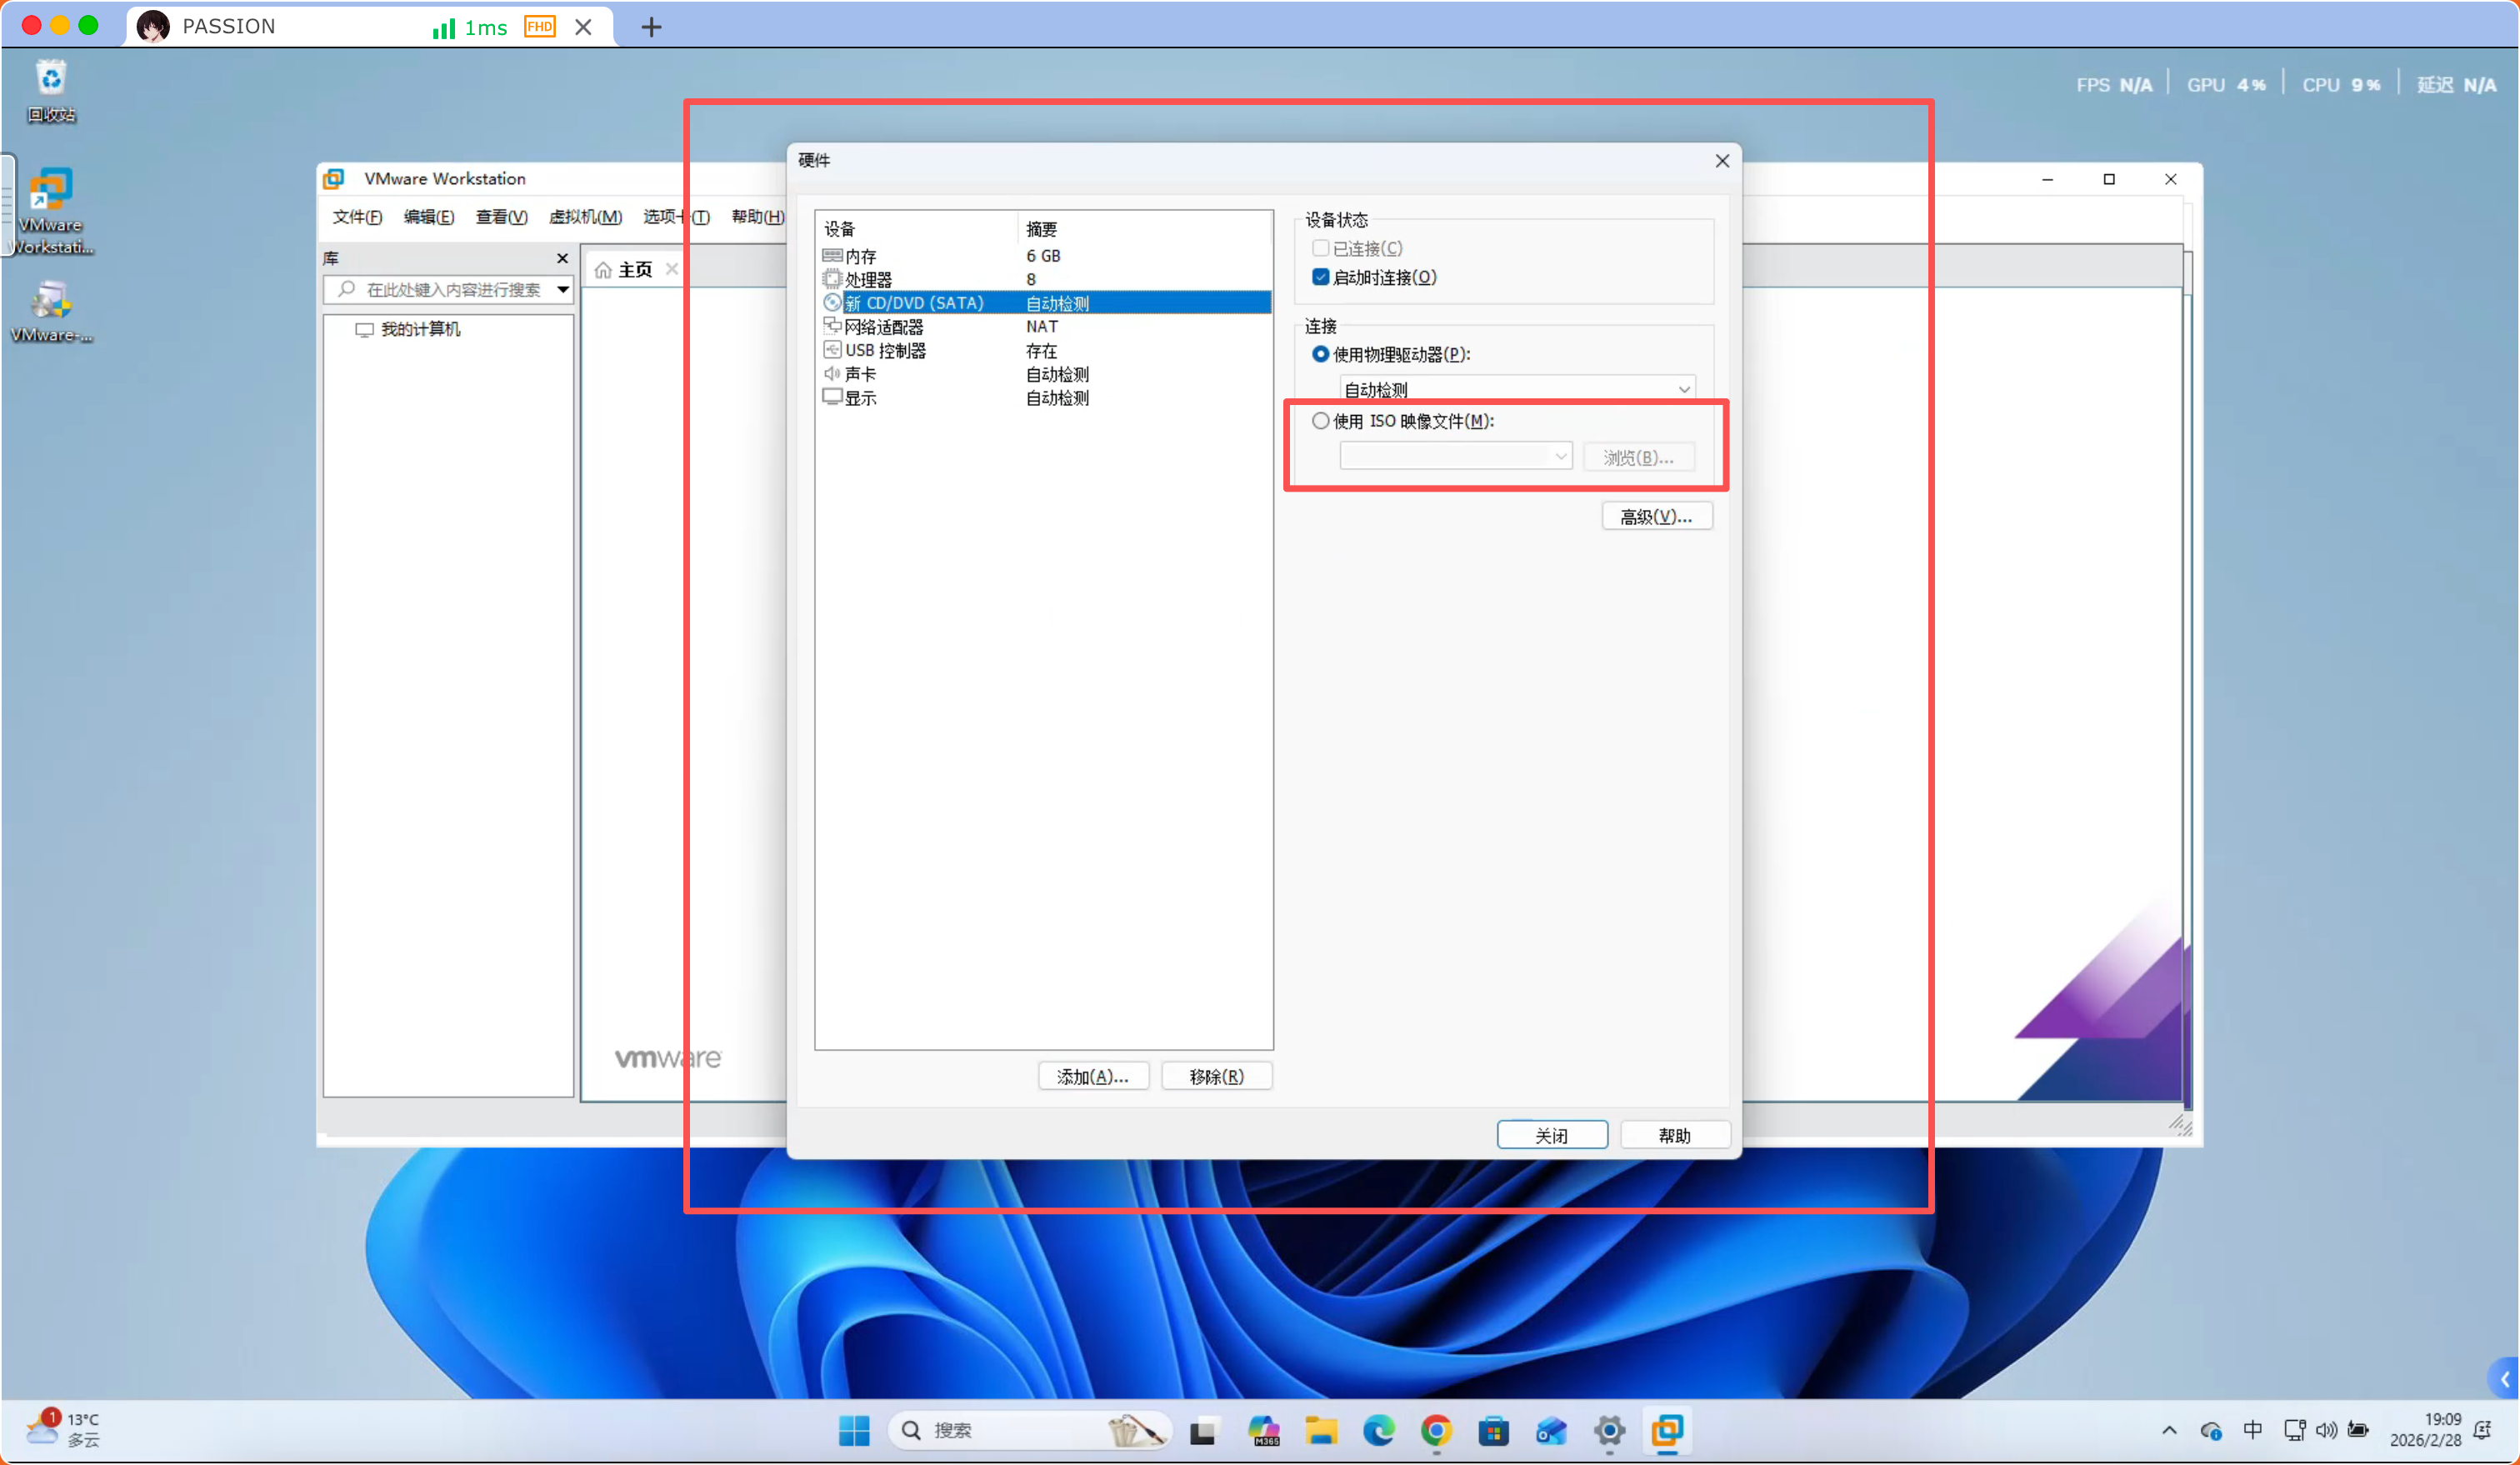
Click “Browse” to find the “Ubuntu24.04—AMD” image we downloaded

Find our “System Image” —> Click “Open”
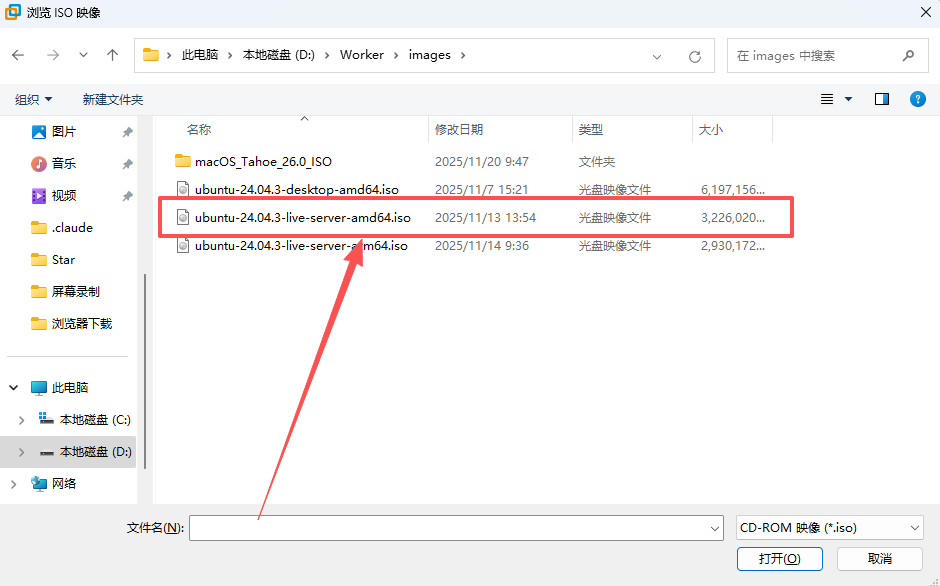
Click “OK”
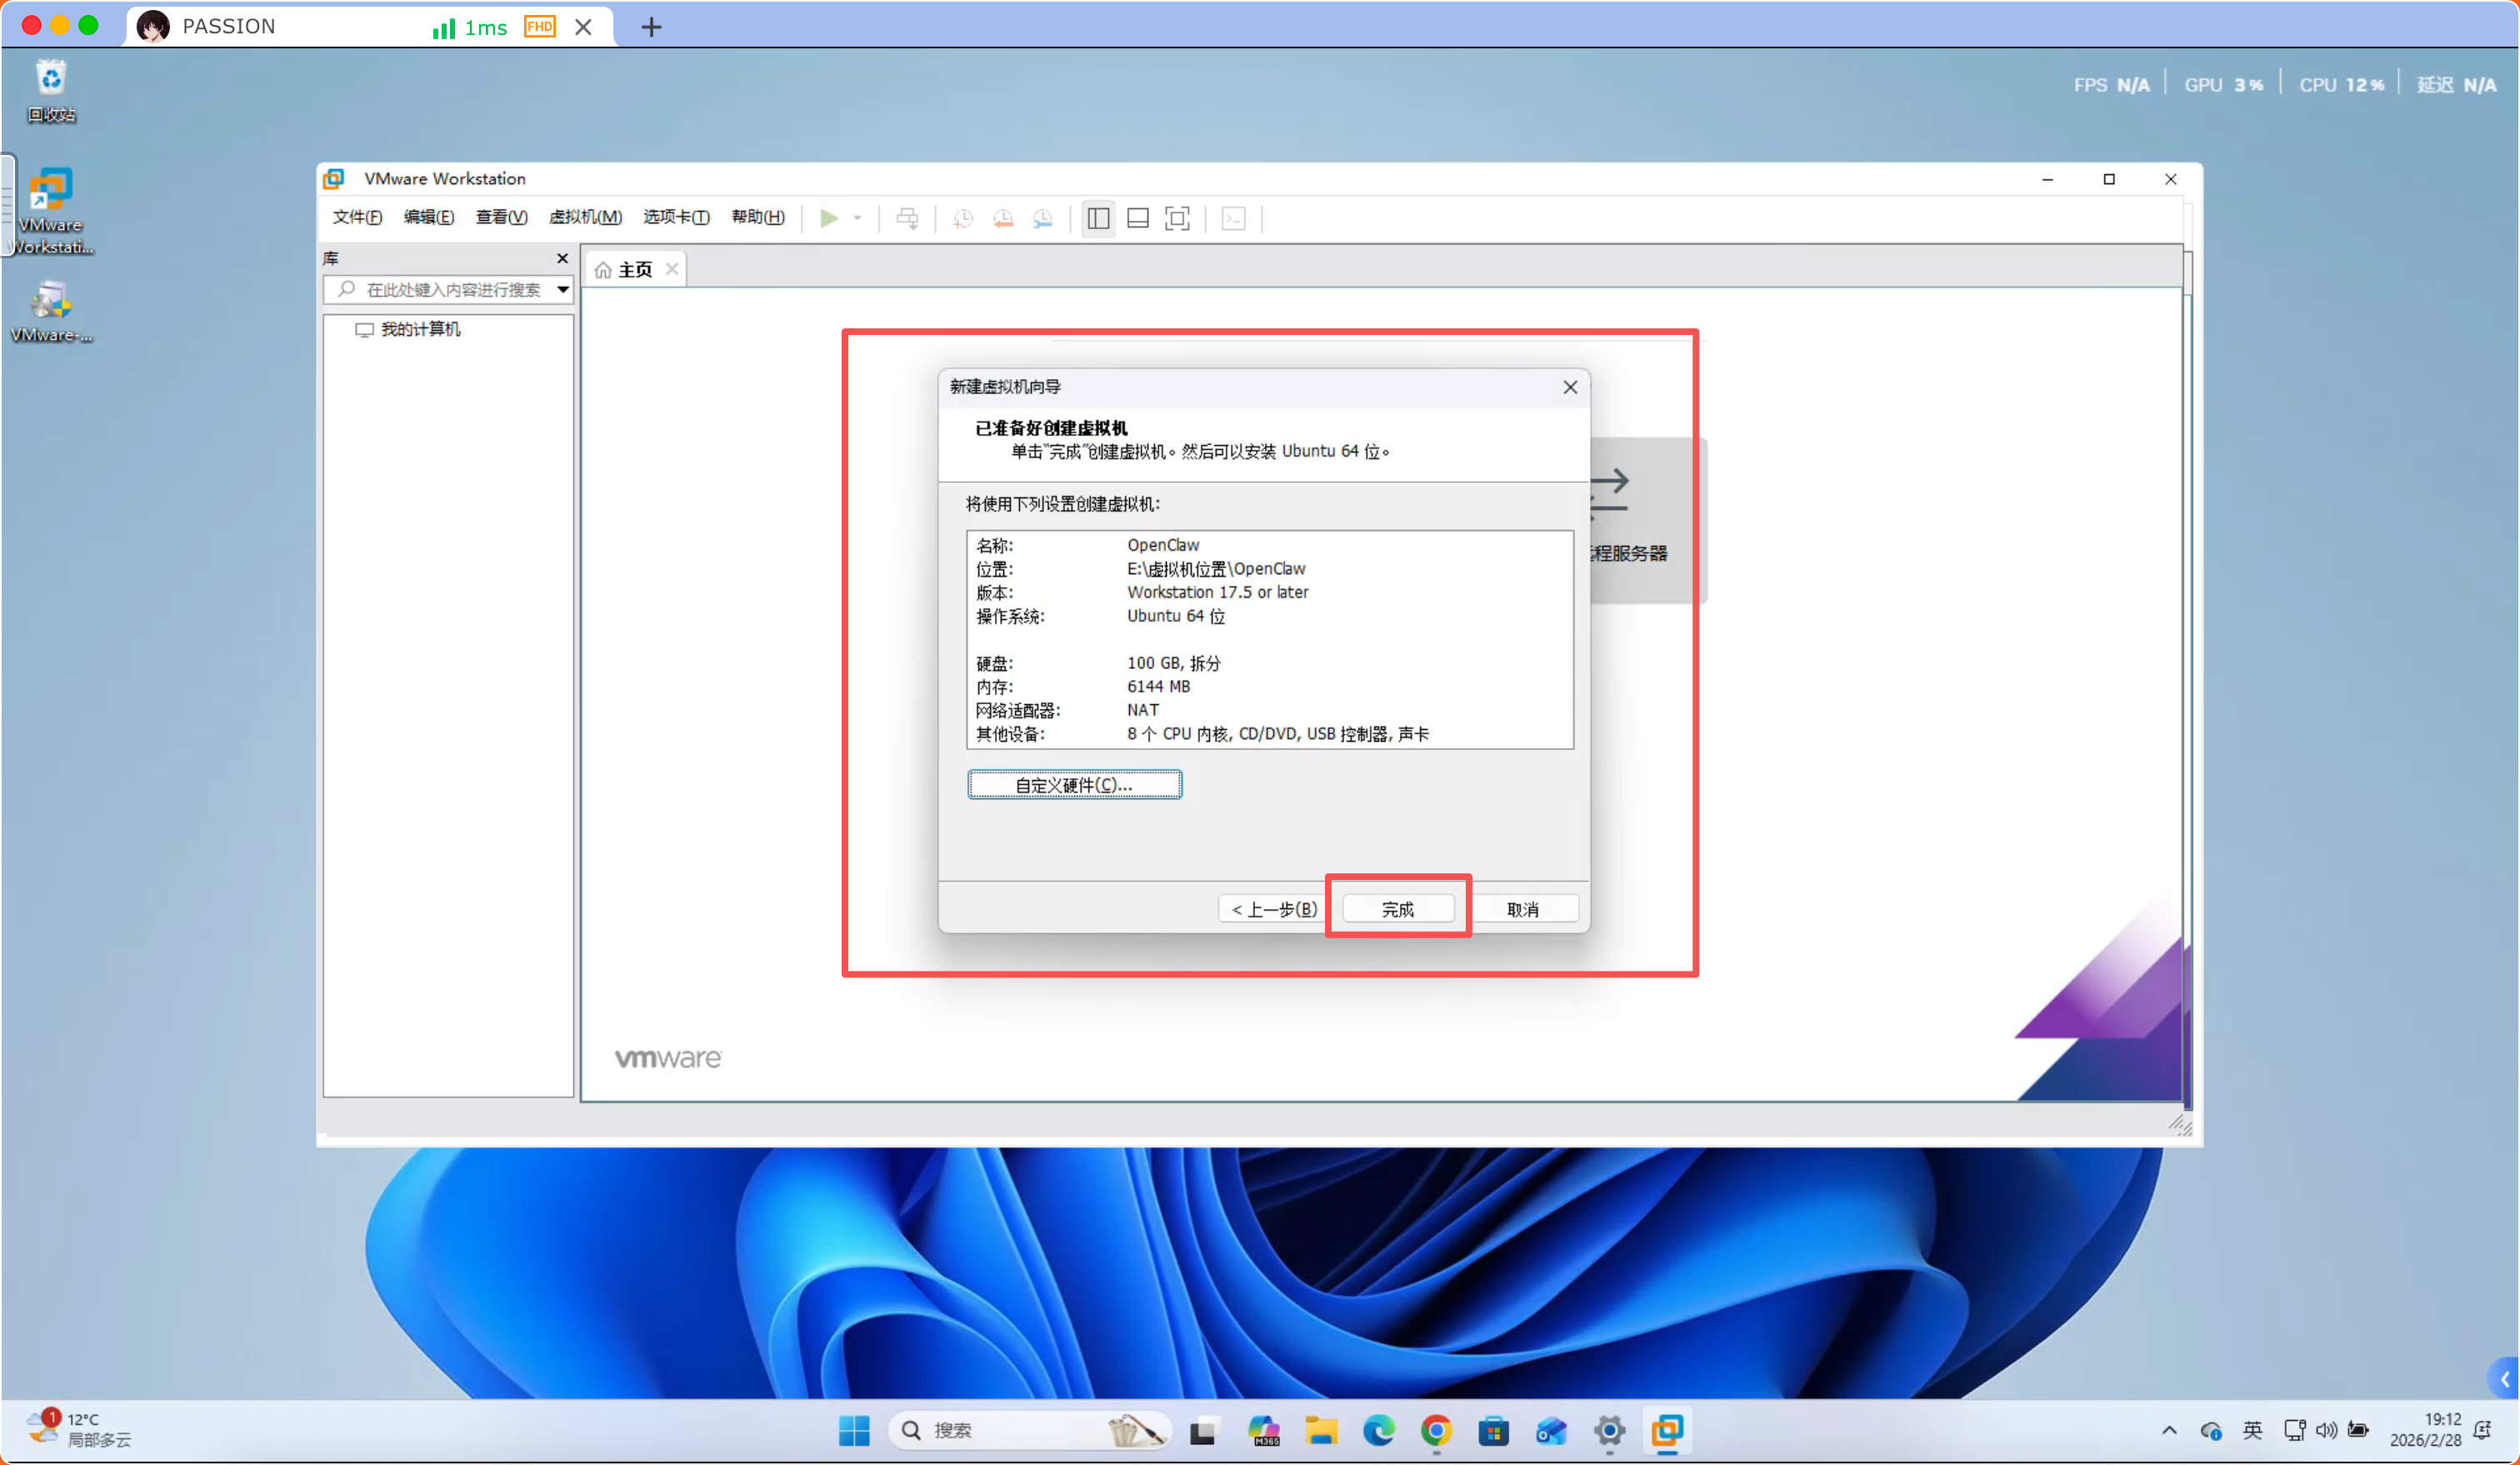
Step 8
Click “Finish”
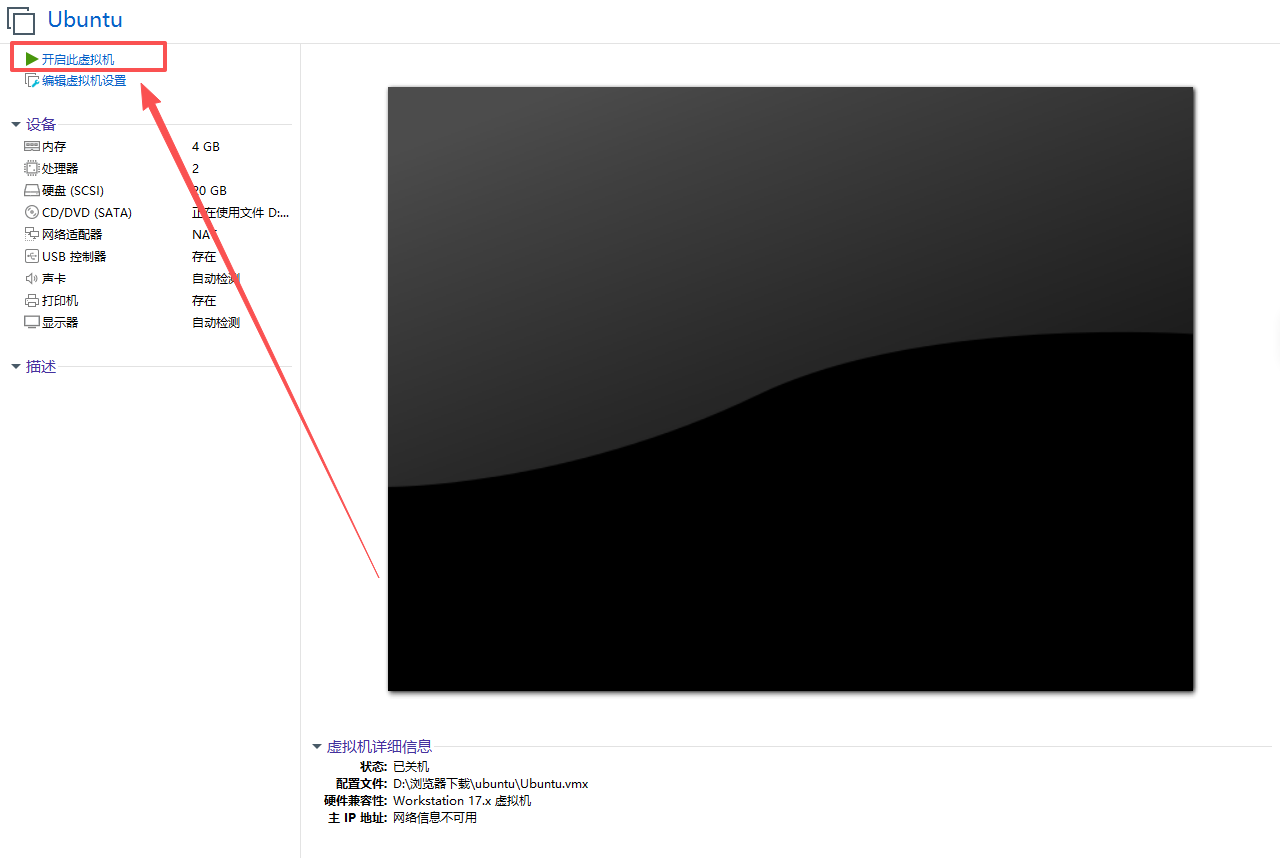
Step 9
Click “Power on this virtual machine”
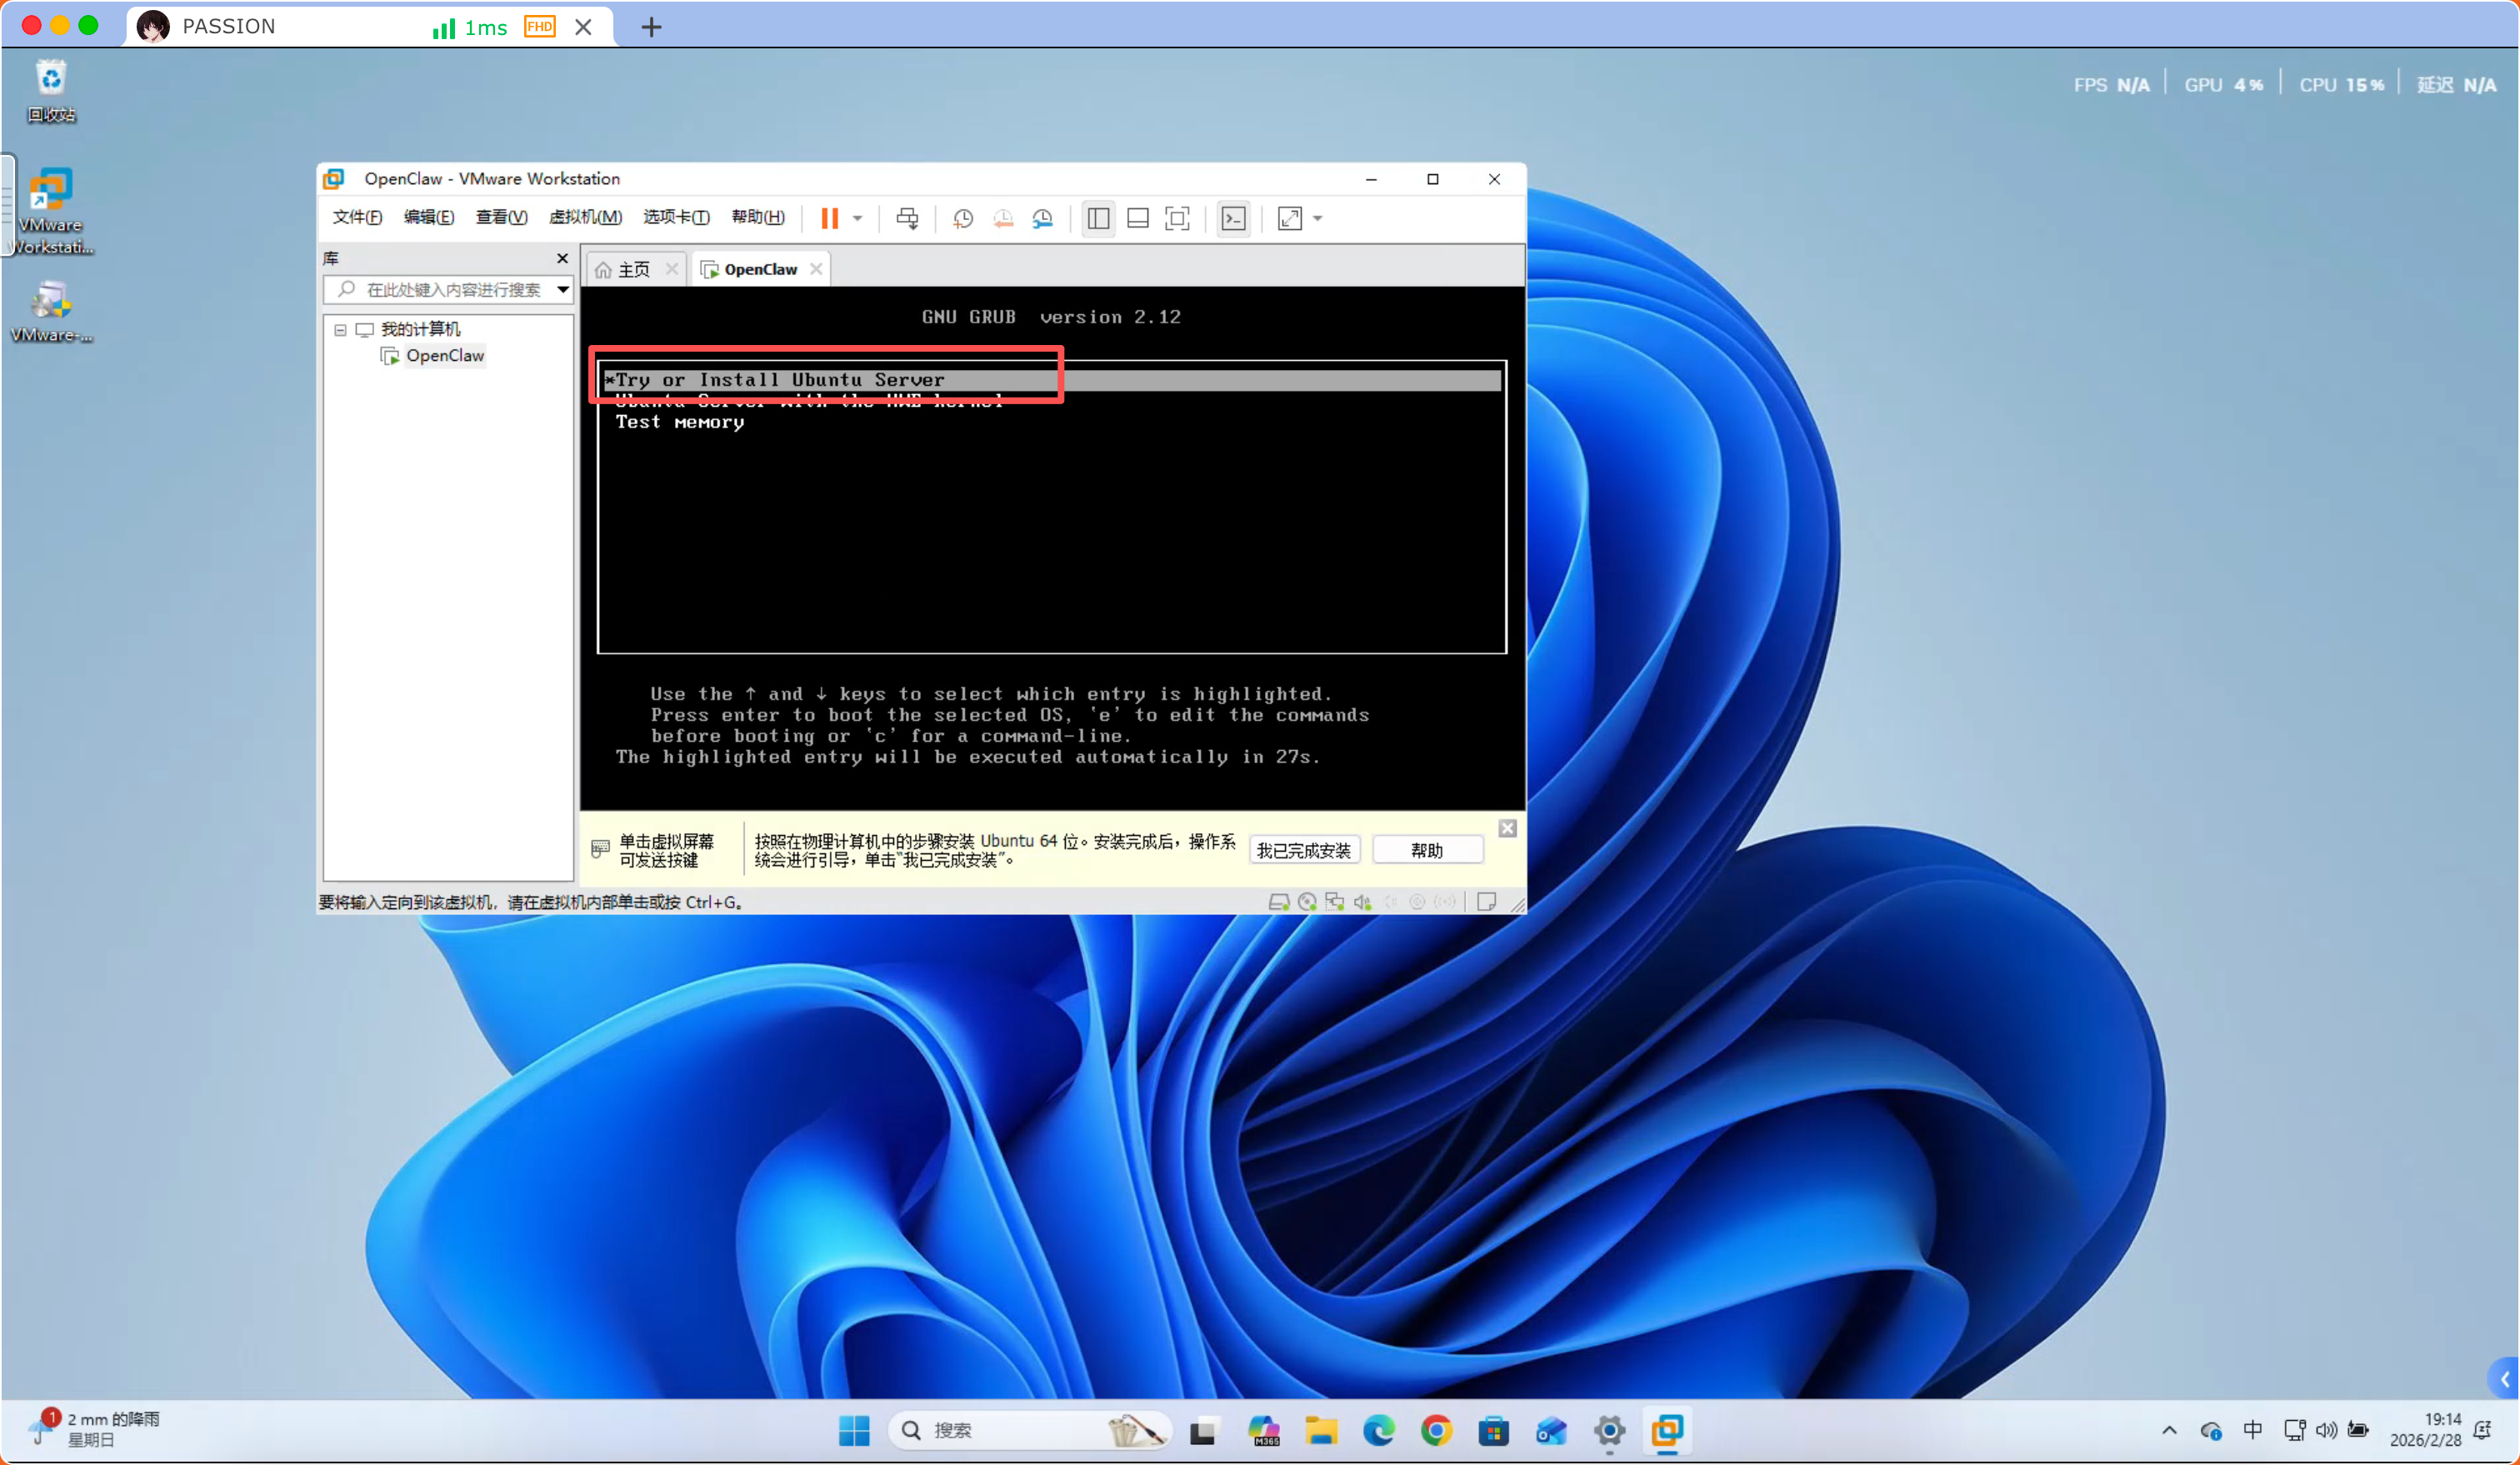
Wait to start —> Select “Try or Install Ubuntu Server”
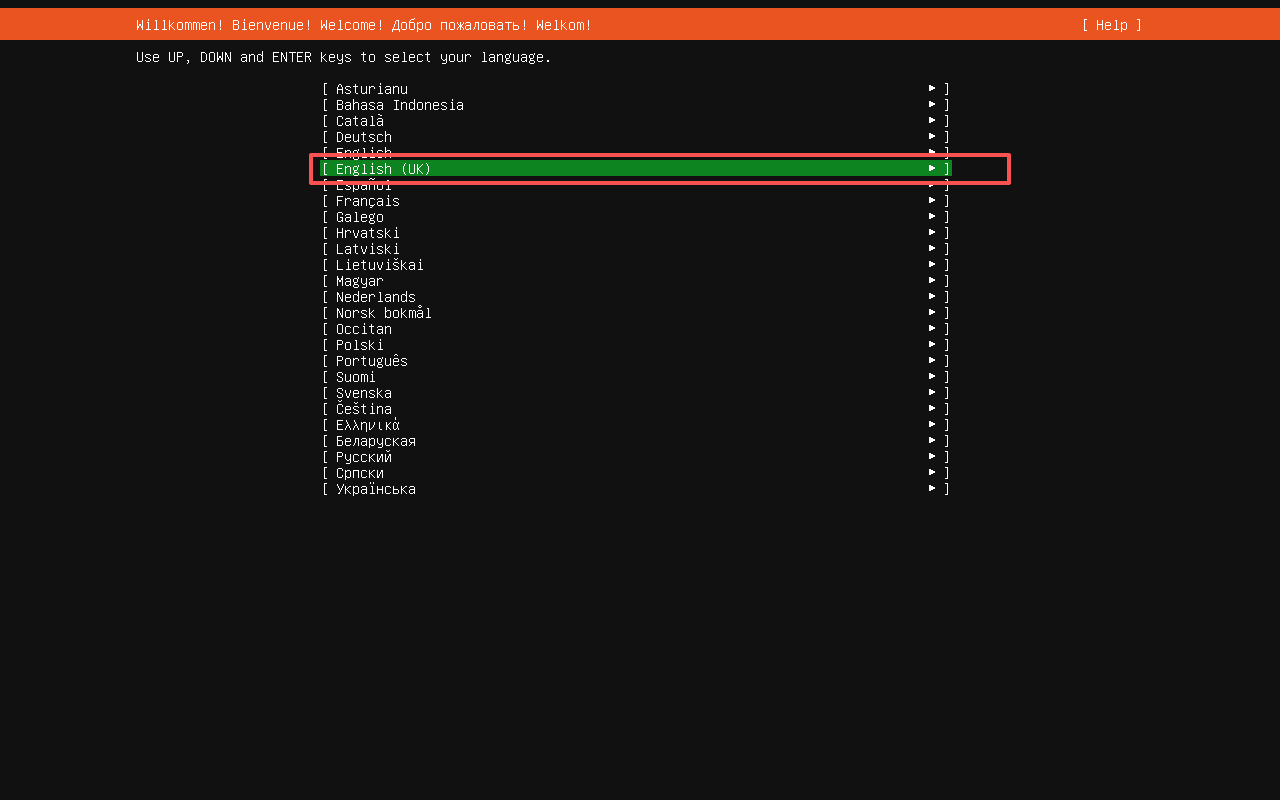
Select “English” and press Enter
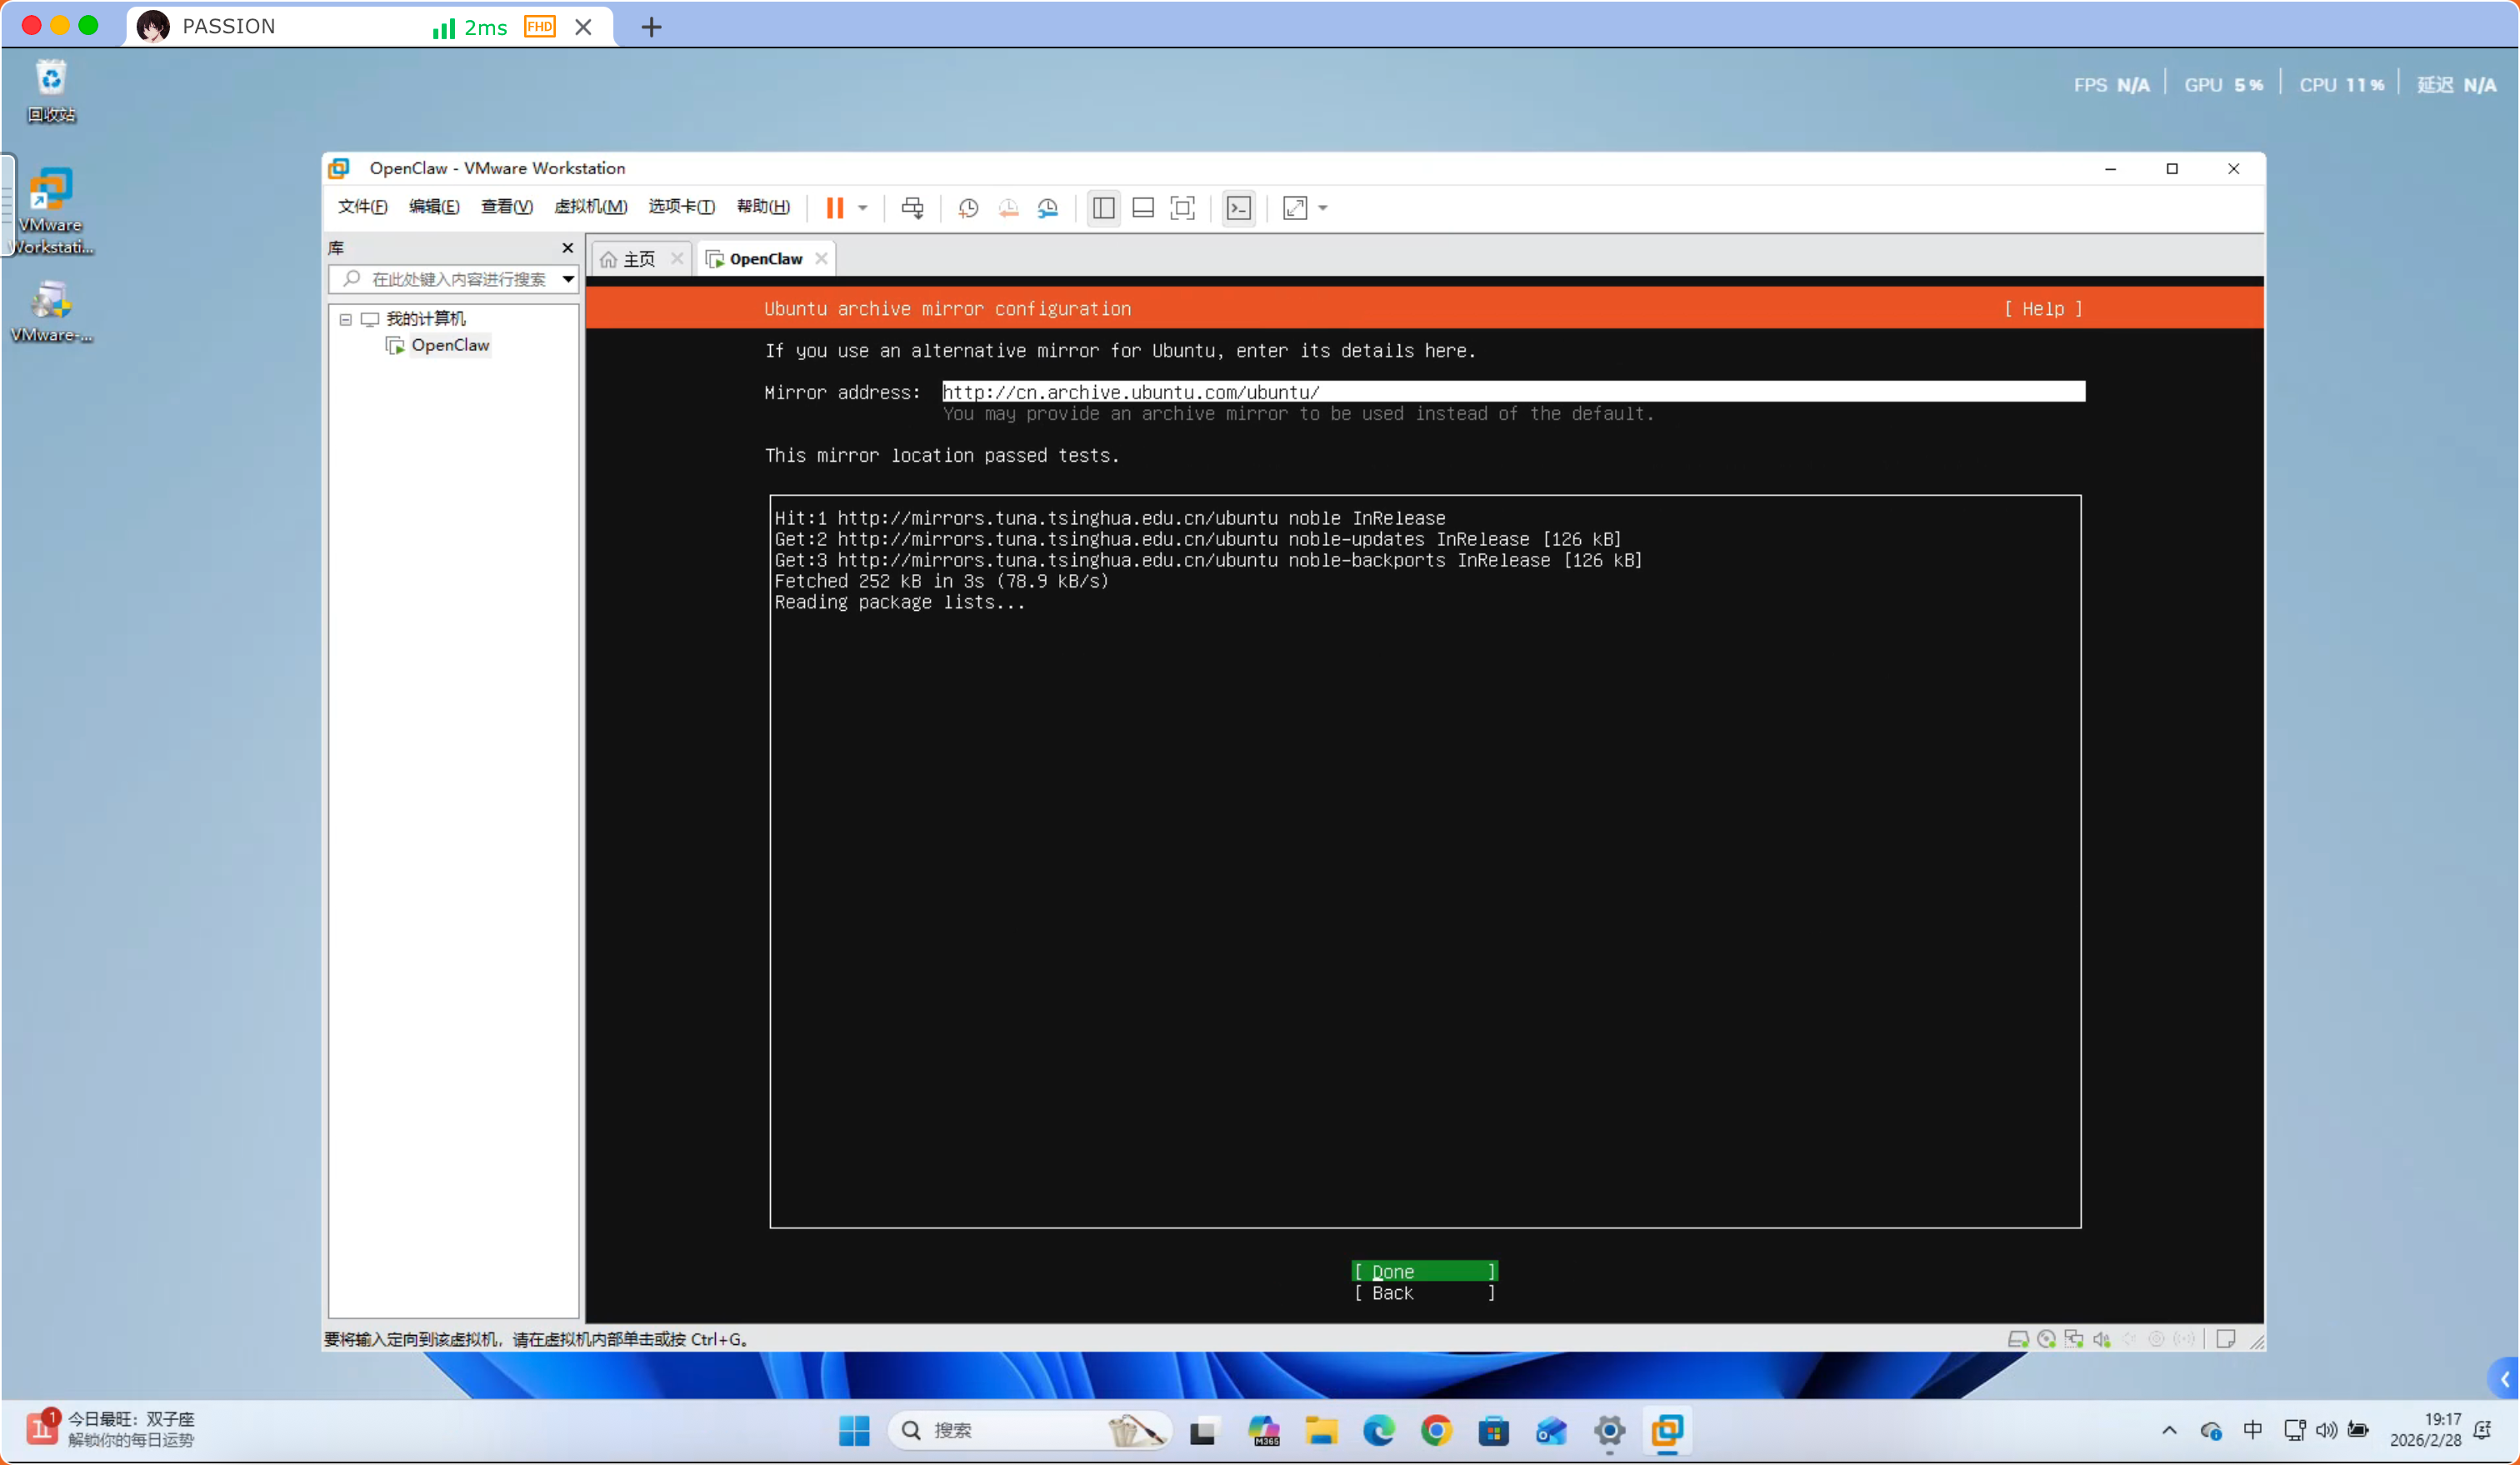
Select “Done” below and press Enter
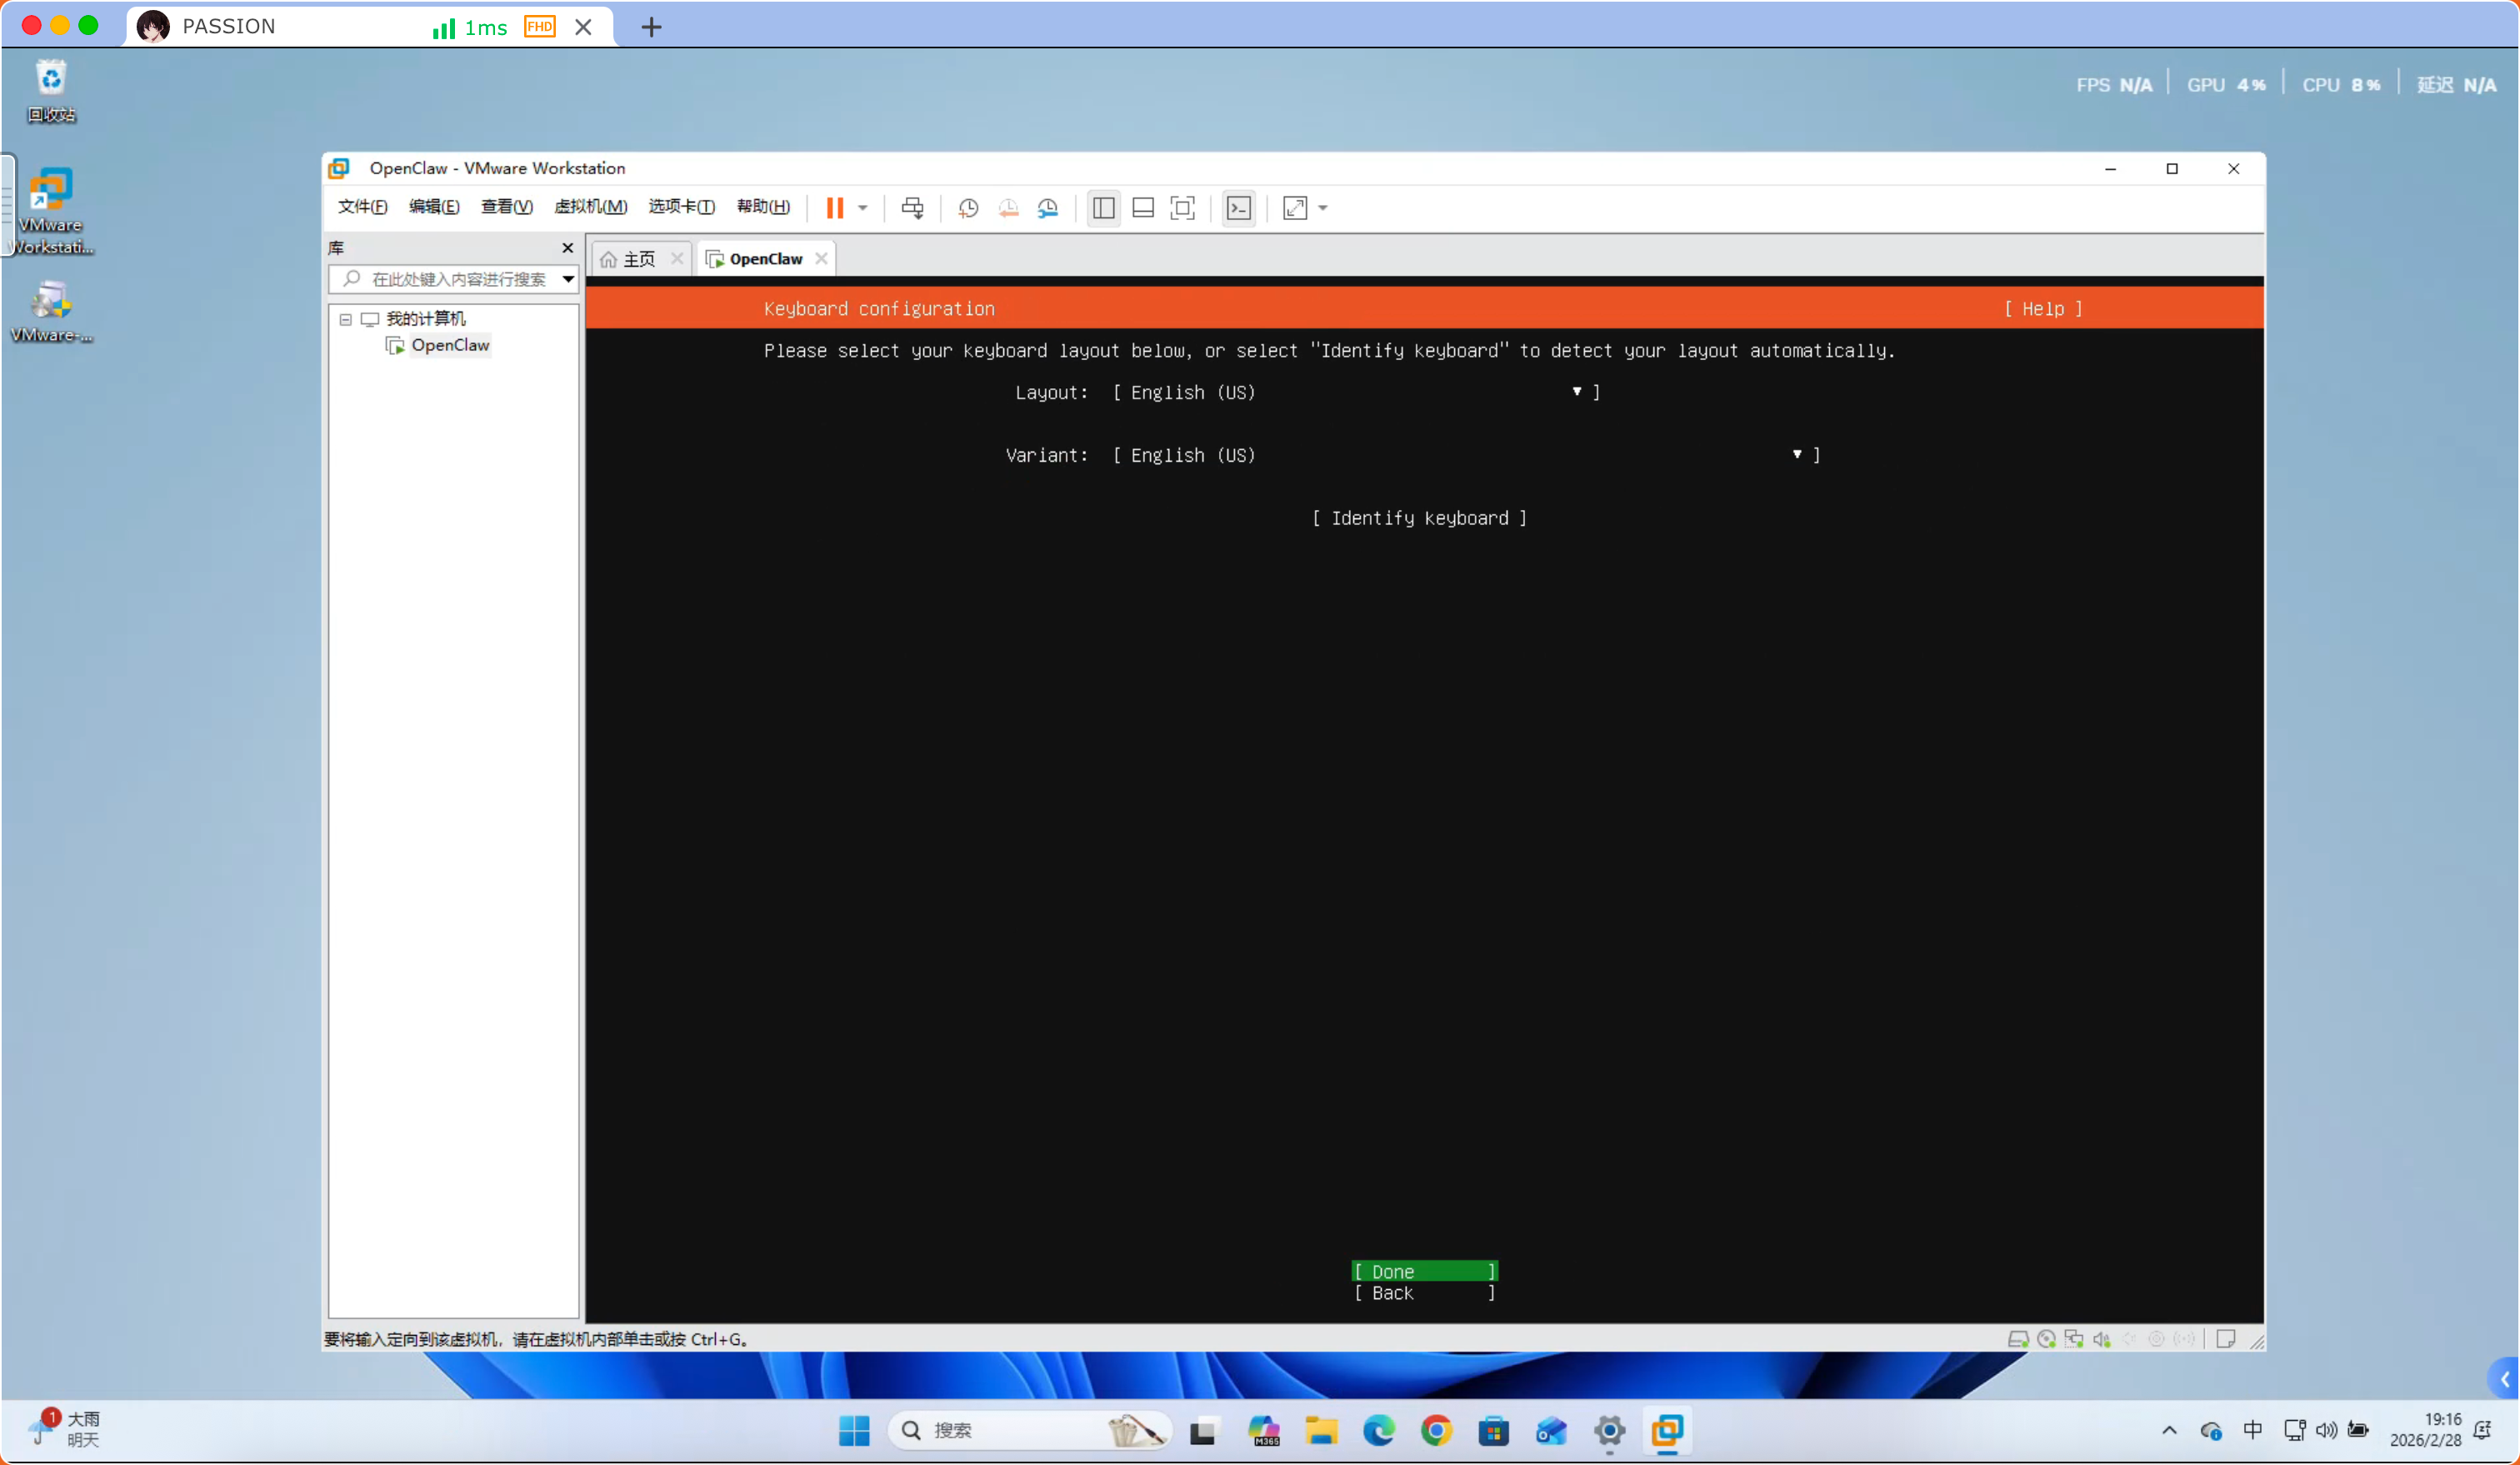
Select “Done” below and press Enter

Select “Done” below and press Enter
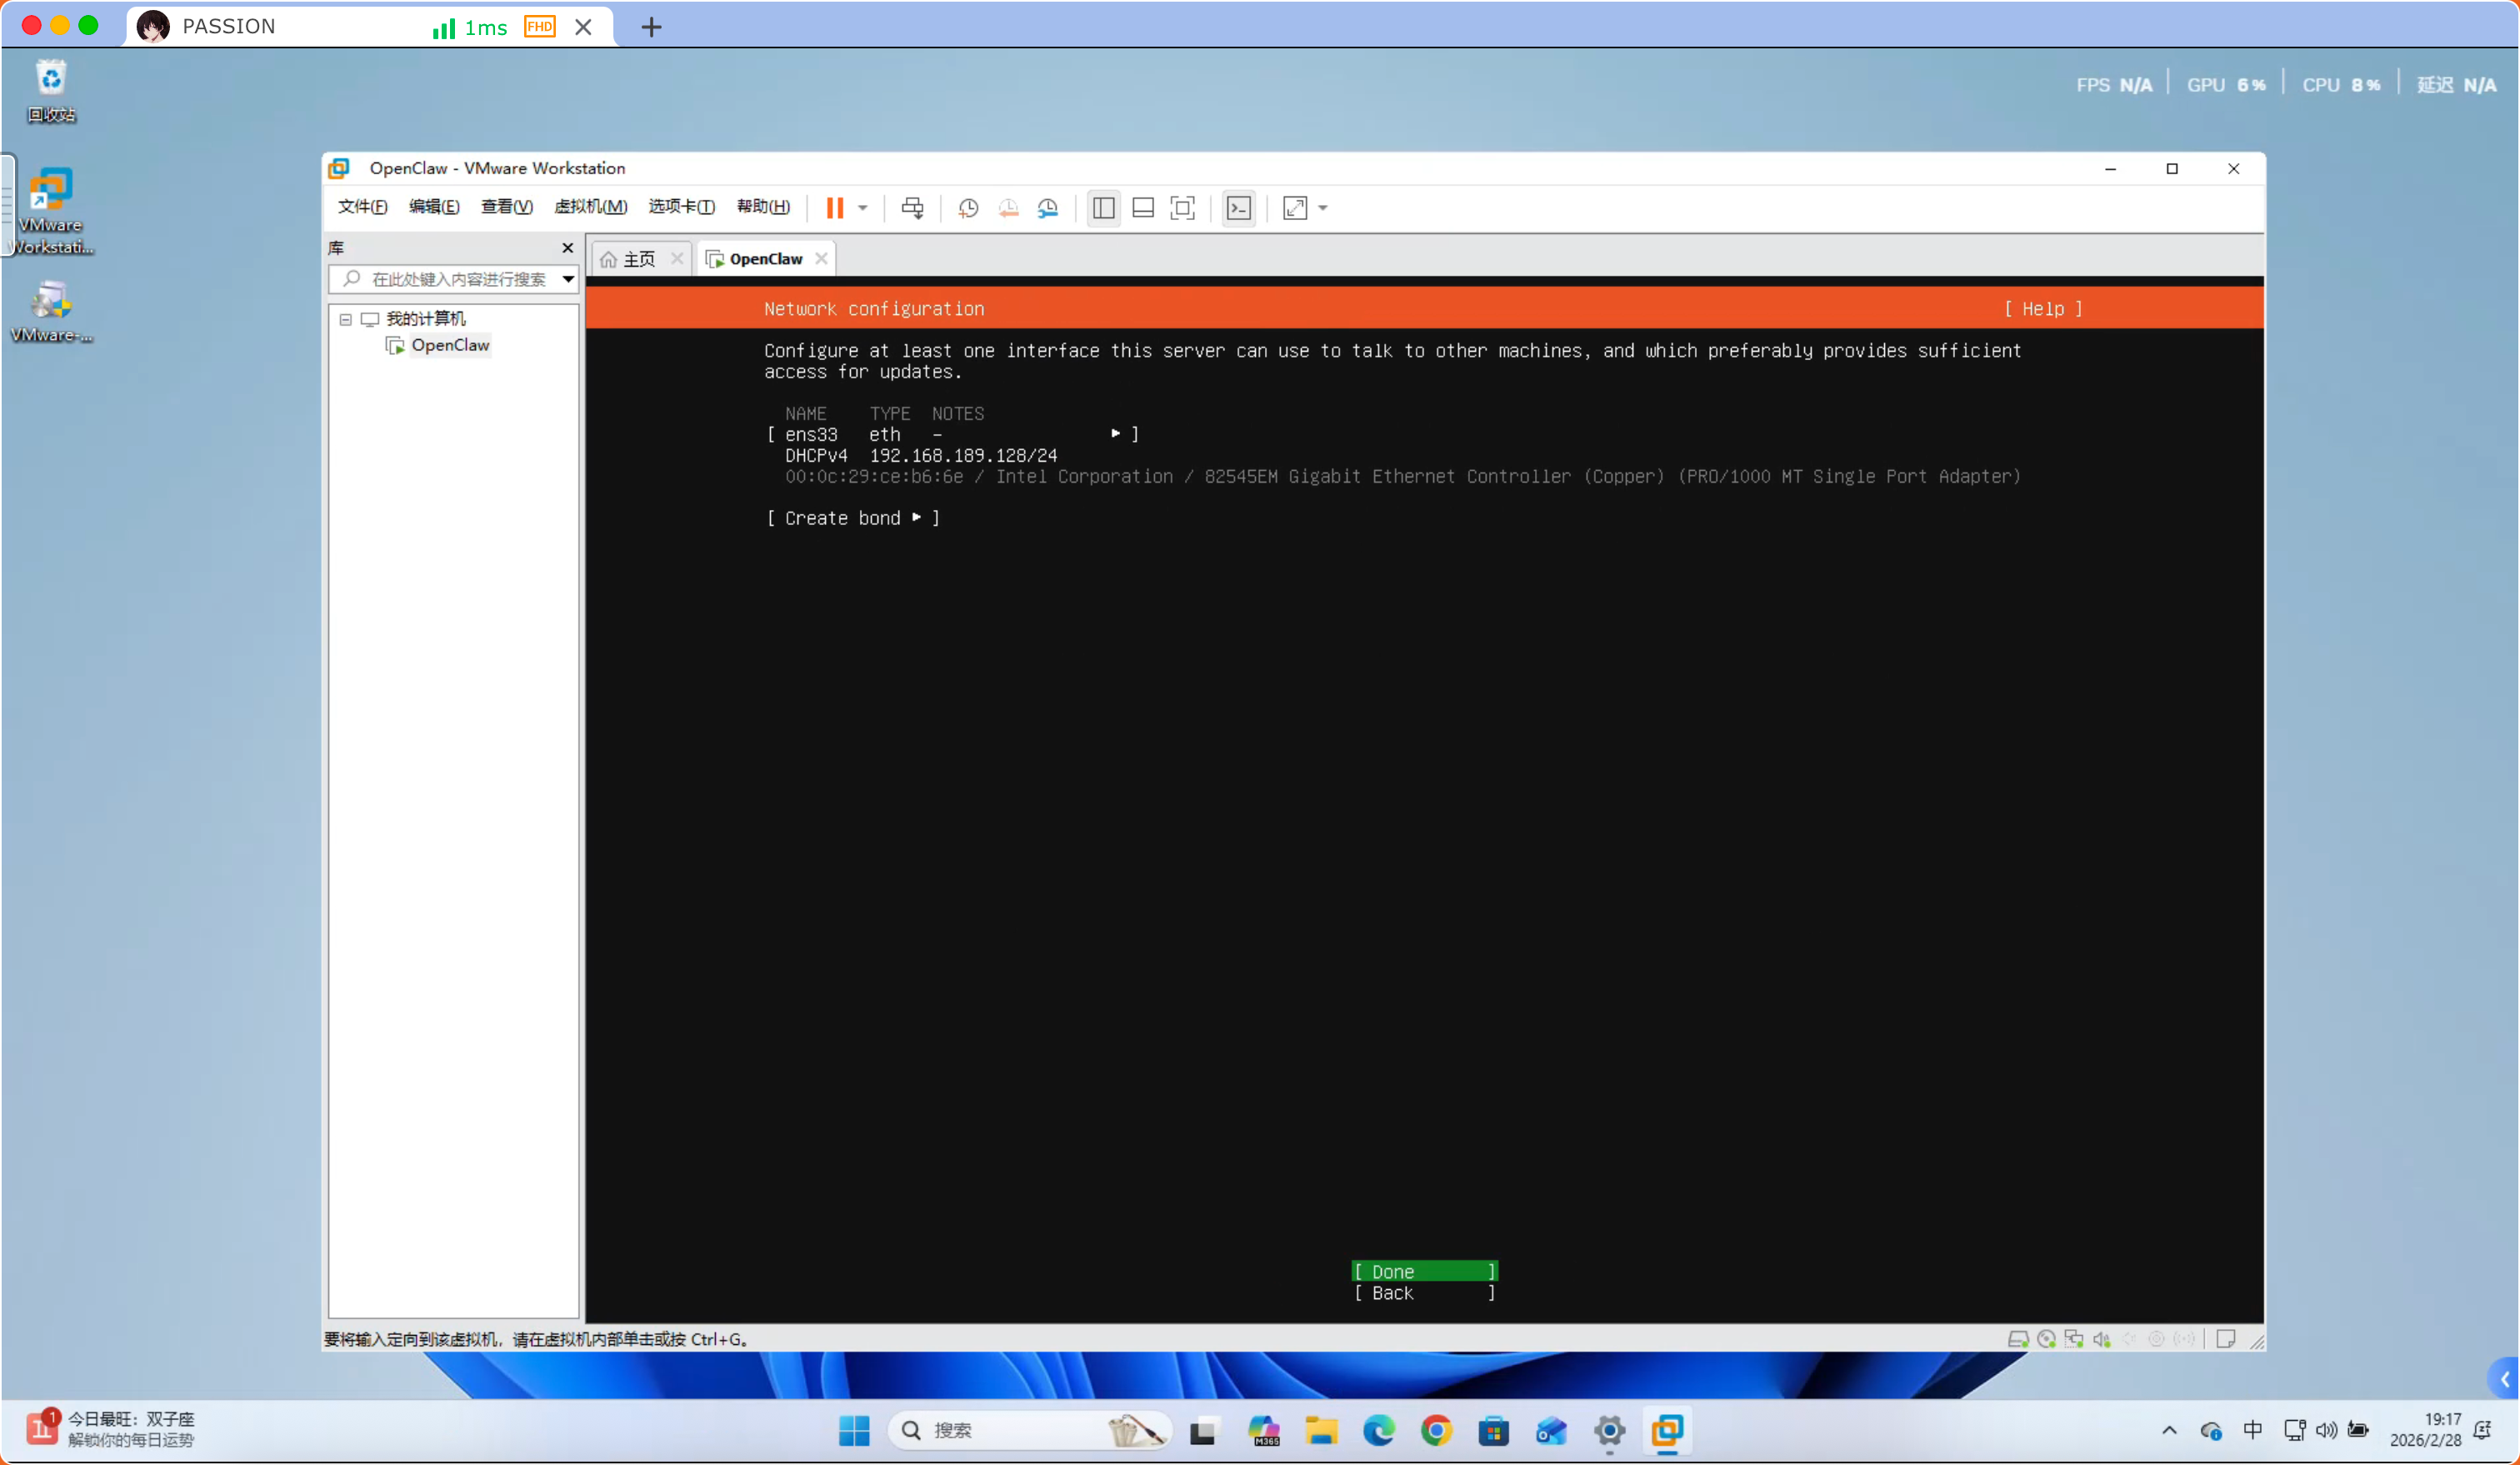
Select “Done” below and press Enter
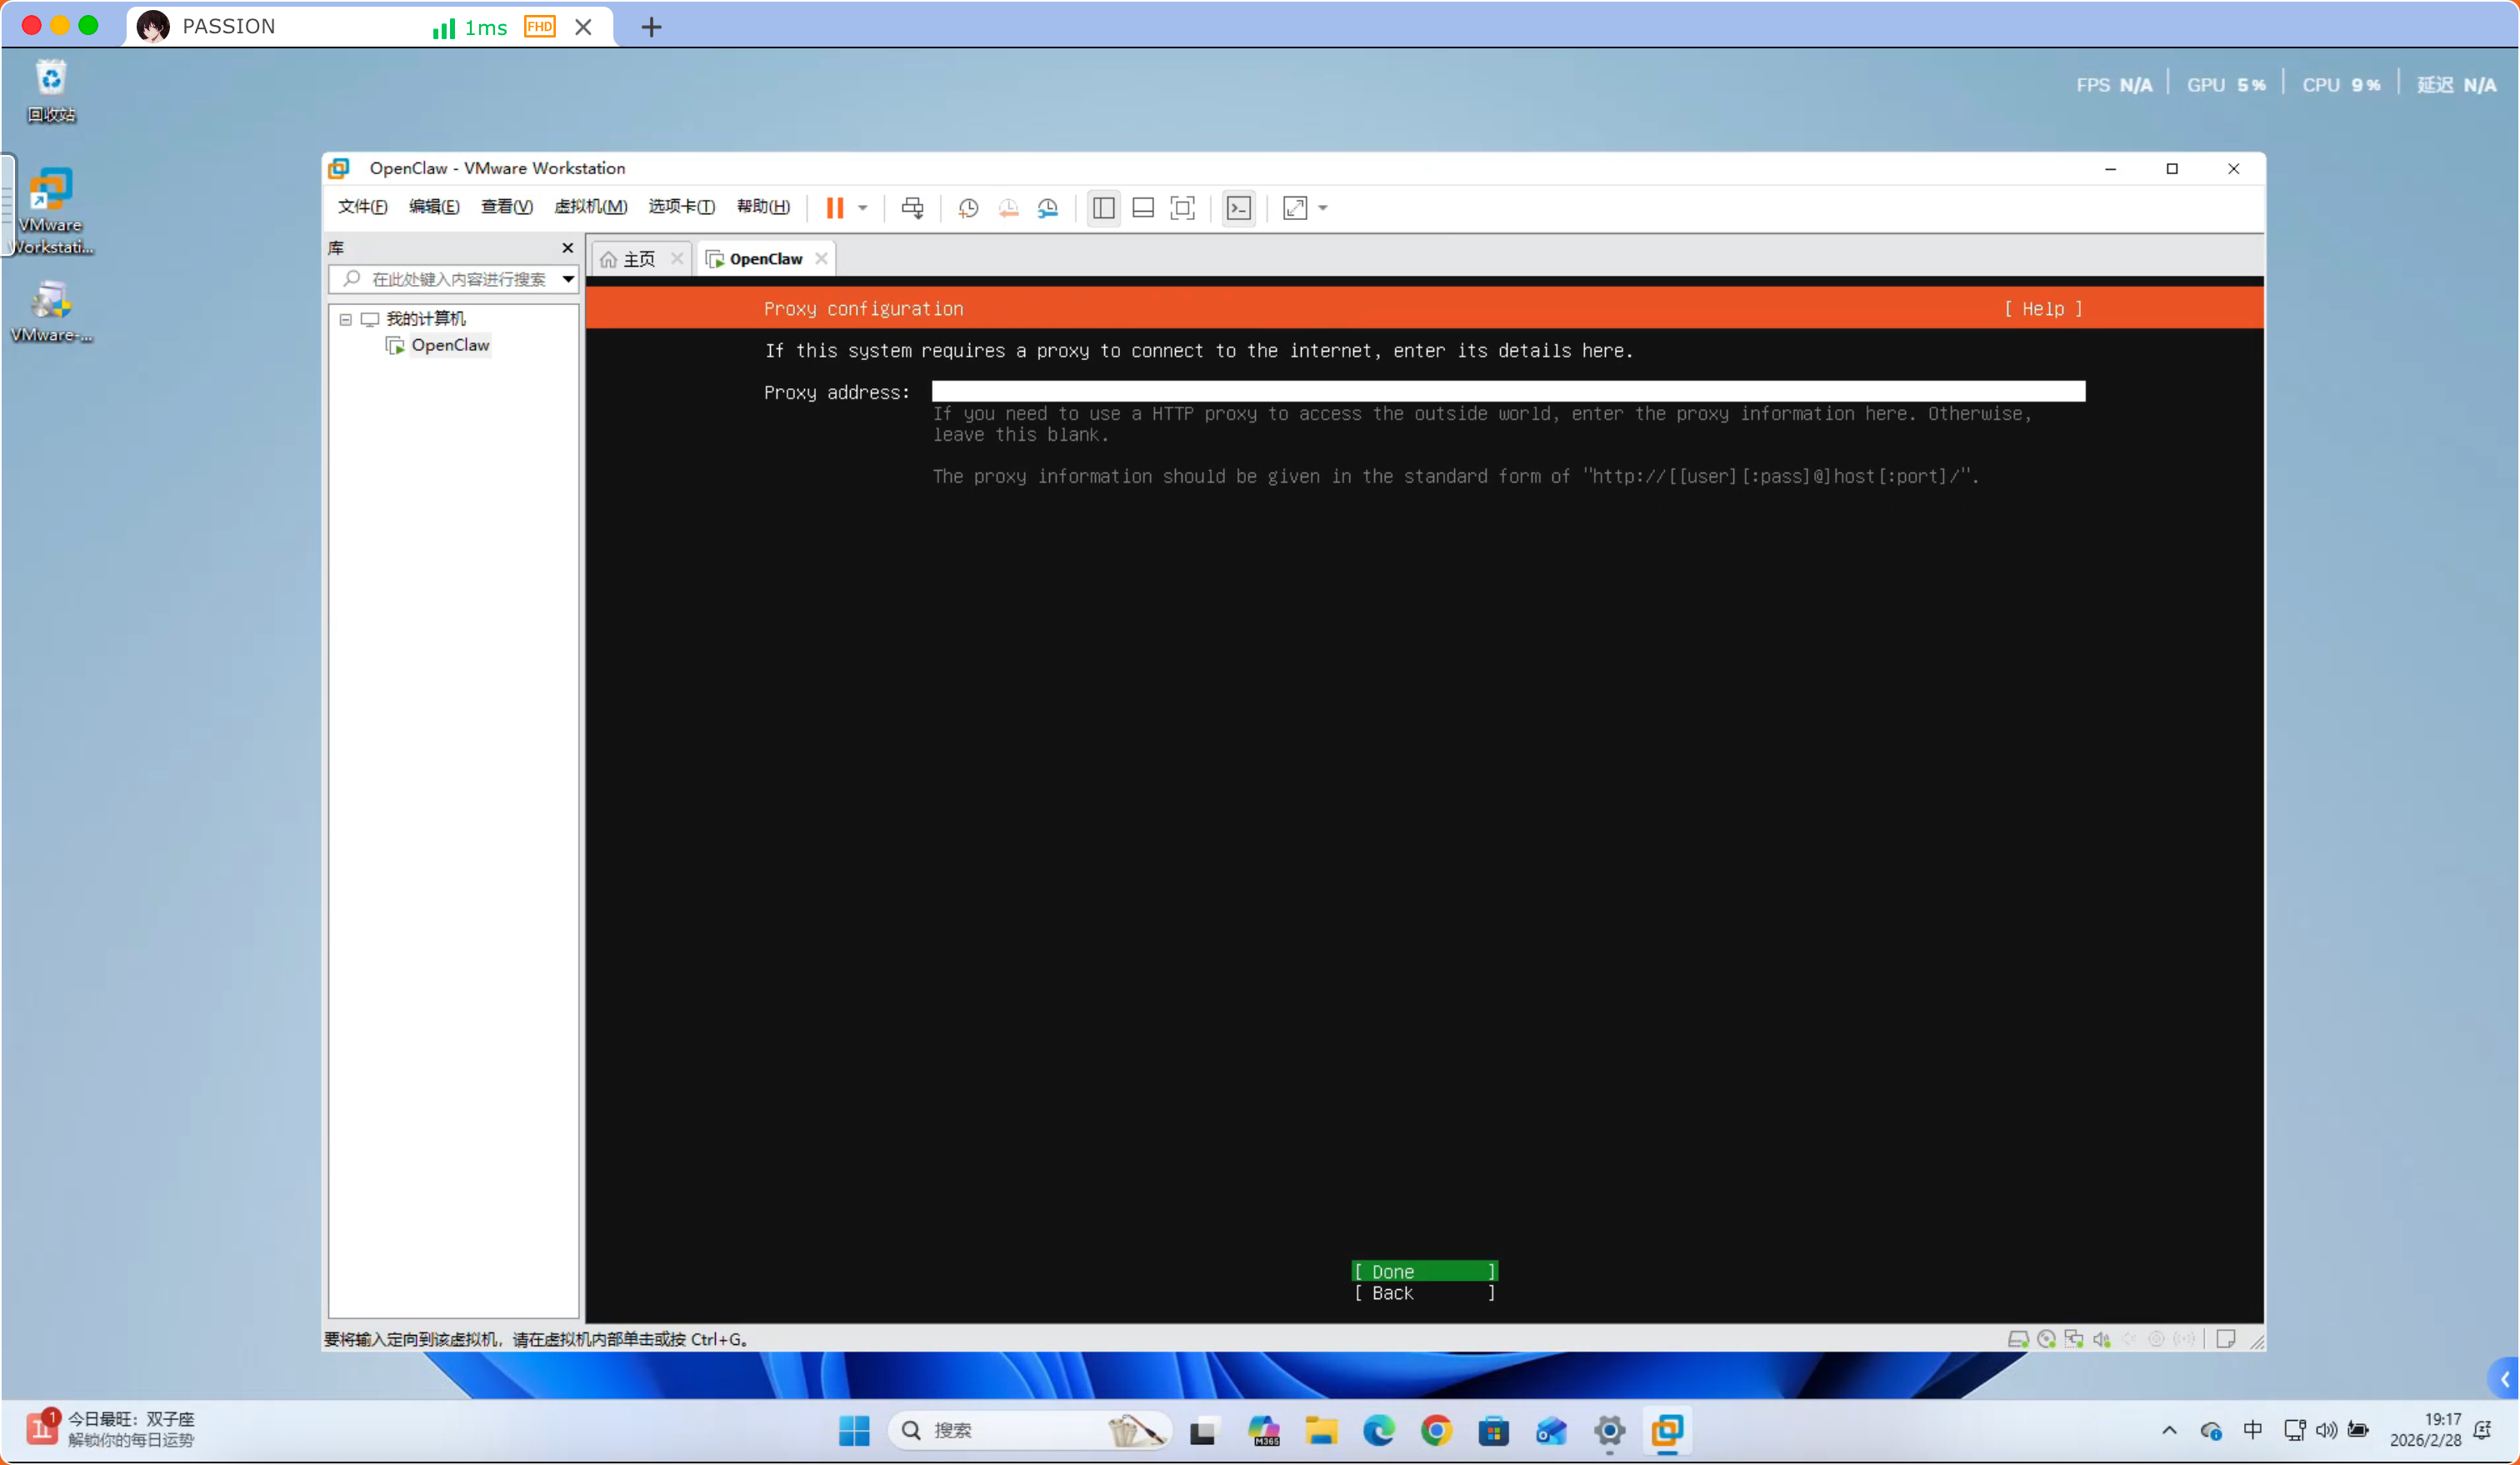
Select “Done” below and press Enter
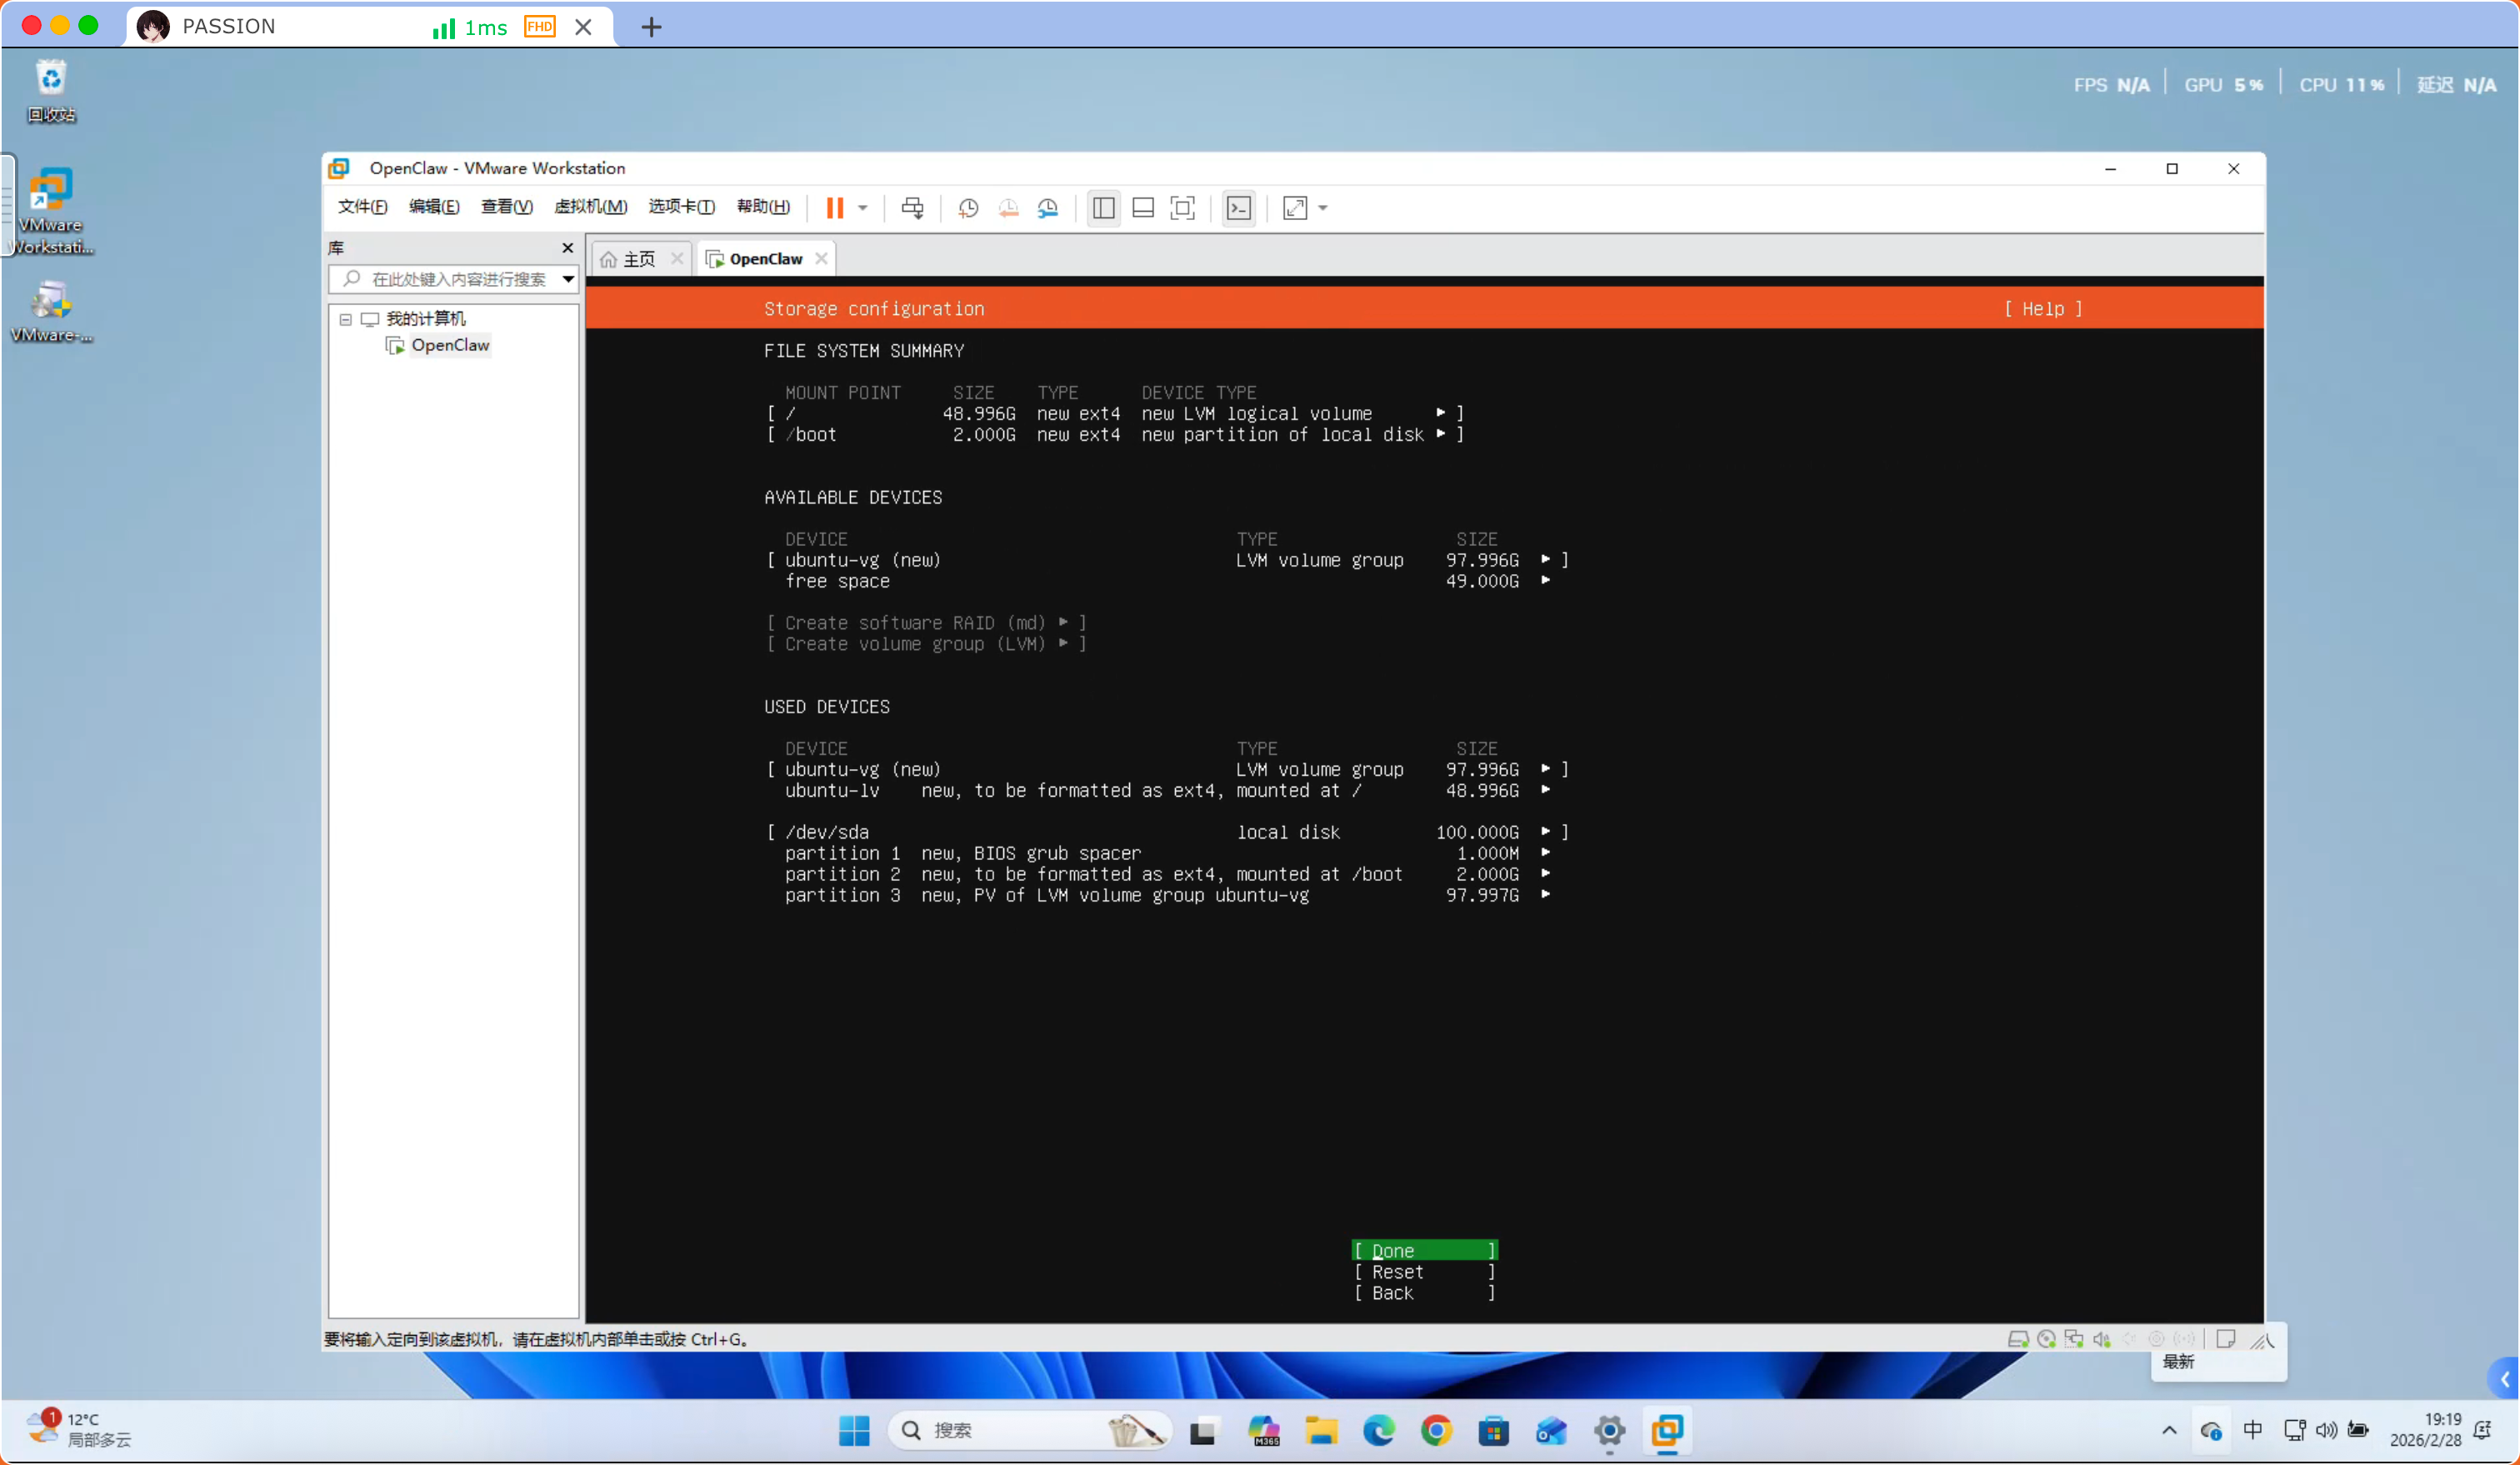
Press “TAB key” to “Done” option then press Enter

Select “Done” below and press Enter
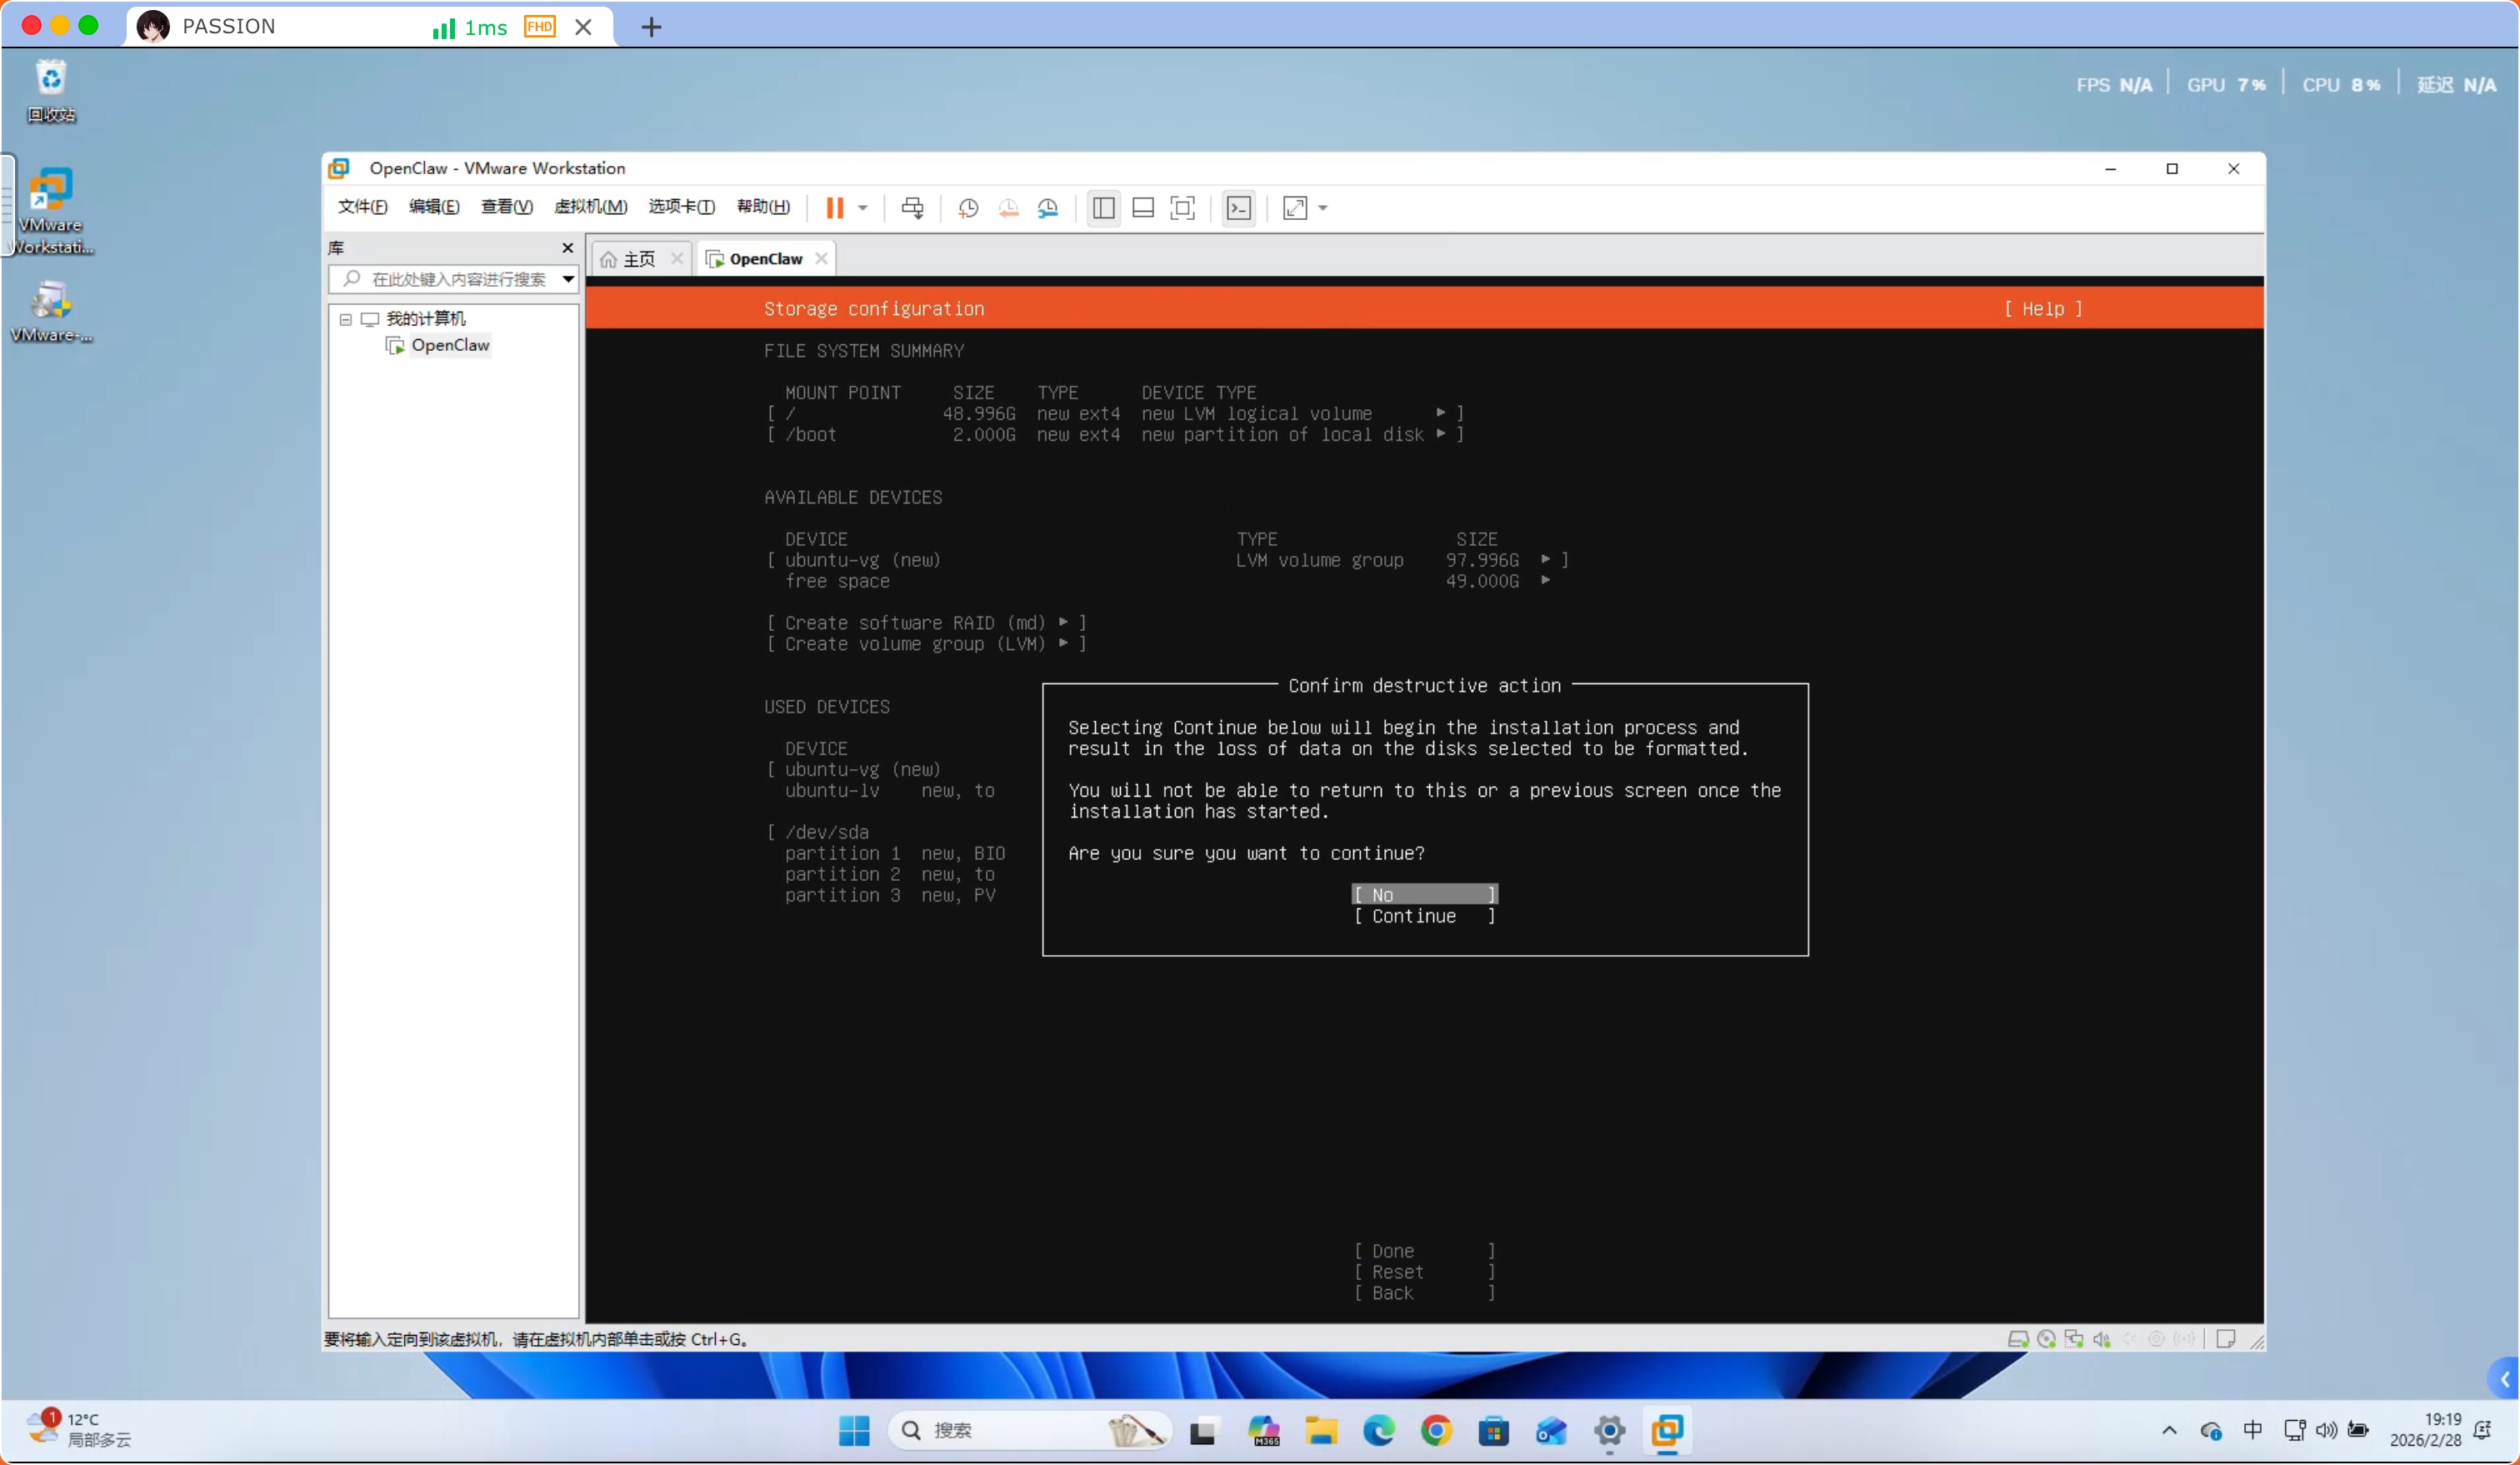
Press “TAB key” to “Continue” option then press Enter
- Your name: Your full name, can be real name or any identifier, for display only, does not affect system login
- Your servers name: The hostname of the server, i.e., the name of this computer on the network, used to identify the device on the network (e.g., access via this name in the LAN)
- Pick a username: Choose a username, this is the account name used when logging into the system, must be unique, usually lowercase letters
- Choose a password: Set the password for this user, used to log into the system or perform sudo and other operations requiring permissions
- Confirm your password: Enter the password again to confirm, ensure both inputs are consistent, avoid setting errors
After all inputs are completed, press “TAB key” to “Continue” option then press Enter

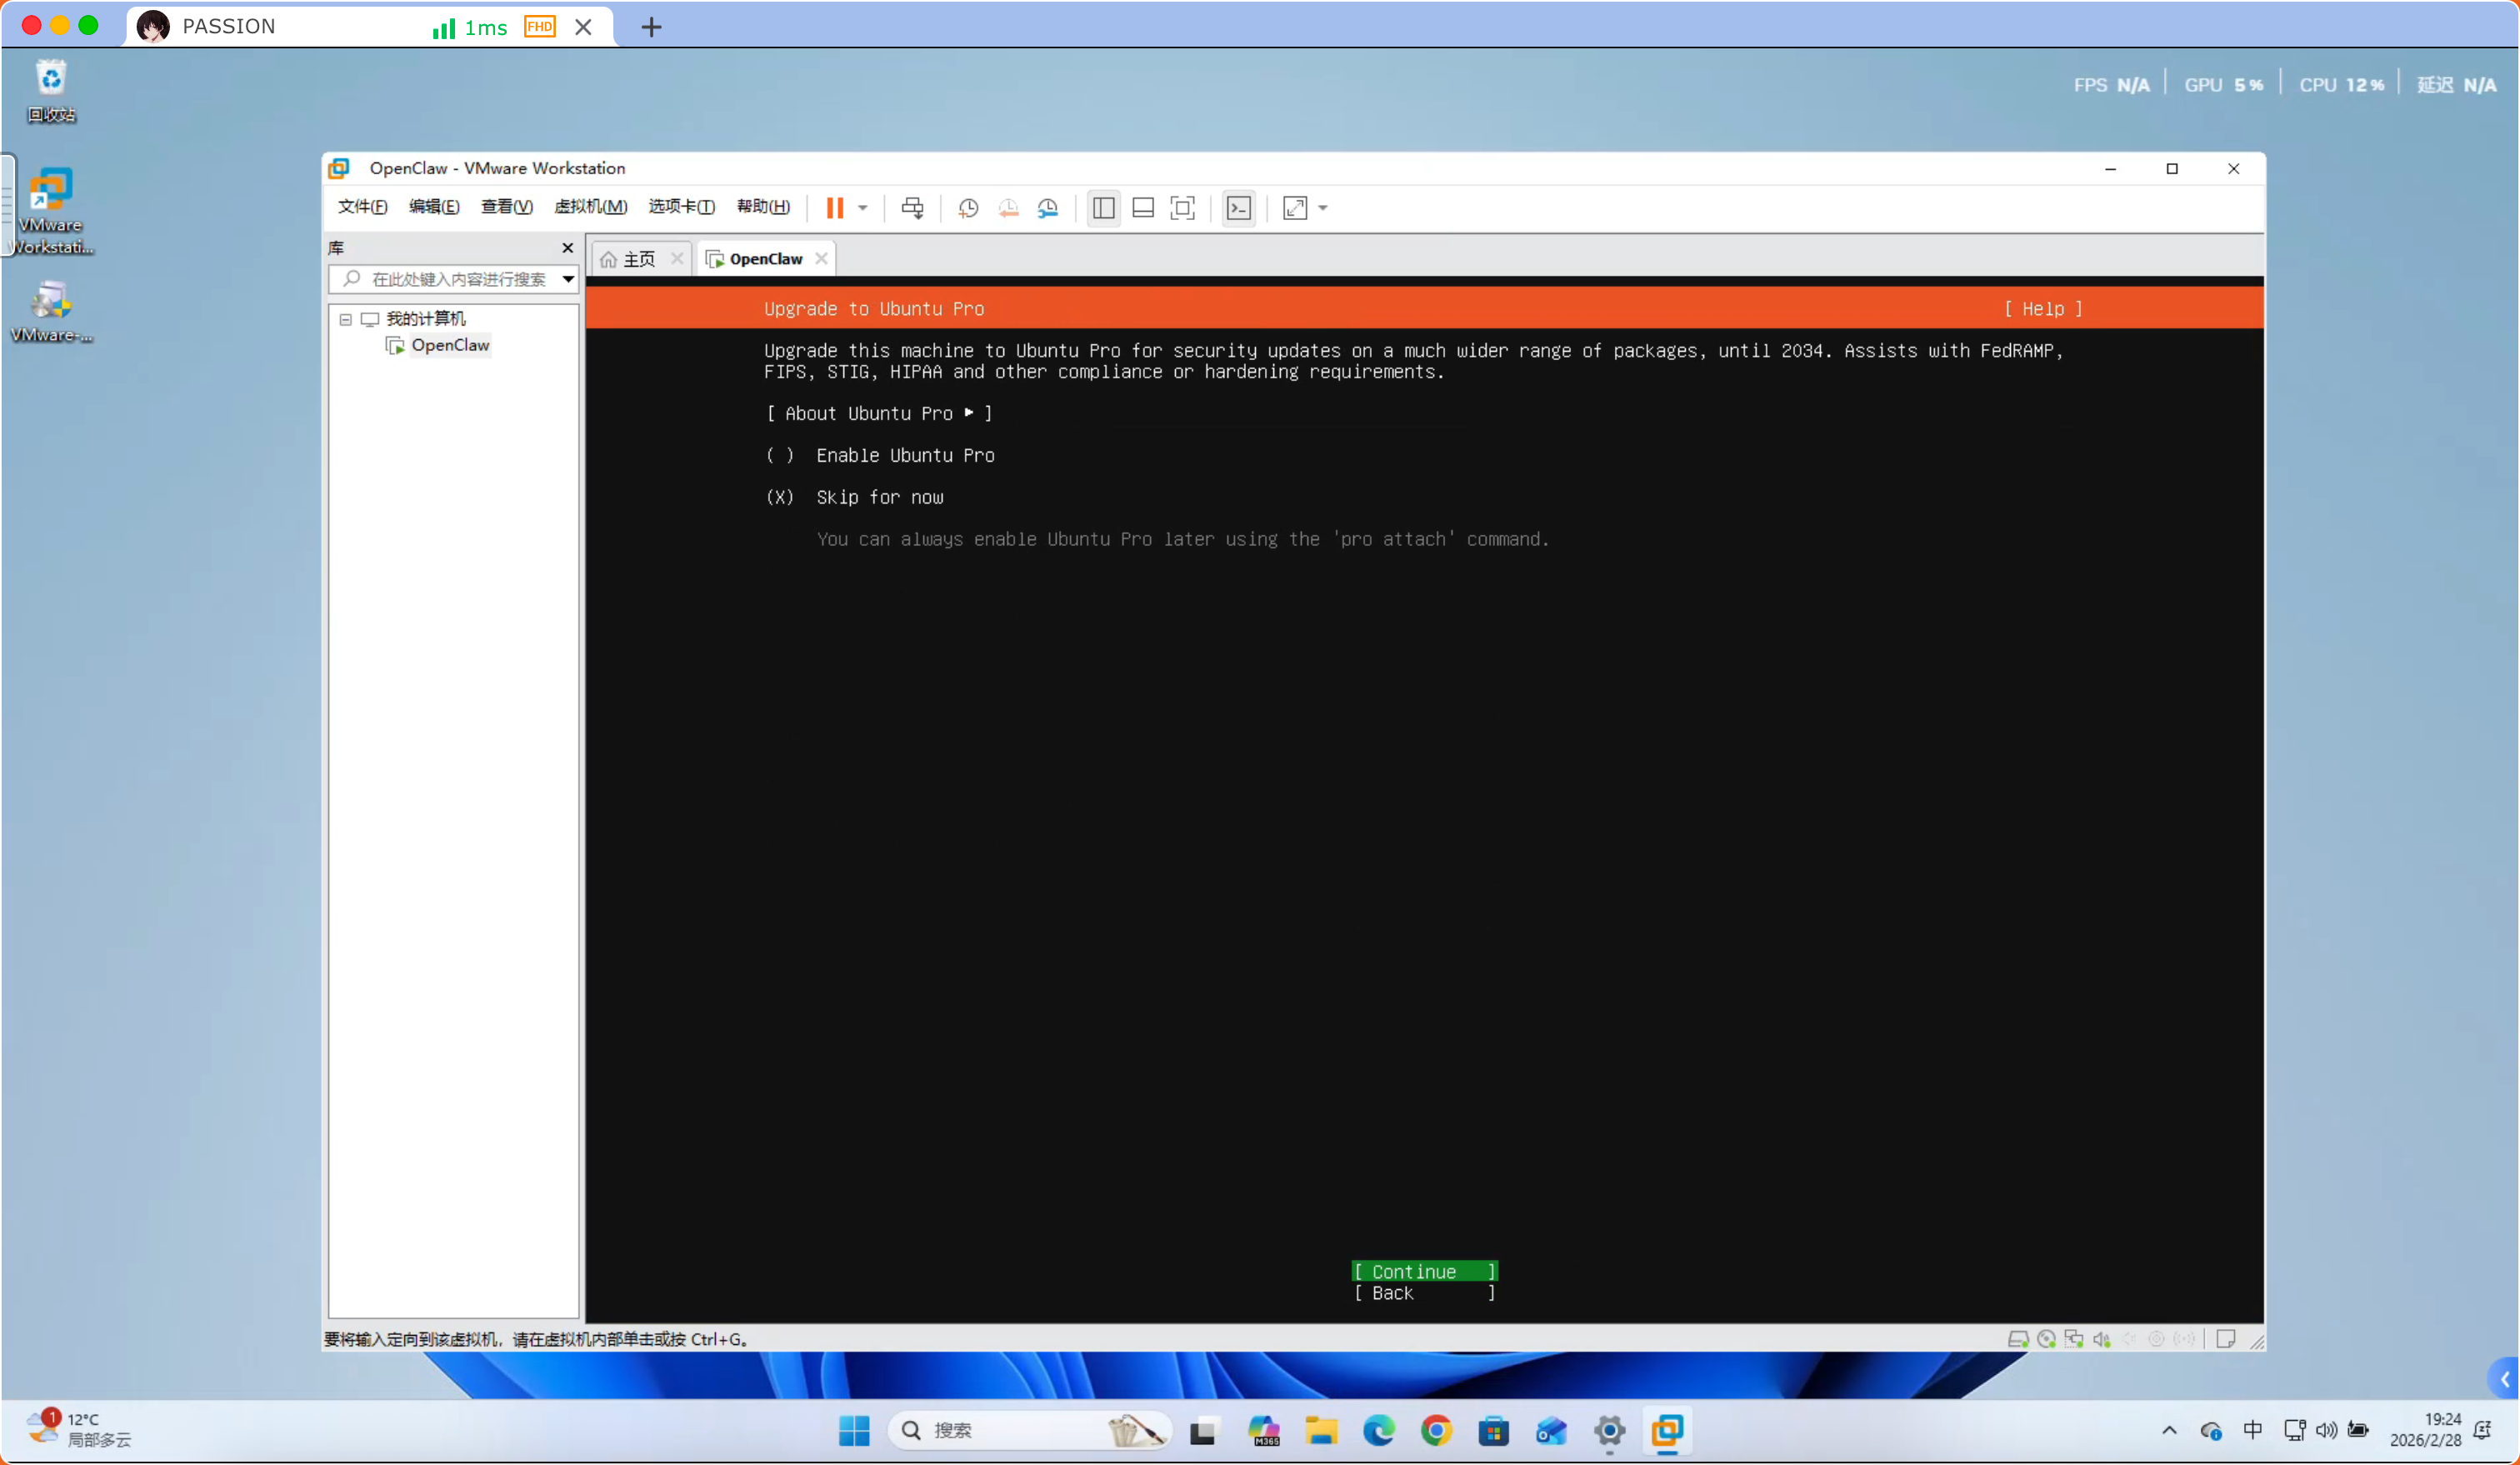
Select “Continue” below and press Enter
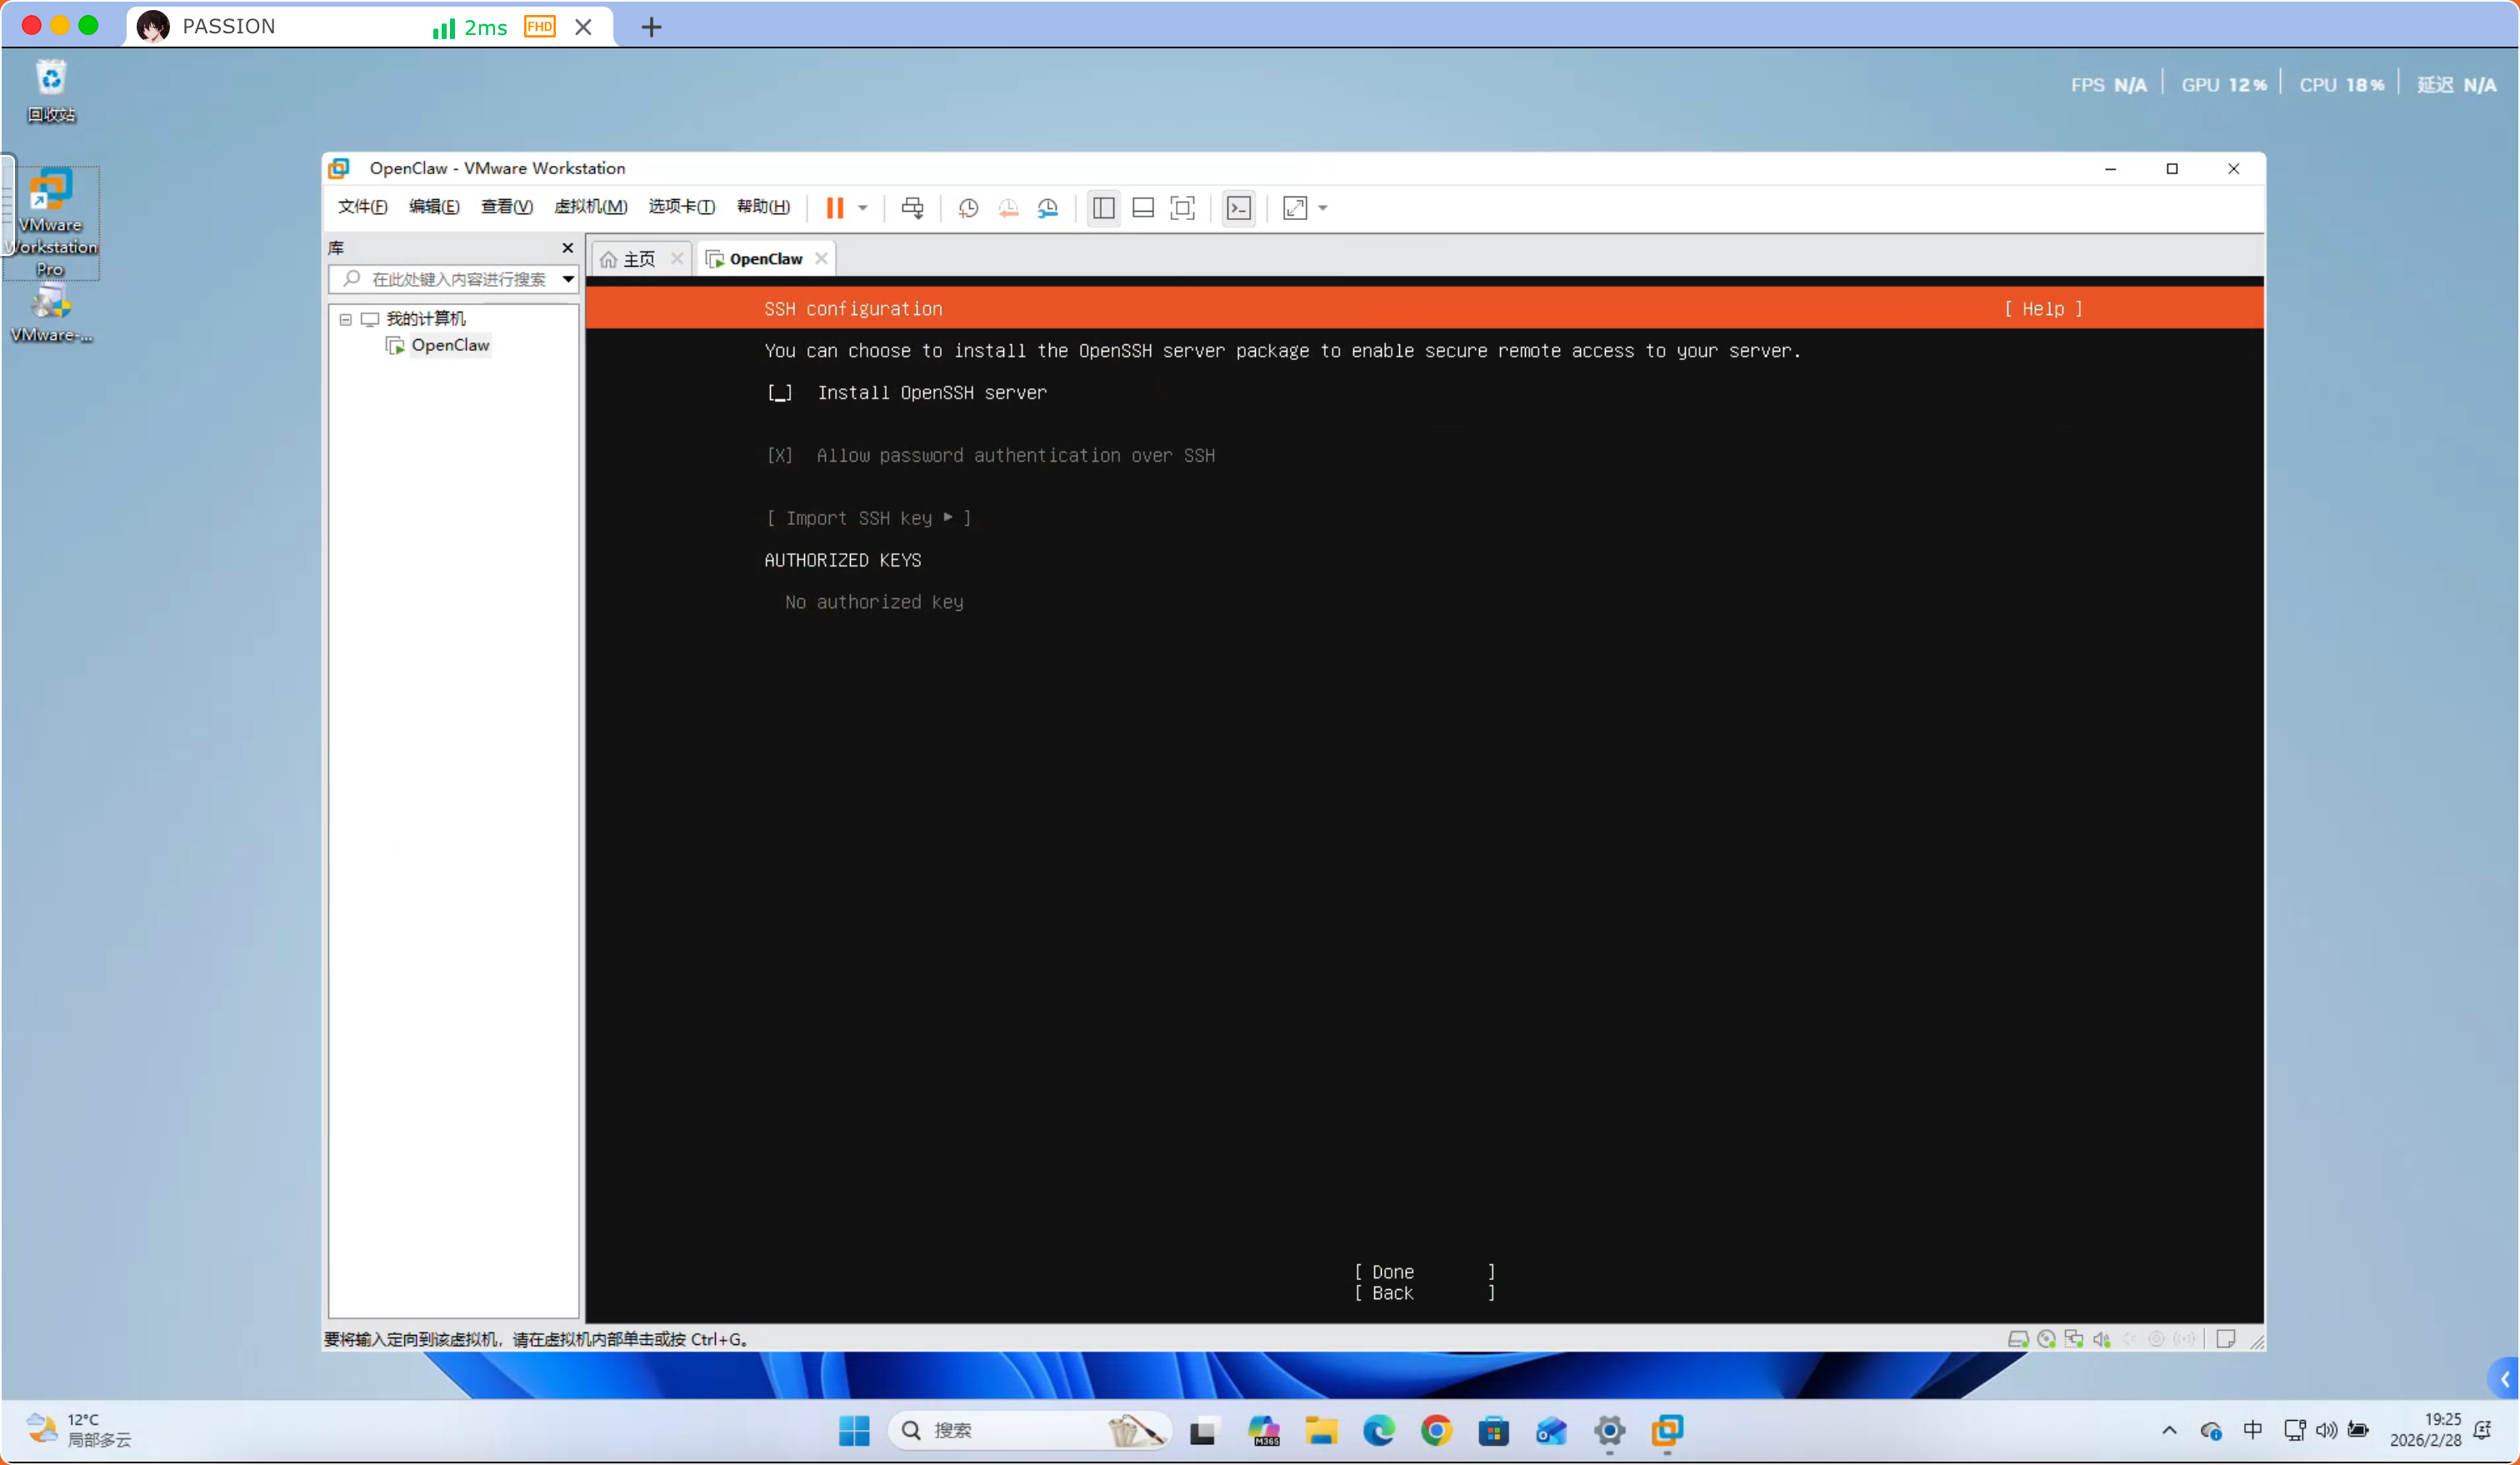
Press “Space” to select “Install OpenSSH server”, press “TAB key” to “Done” option then press Enter
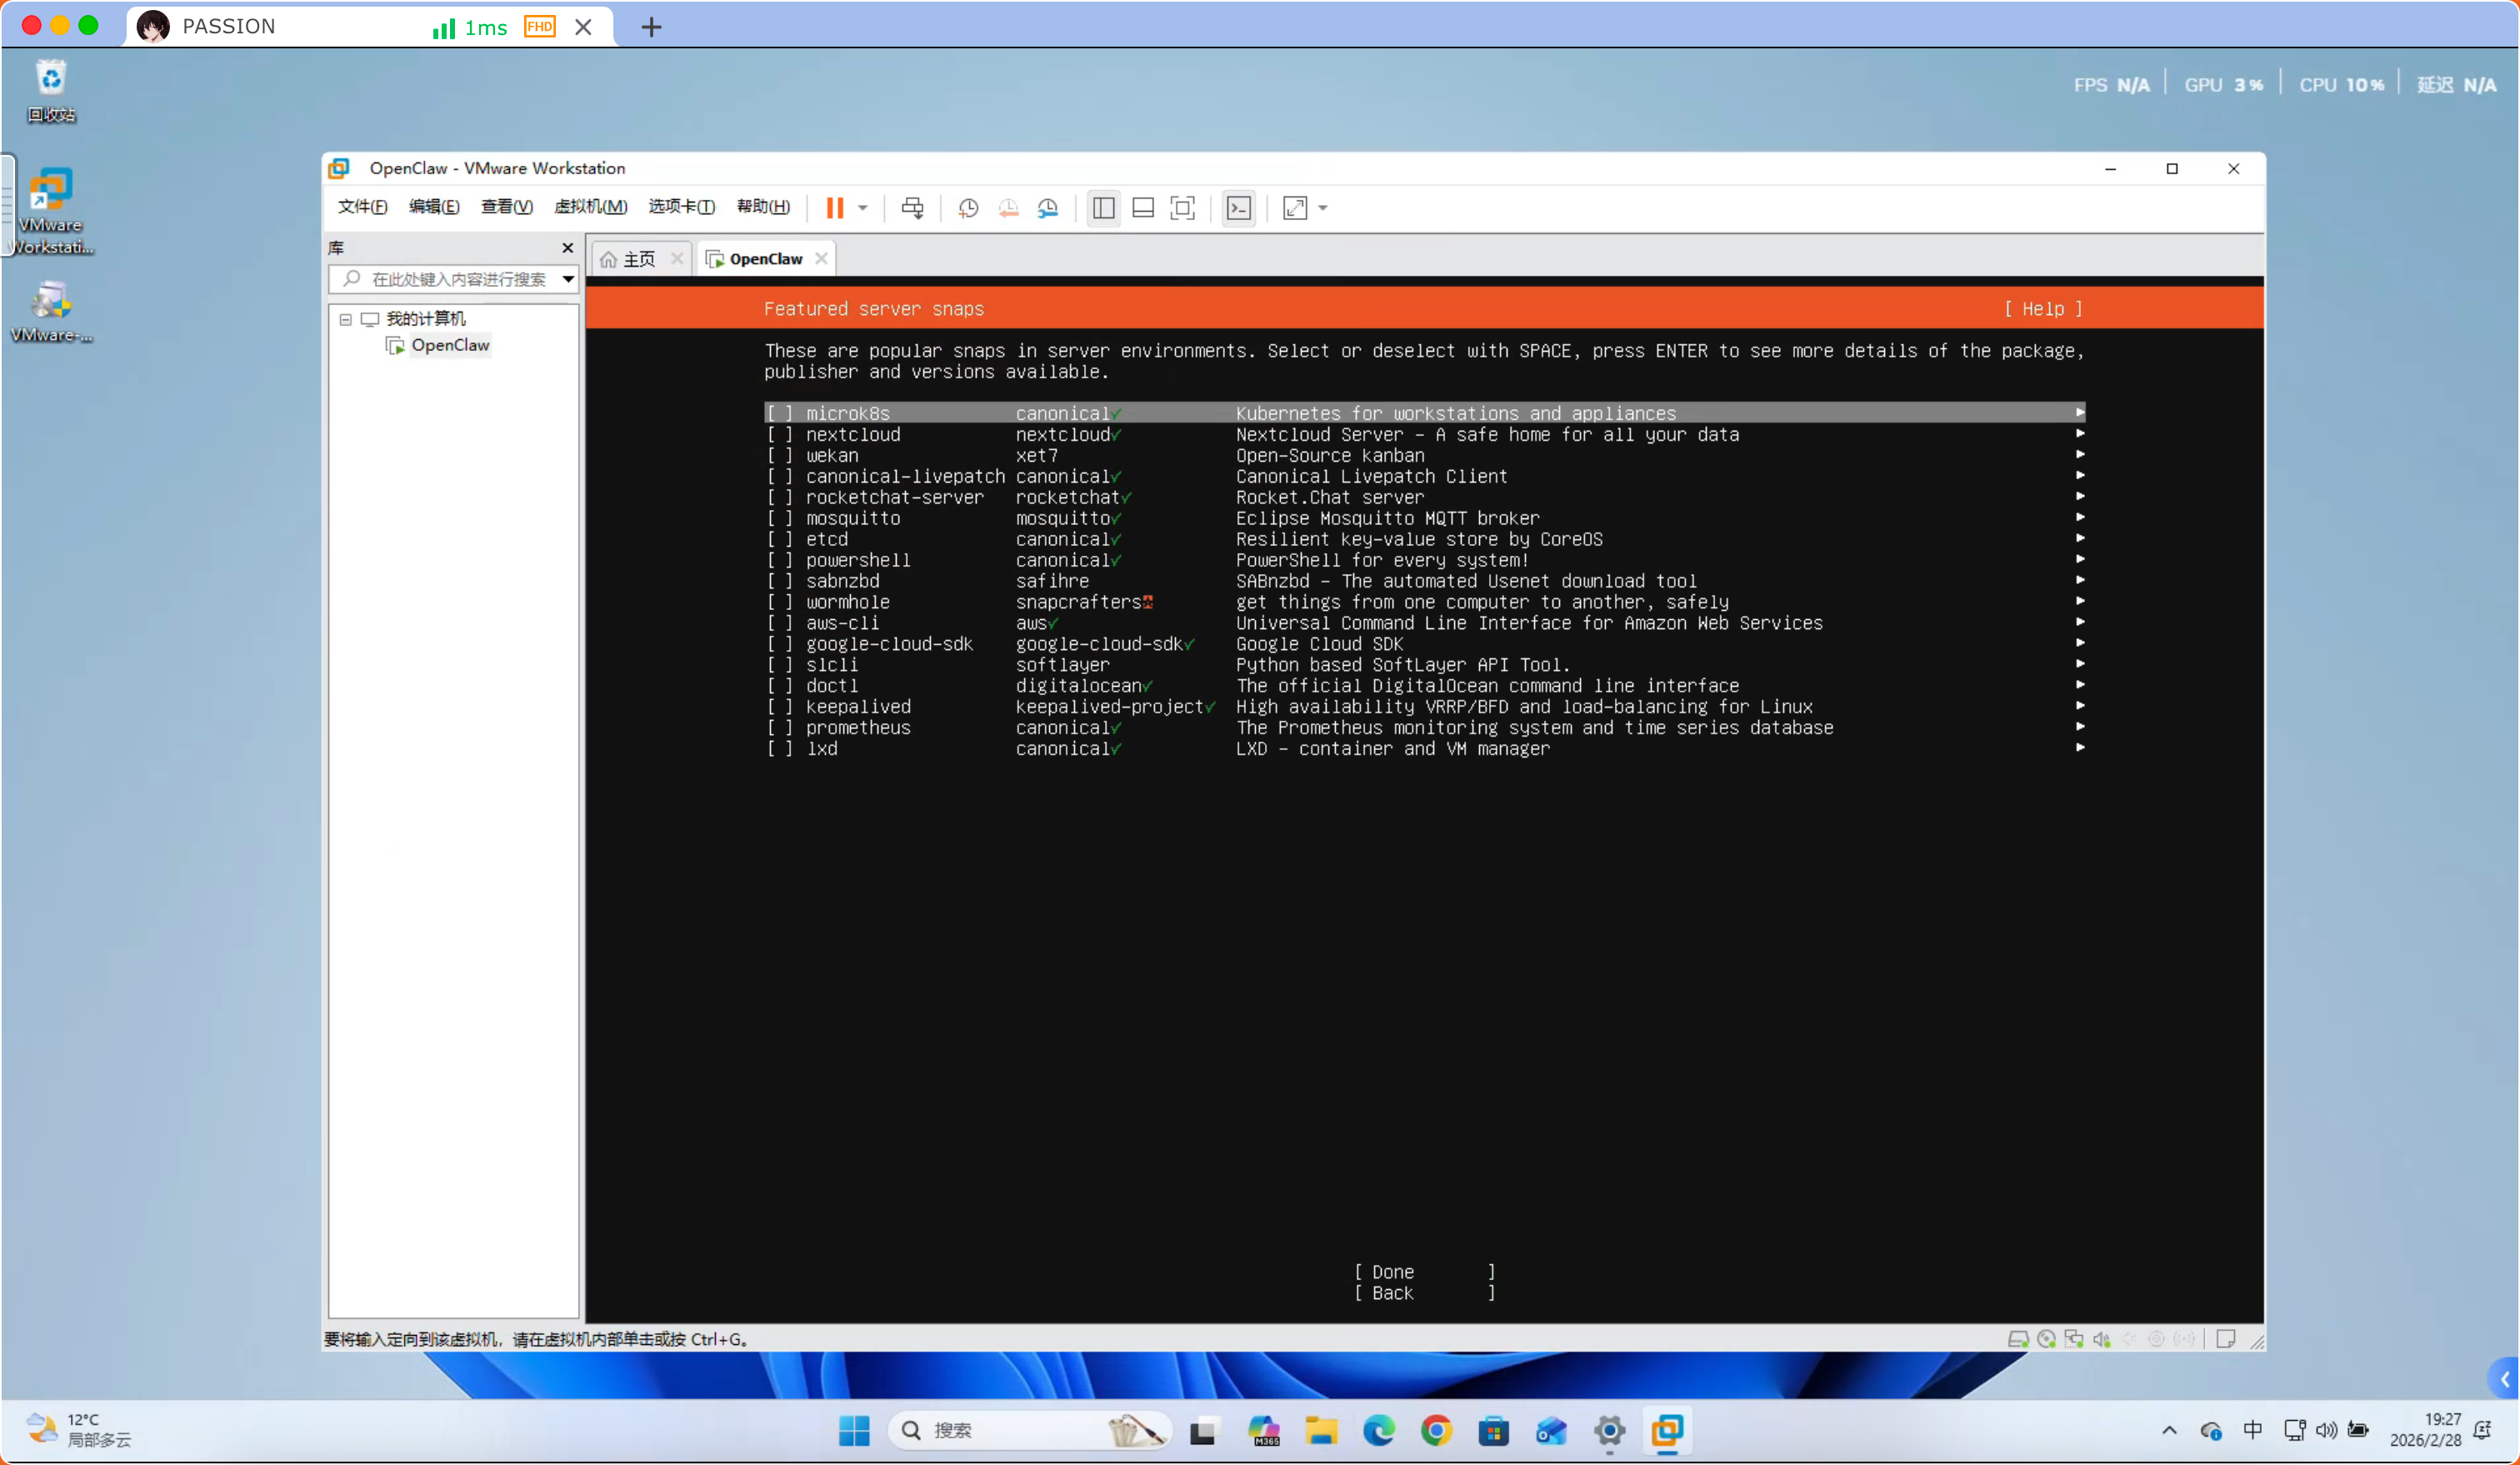
Press “TAB key” to “Done” option then press Enter, wait for installation to complete
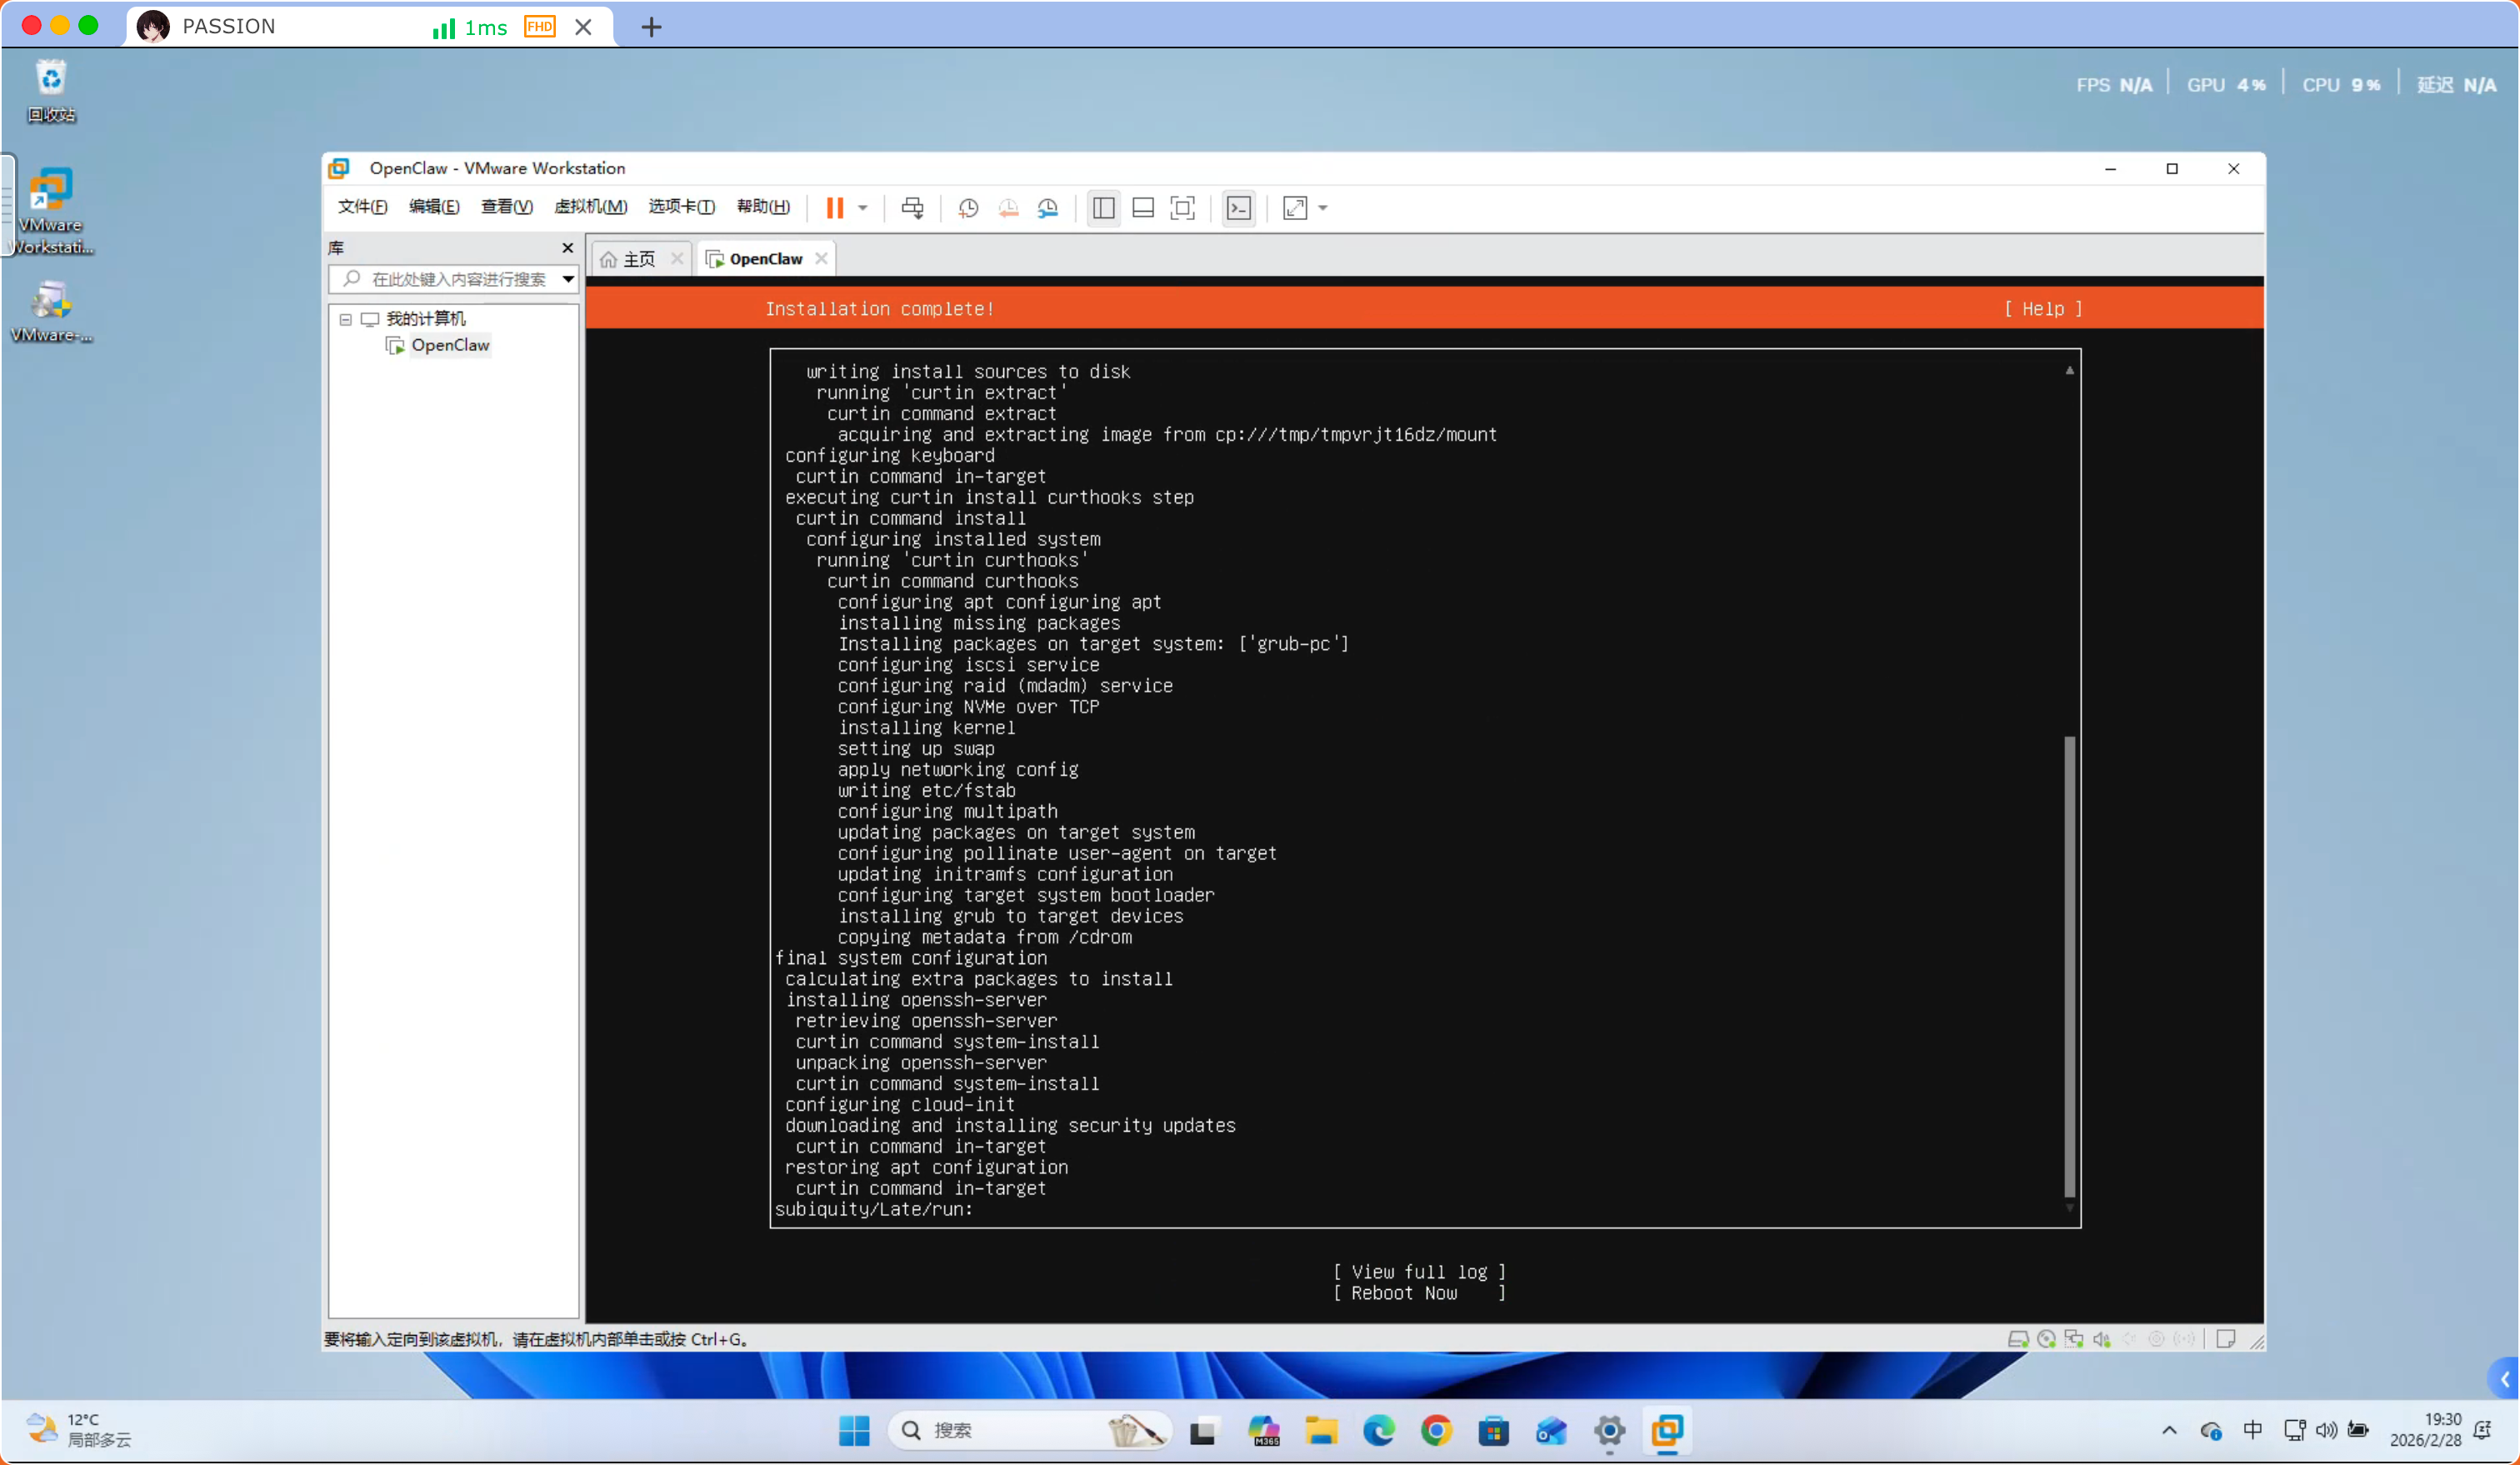
Press “TAB key” to “Reboot Now” option then press Enter
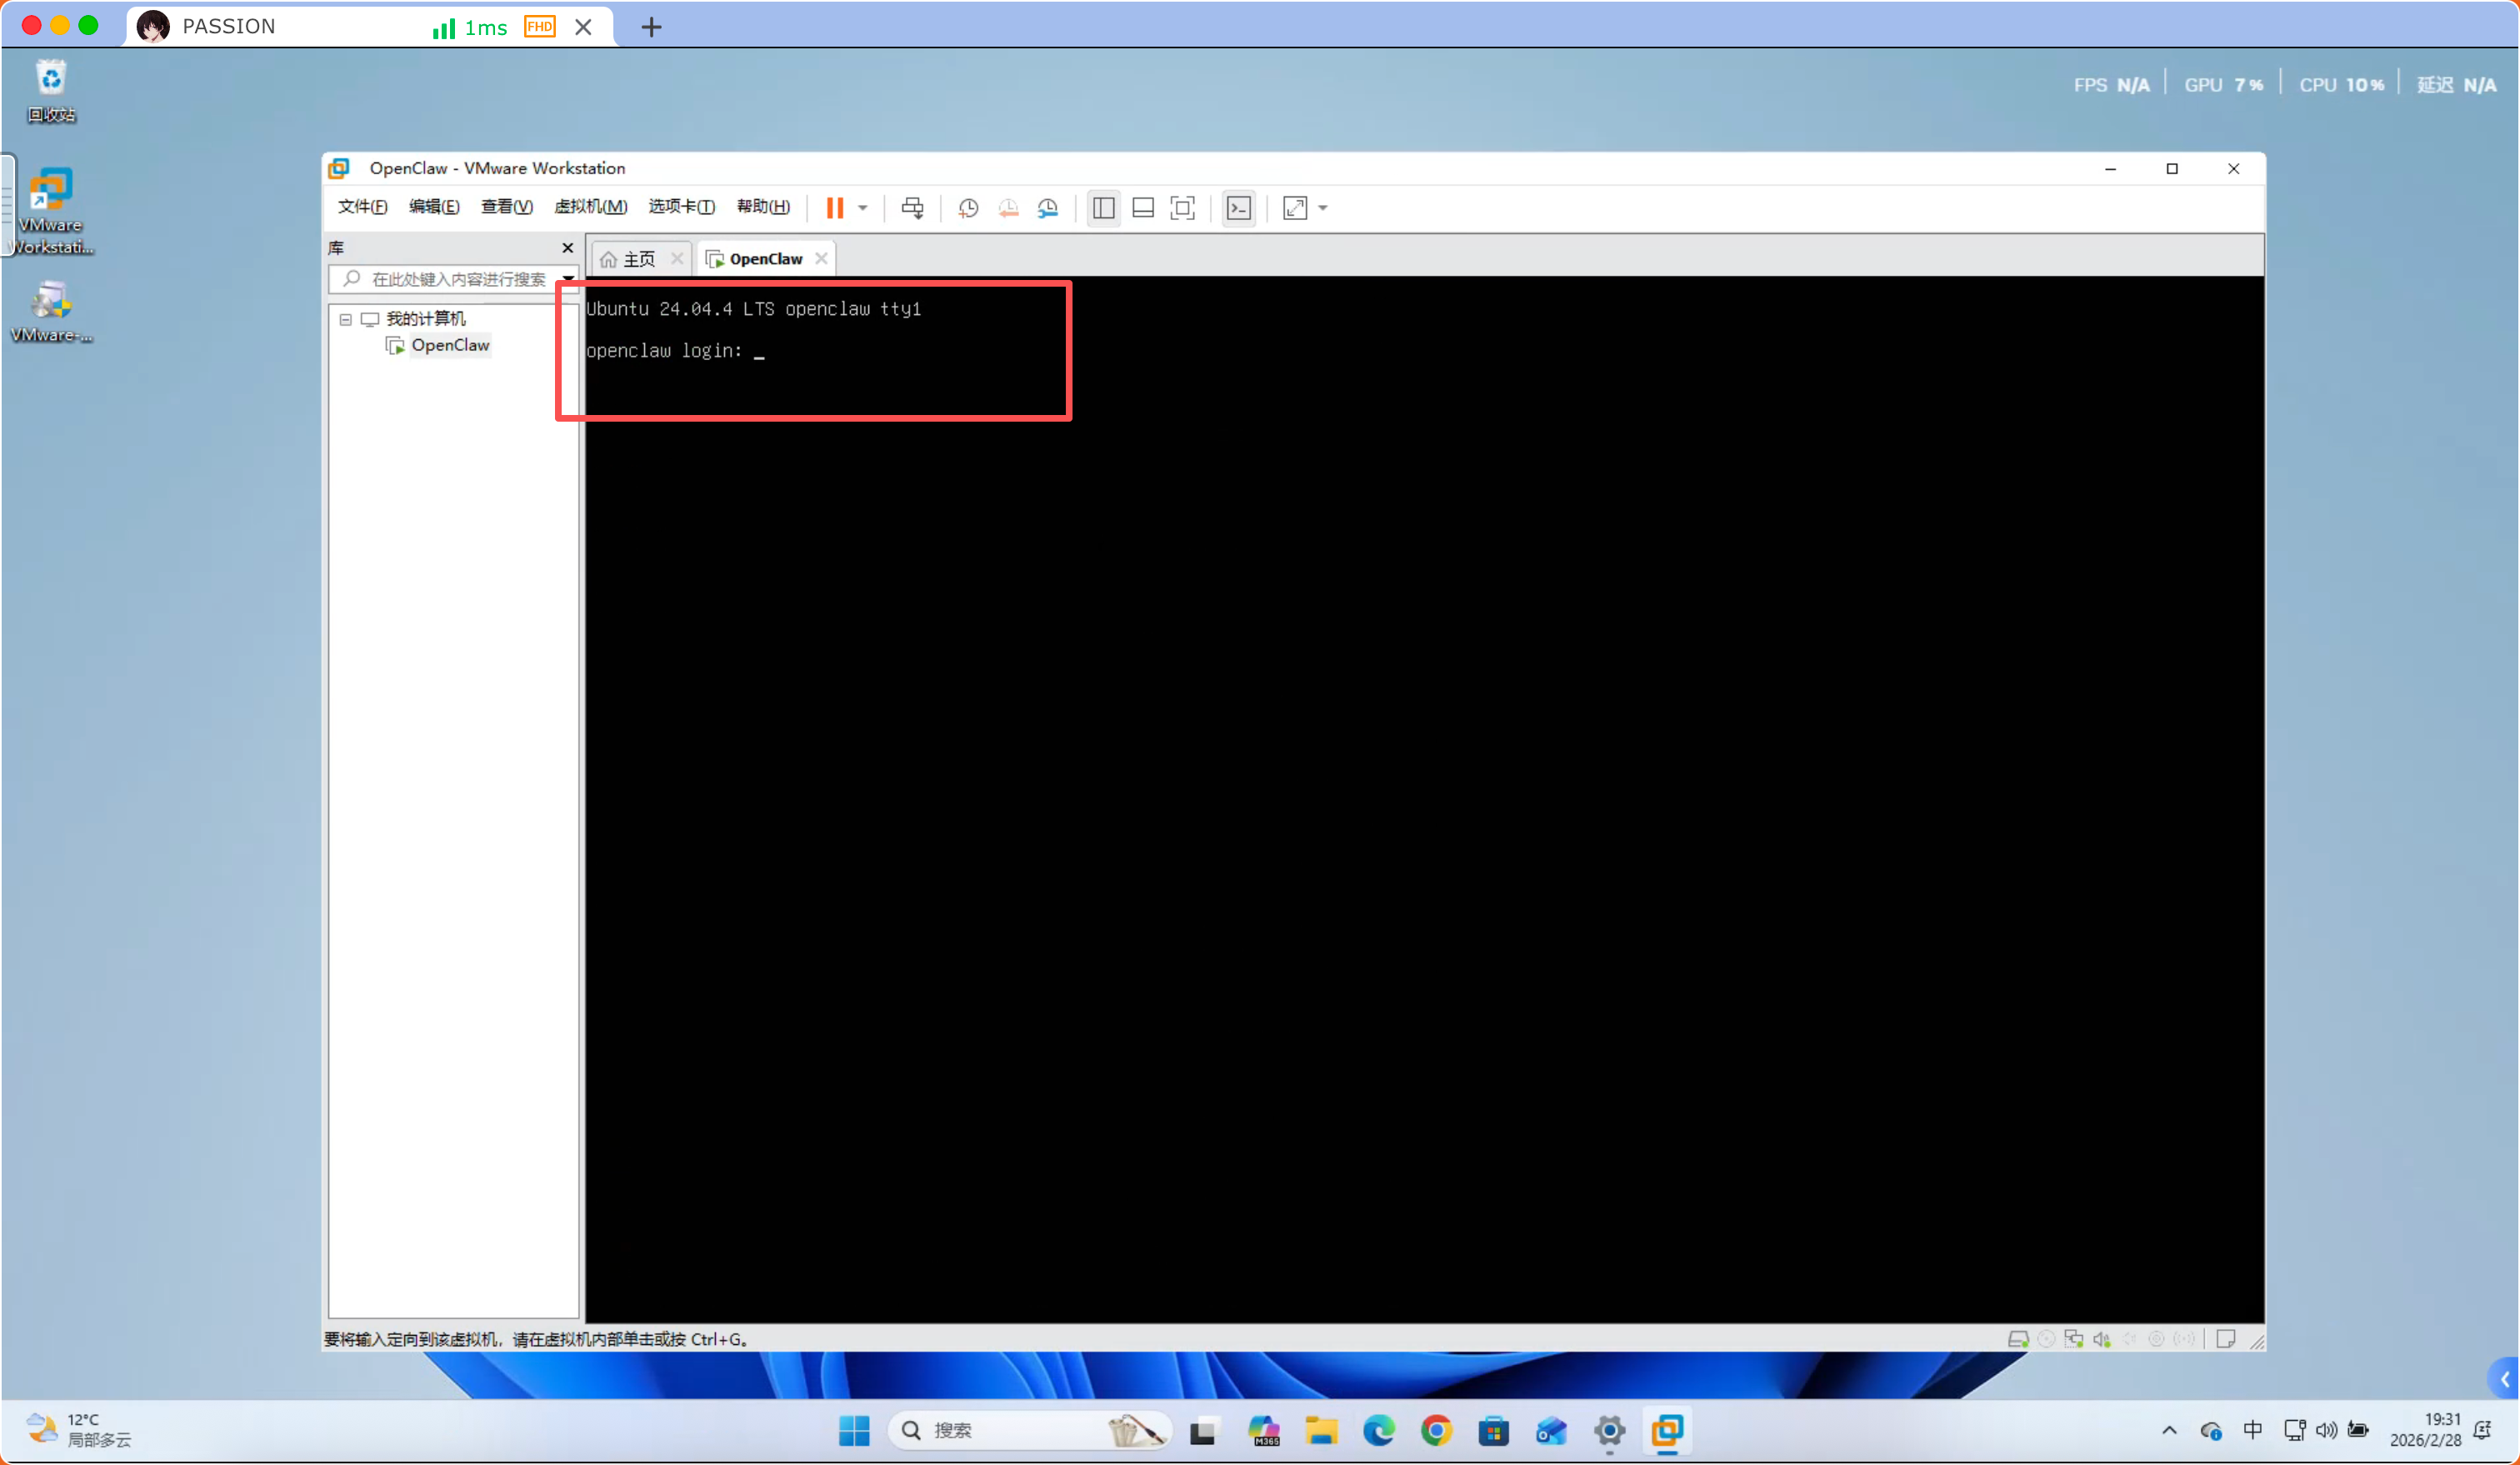
Displaying this is normal, select Enter

At this point, installation is complete, enter the username and password you set to login
⚠️Note: When entering the password, it is not plain text, just press Enter directly after input
Step 10 (Optional)
Perform updates and set server Root password
# Set server Root password
sudo passwd root

# Switch to Root user
sudo su -

# Update
apt update && apt upgrade -y

# Install common components
apt install -y lrzsz unzip net-tools vim ssh
Allow server SSH to login with Root account
# Edit SSH configuration file
vim /etc/ssh/sshd_config
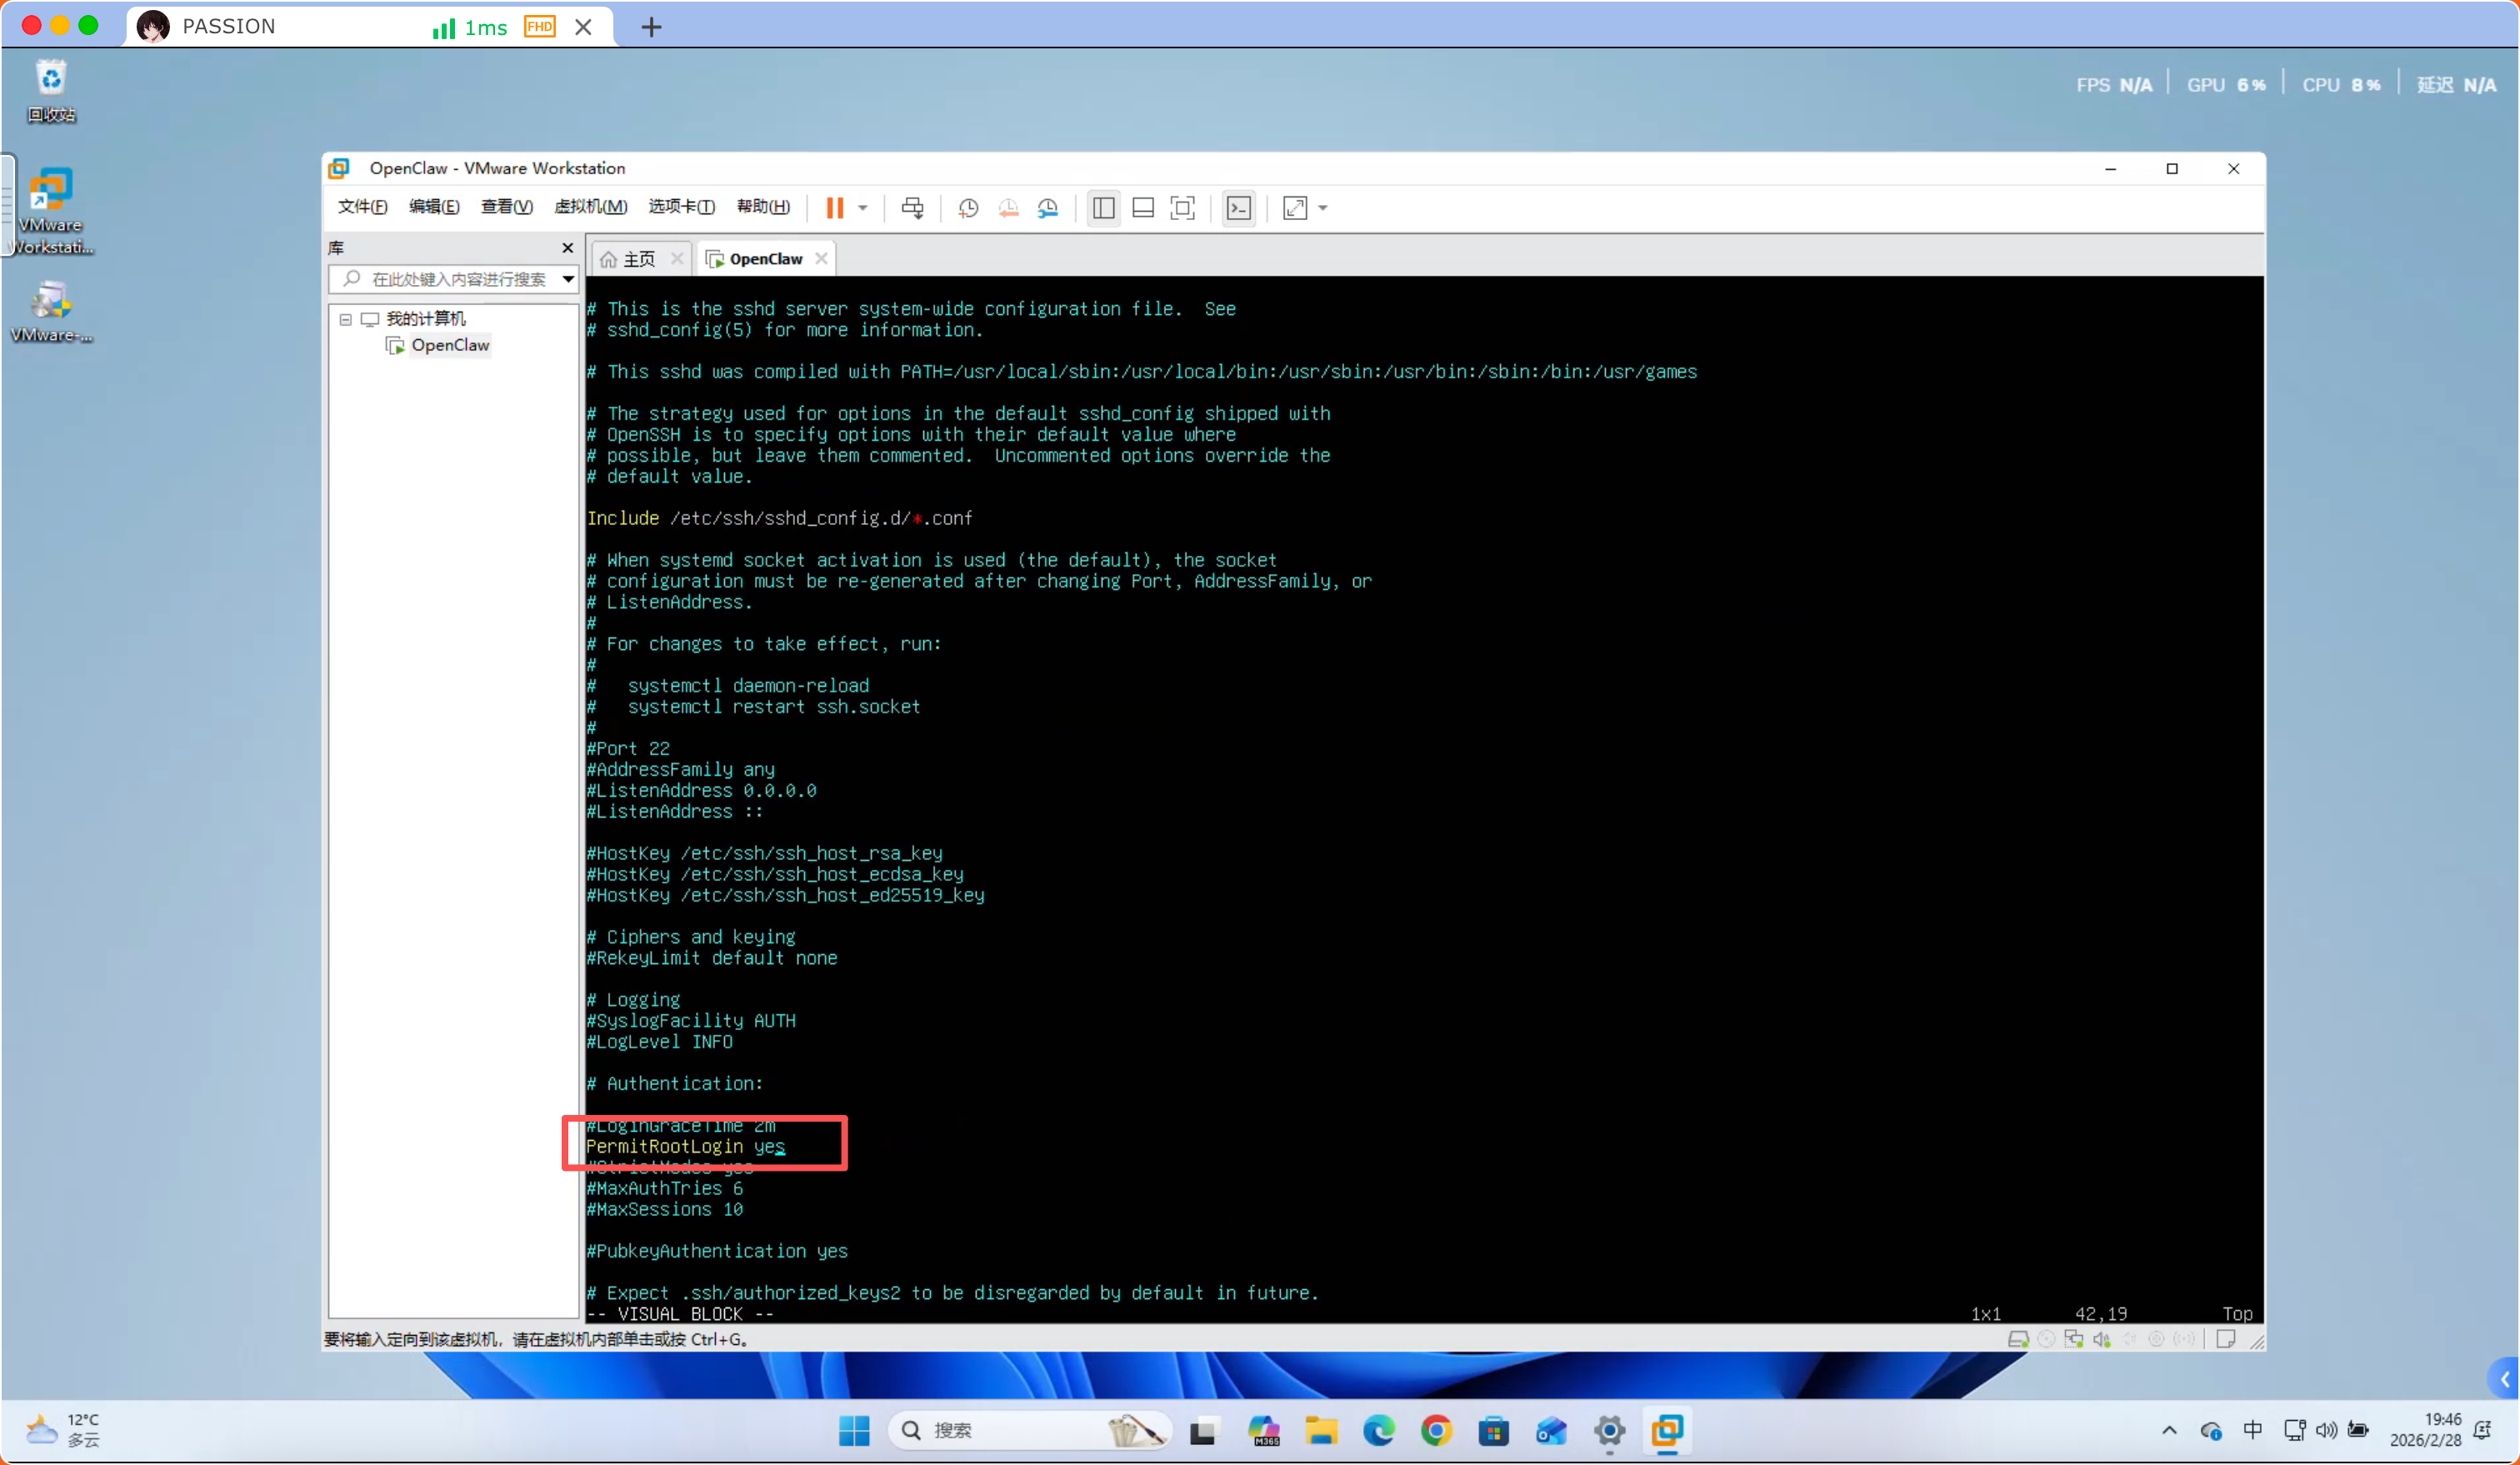
# Find #PermitRootLogin prohibit-password, delete the '#' at the very front
# Change 'prohibit-password' behind to 'yes'
# Save and exit after modification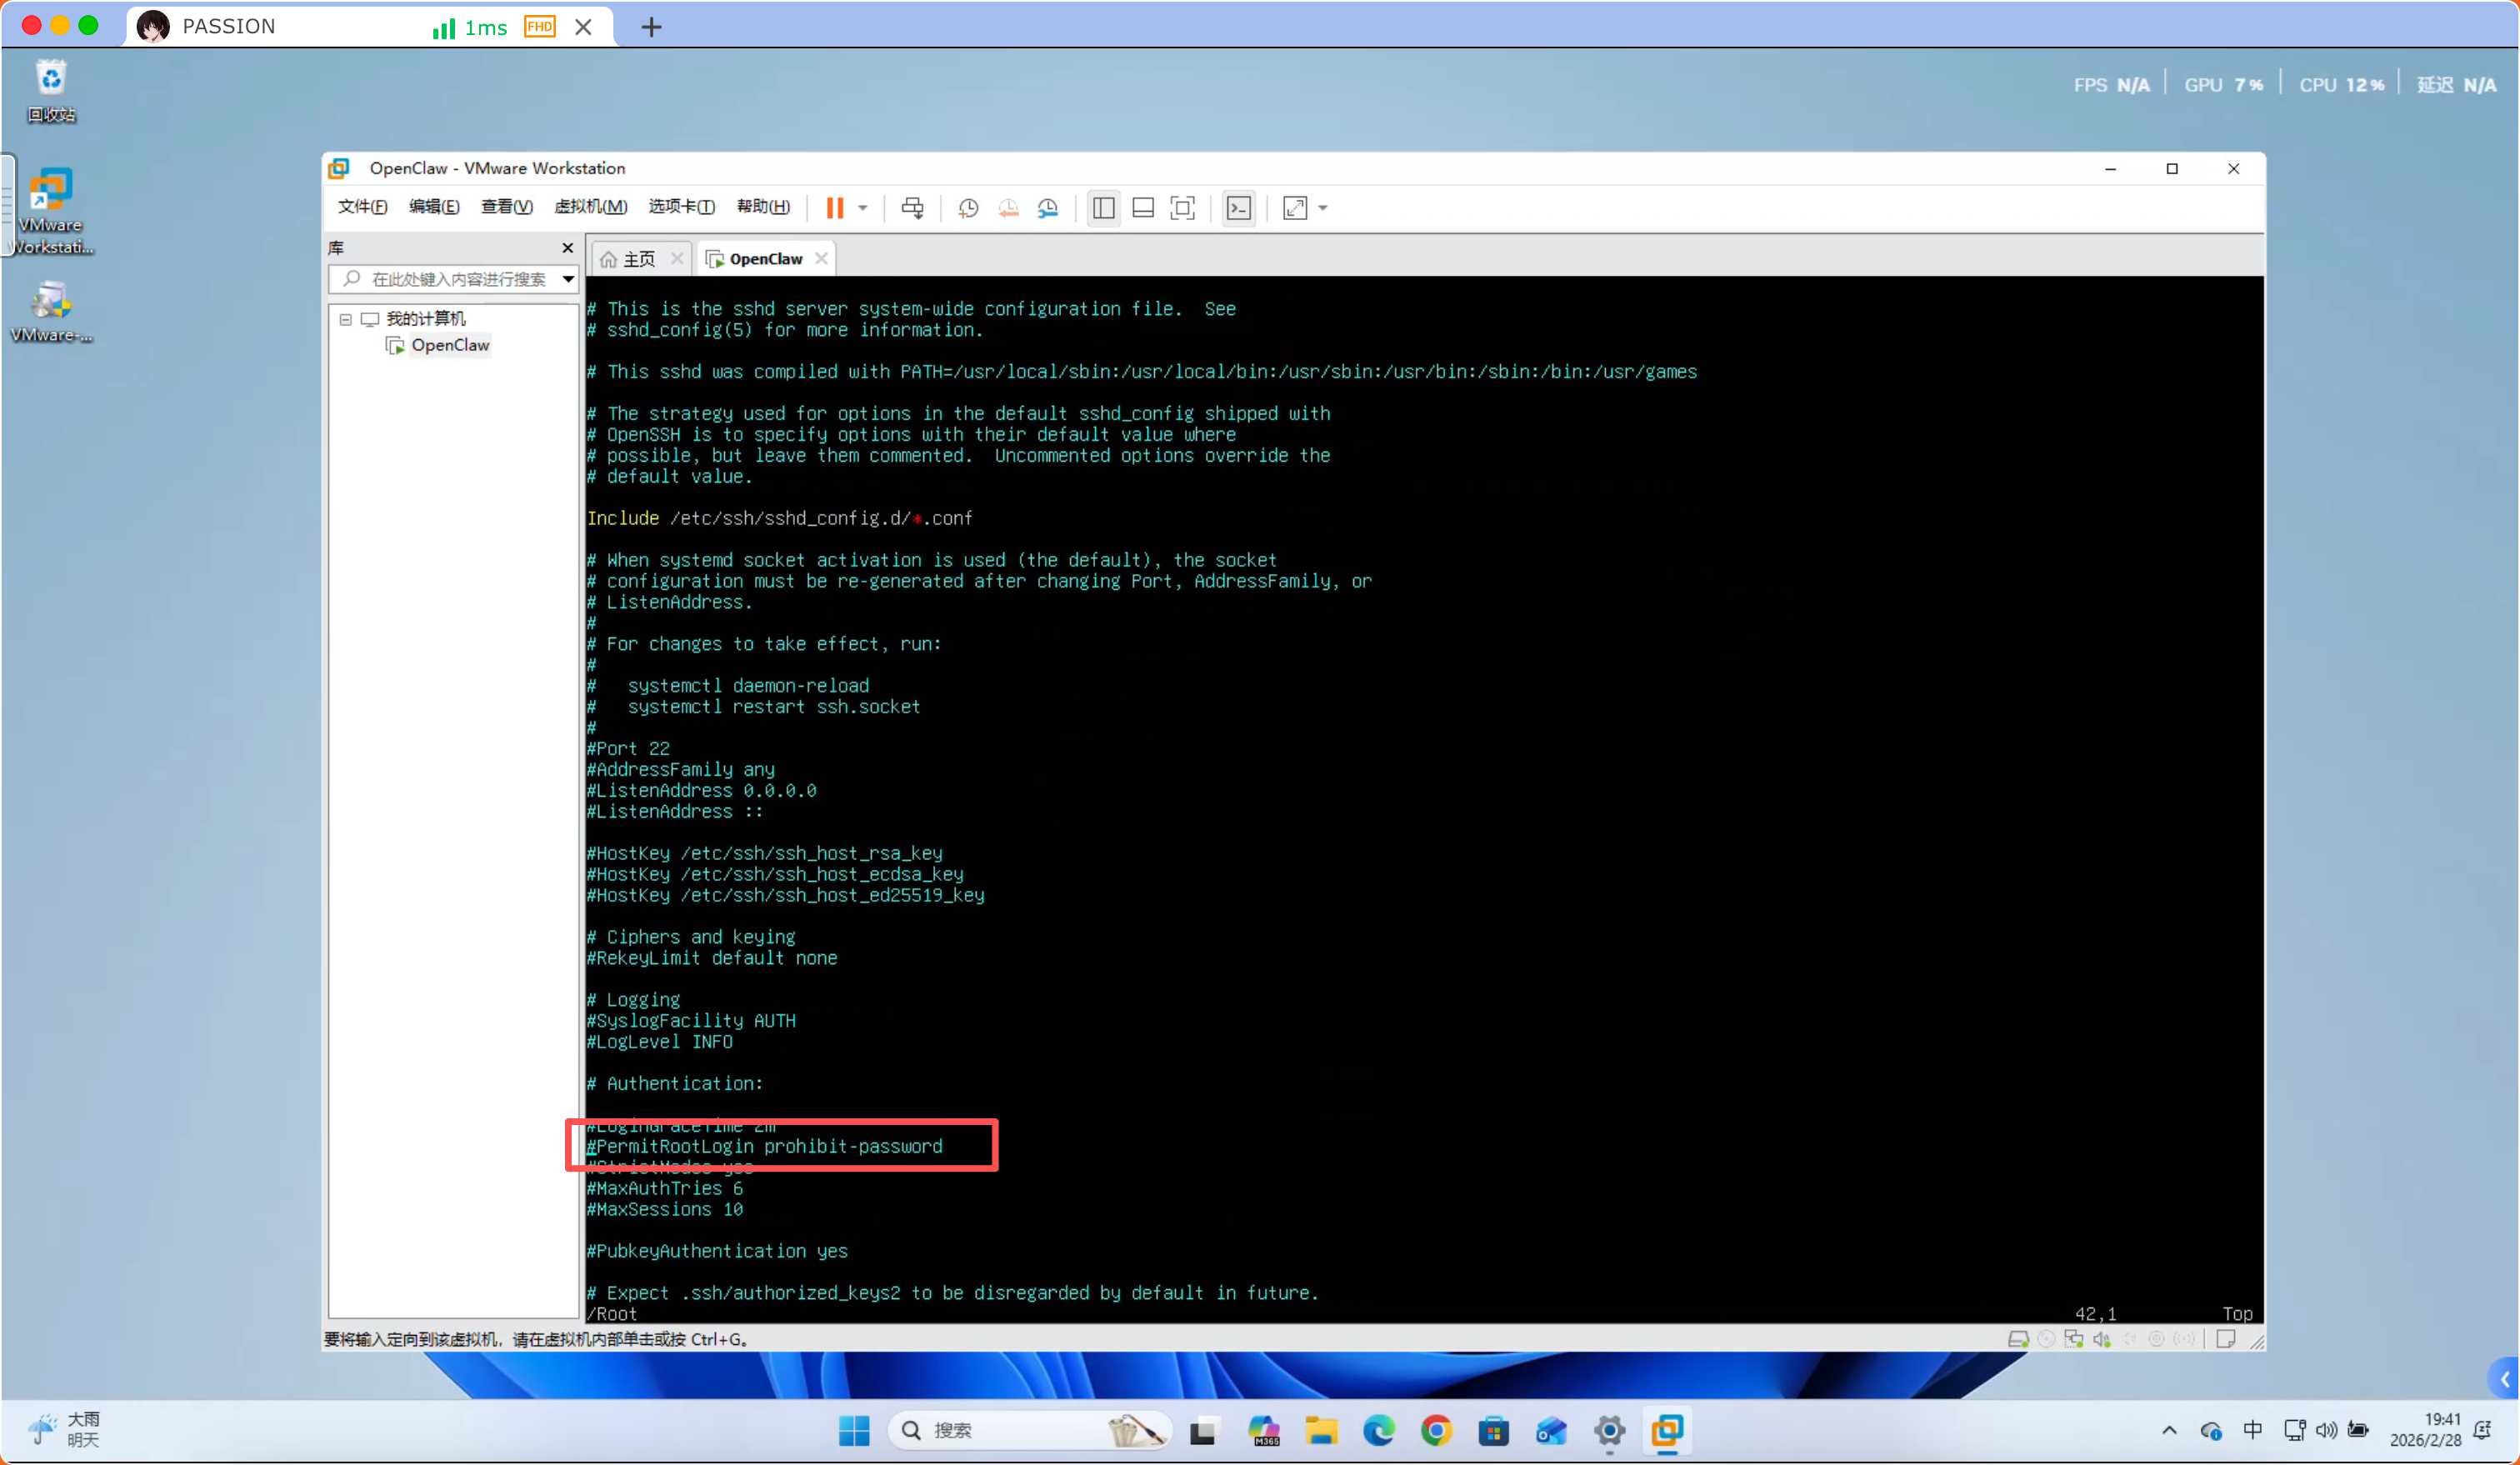 Configuration file after modification image:
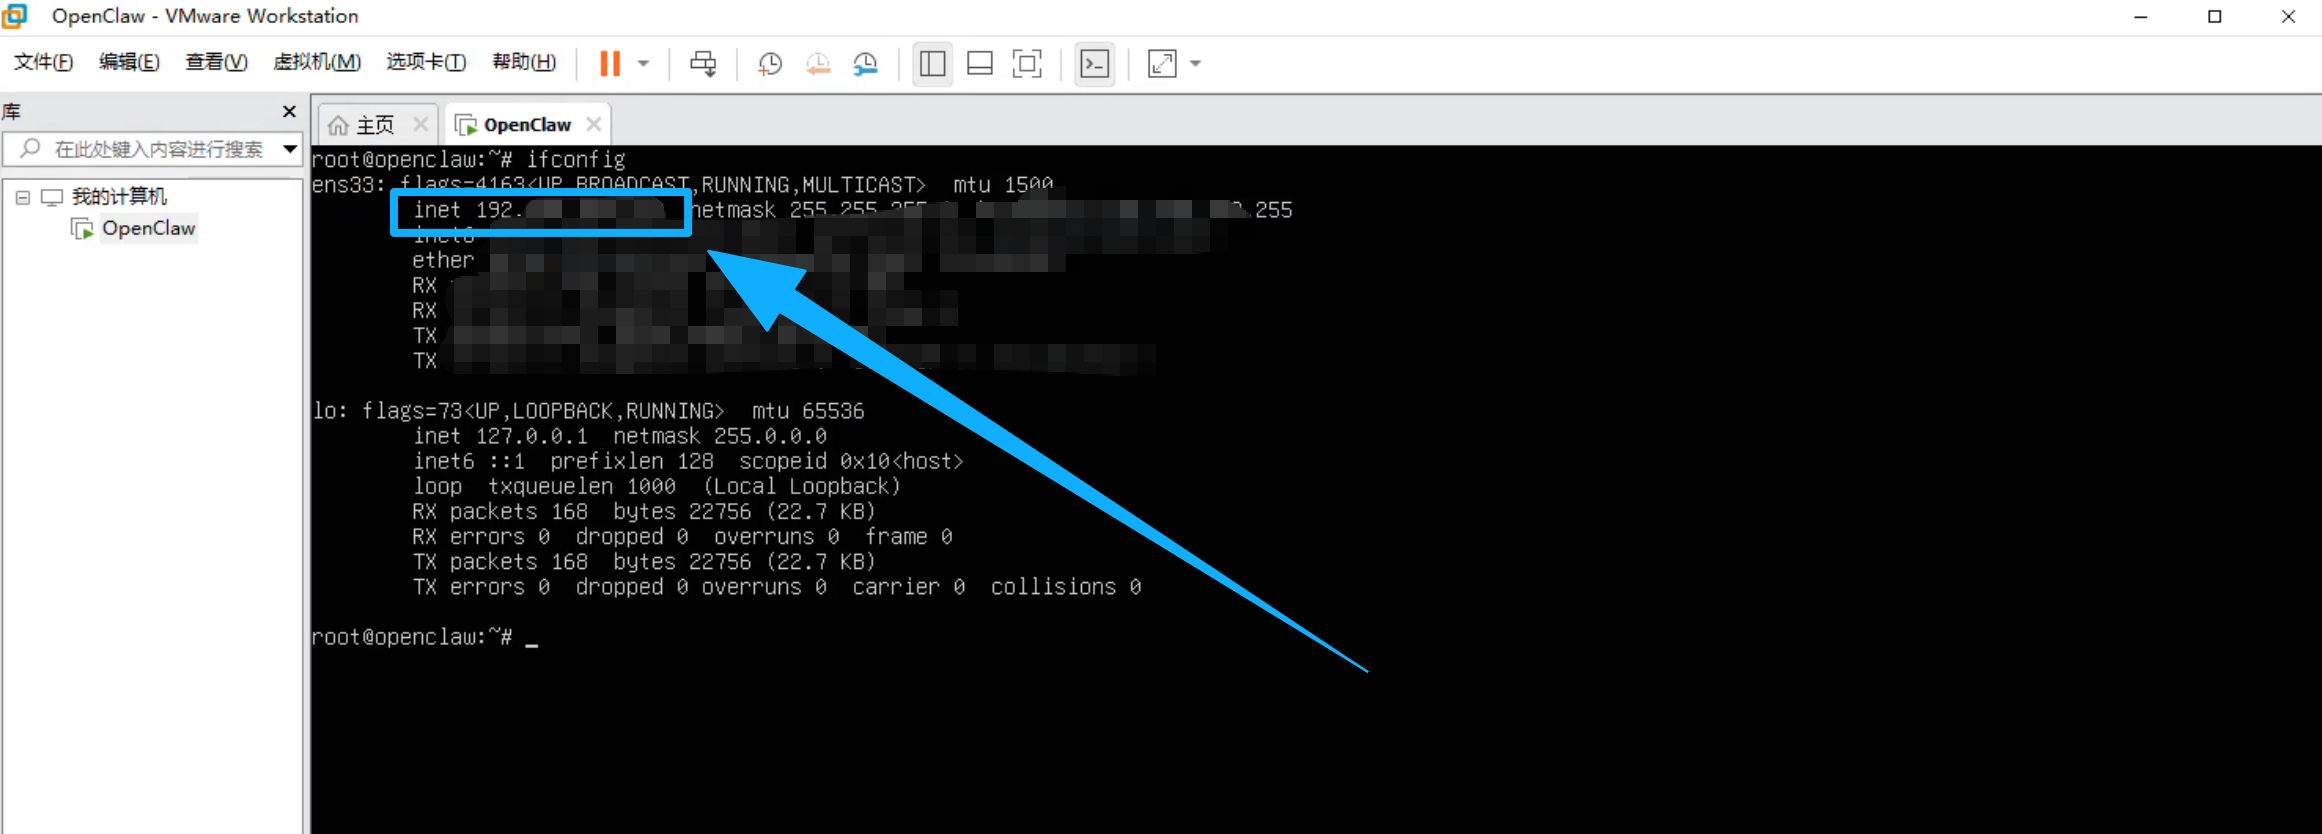
Use SSH tool to connect to this server
# Use command to check this server's IP
ifconfig

# The IP below in the image is this server's IP, can be used for SSH connection